Assetminder ships with a standard asset record layout with generic asset fields . Organisations can customise the asset record as needed by asset subtype. Additional custom fields can be added to the asset view, and then rearranged as required for each subtype. This procedure is made up of 2 sections:
- Add the custom field to the asset subtype
- Reposition the custom field on the asset record
1. Add the Custom Field
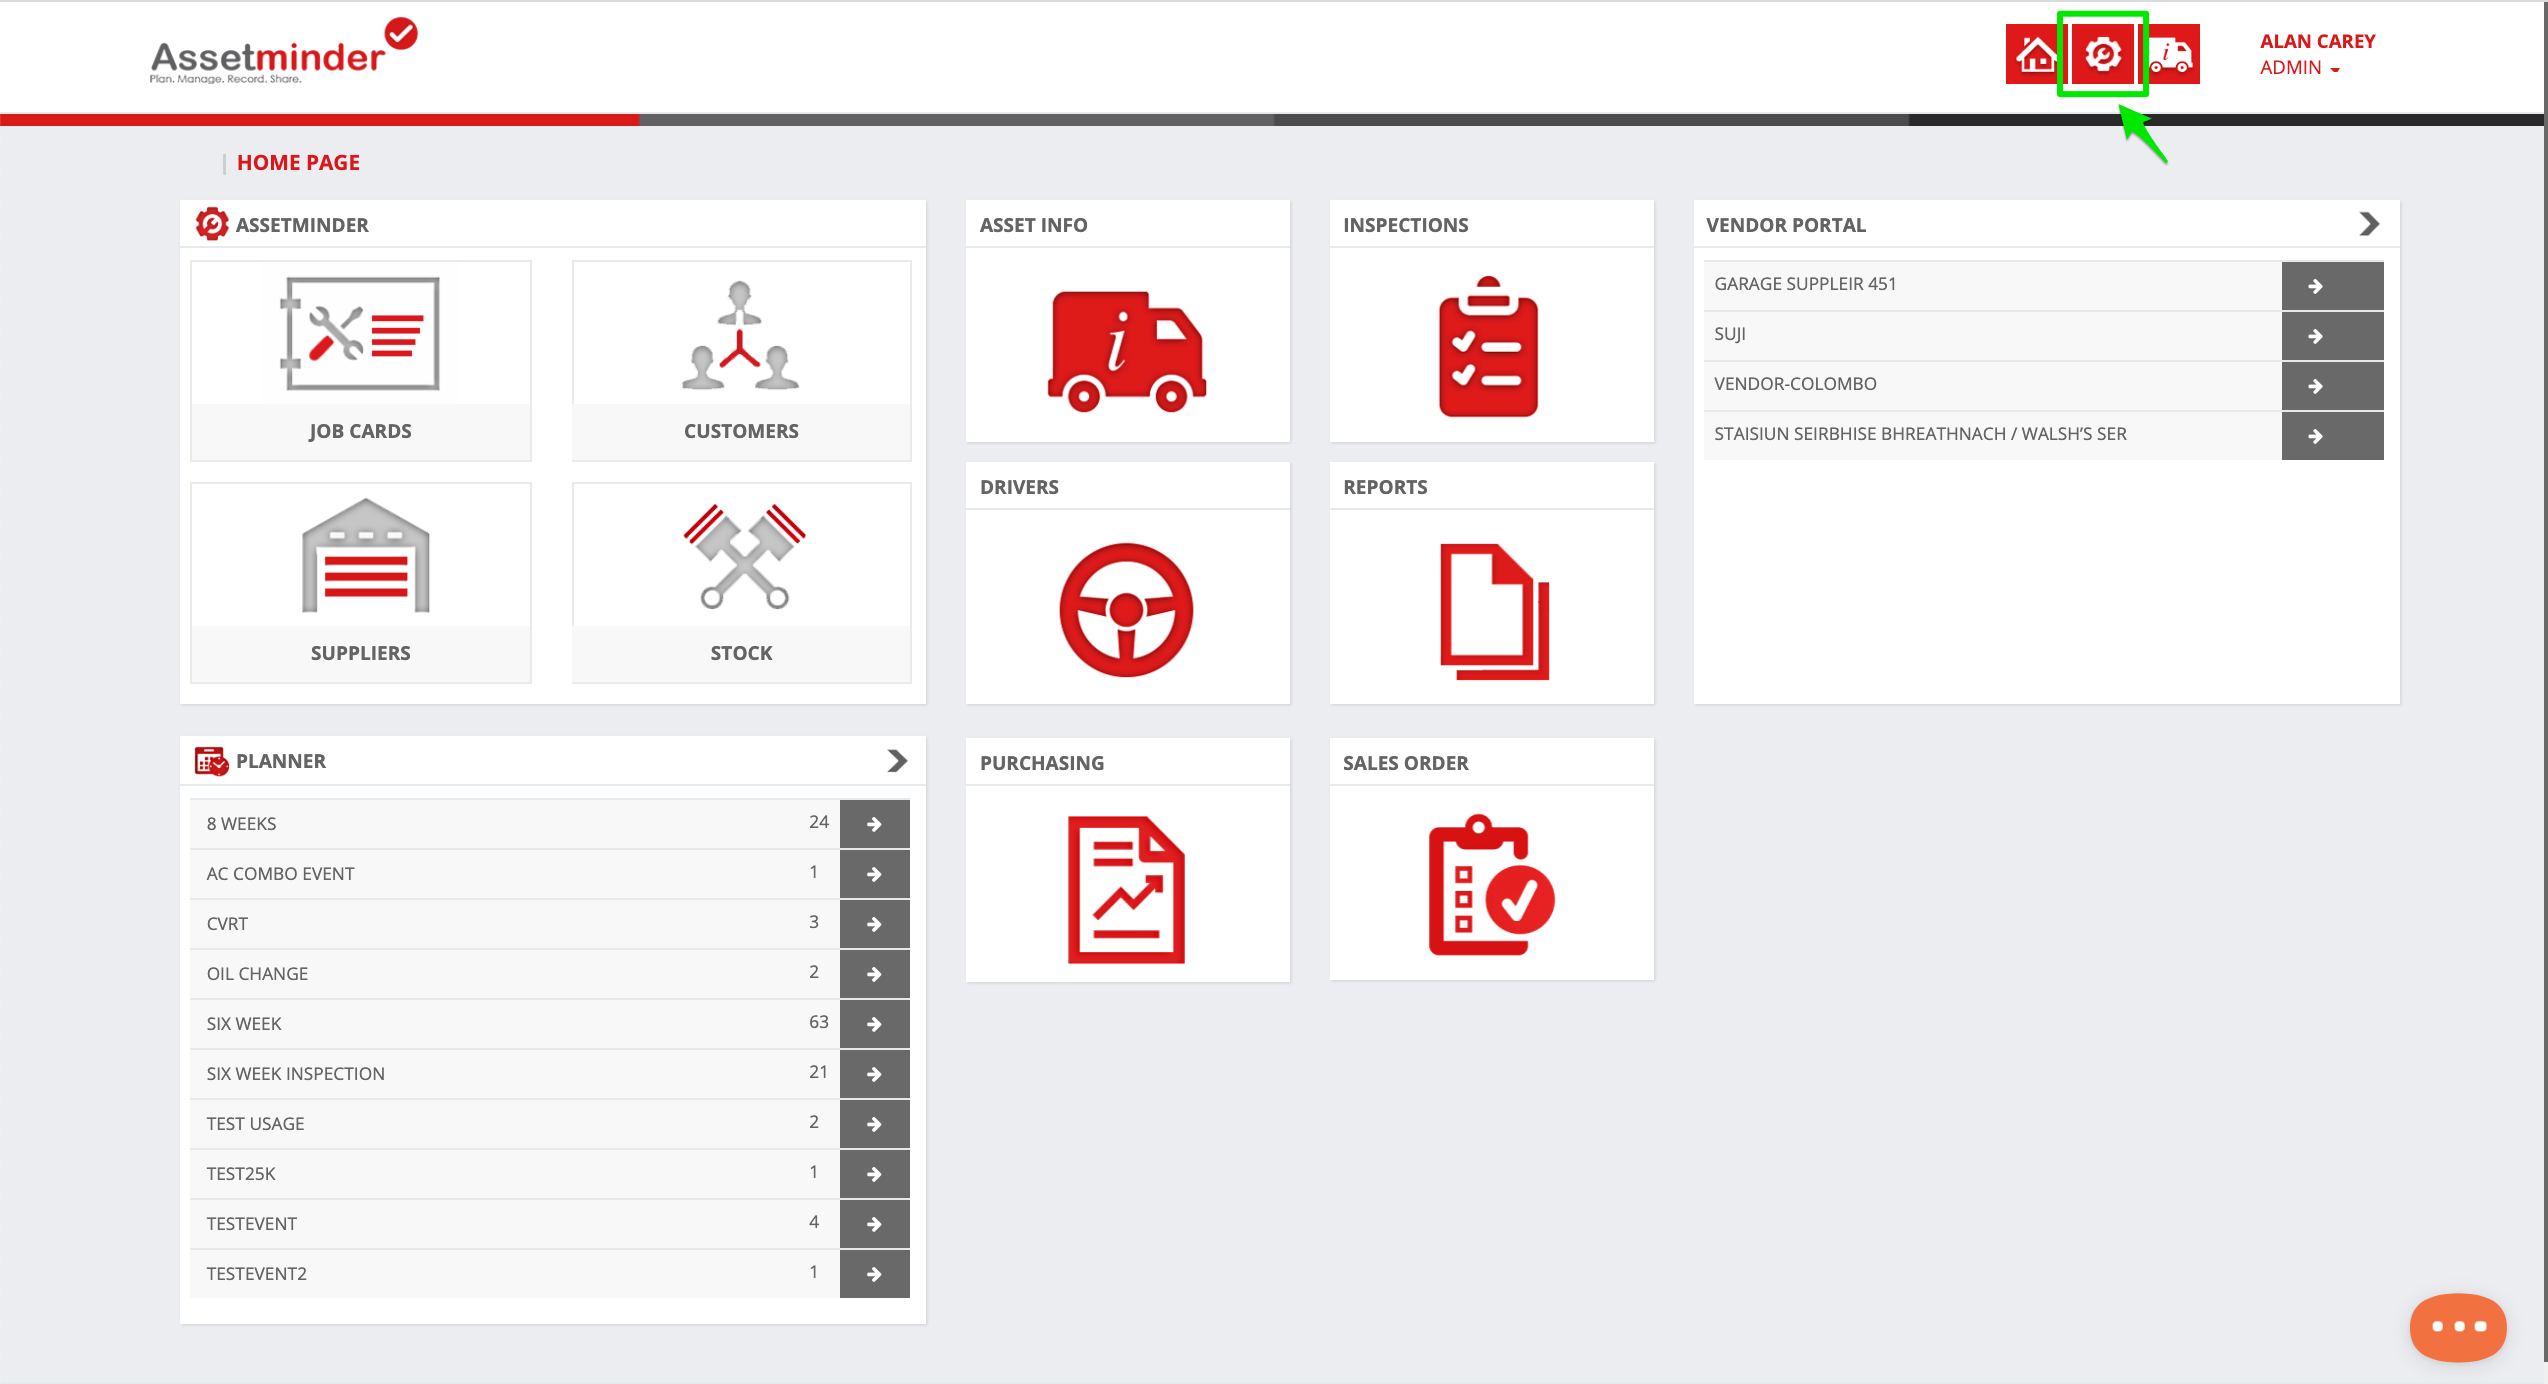
1. To create a custom field for an asset subtype, click the Administrator Settings icon on the home screen
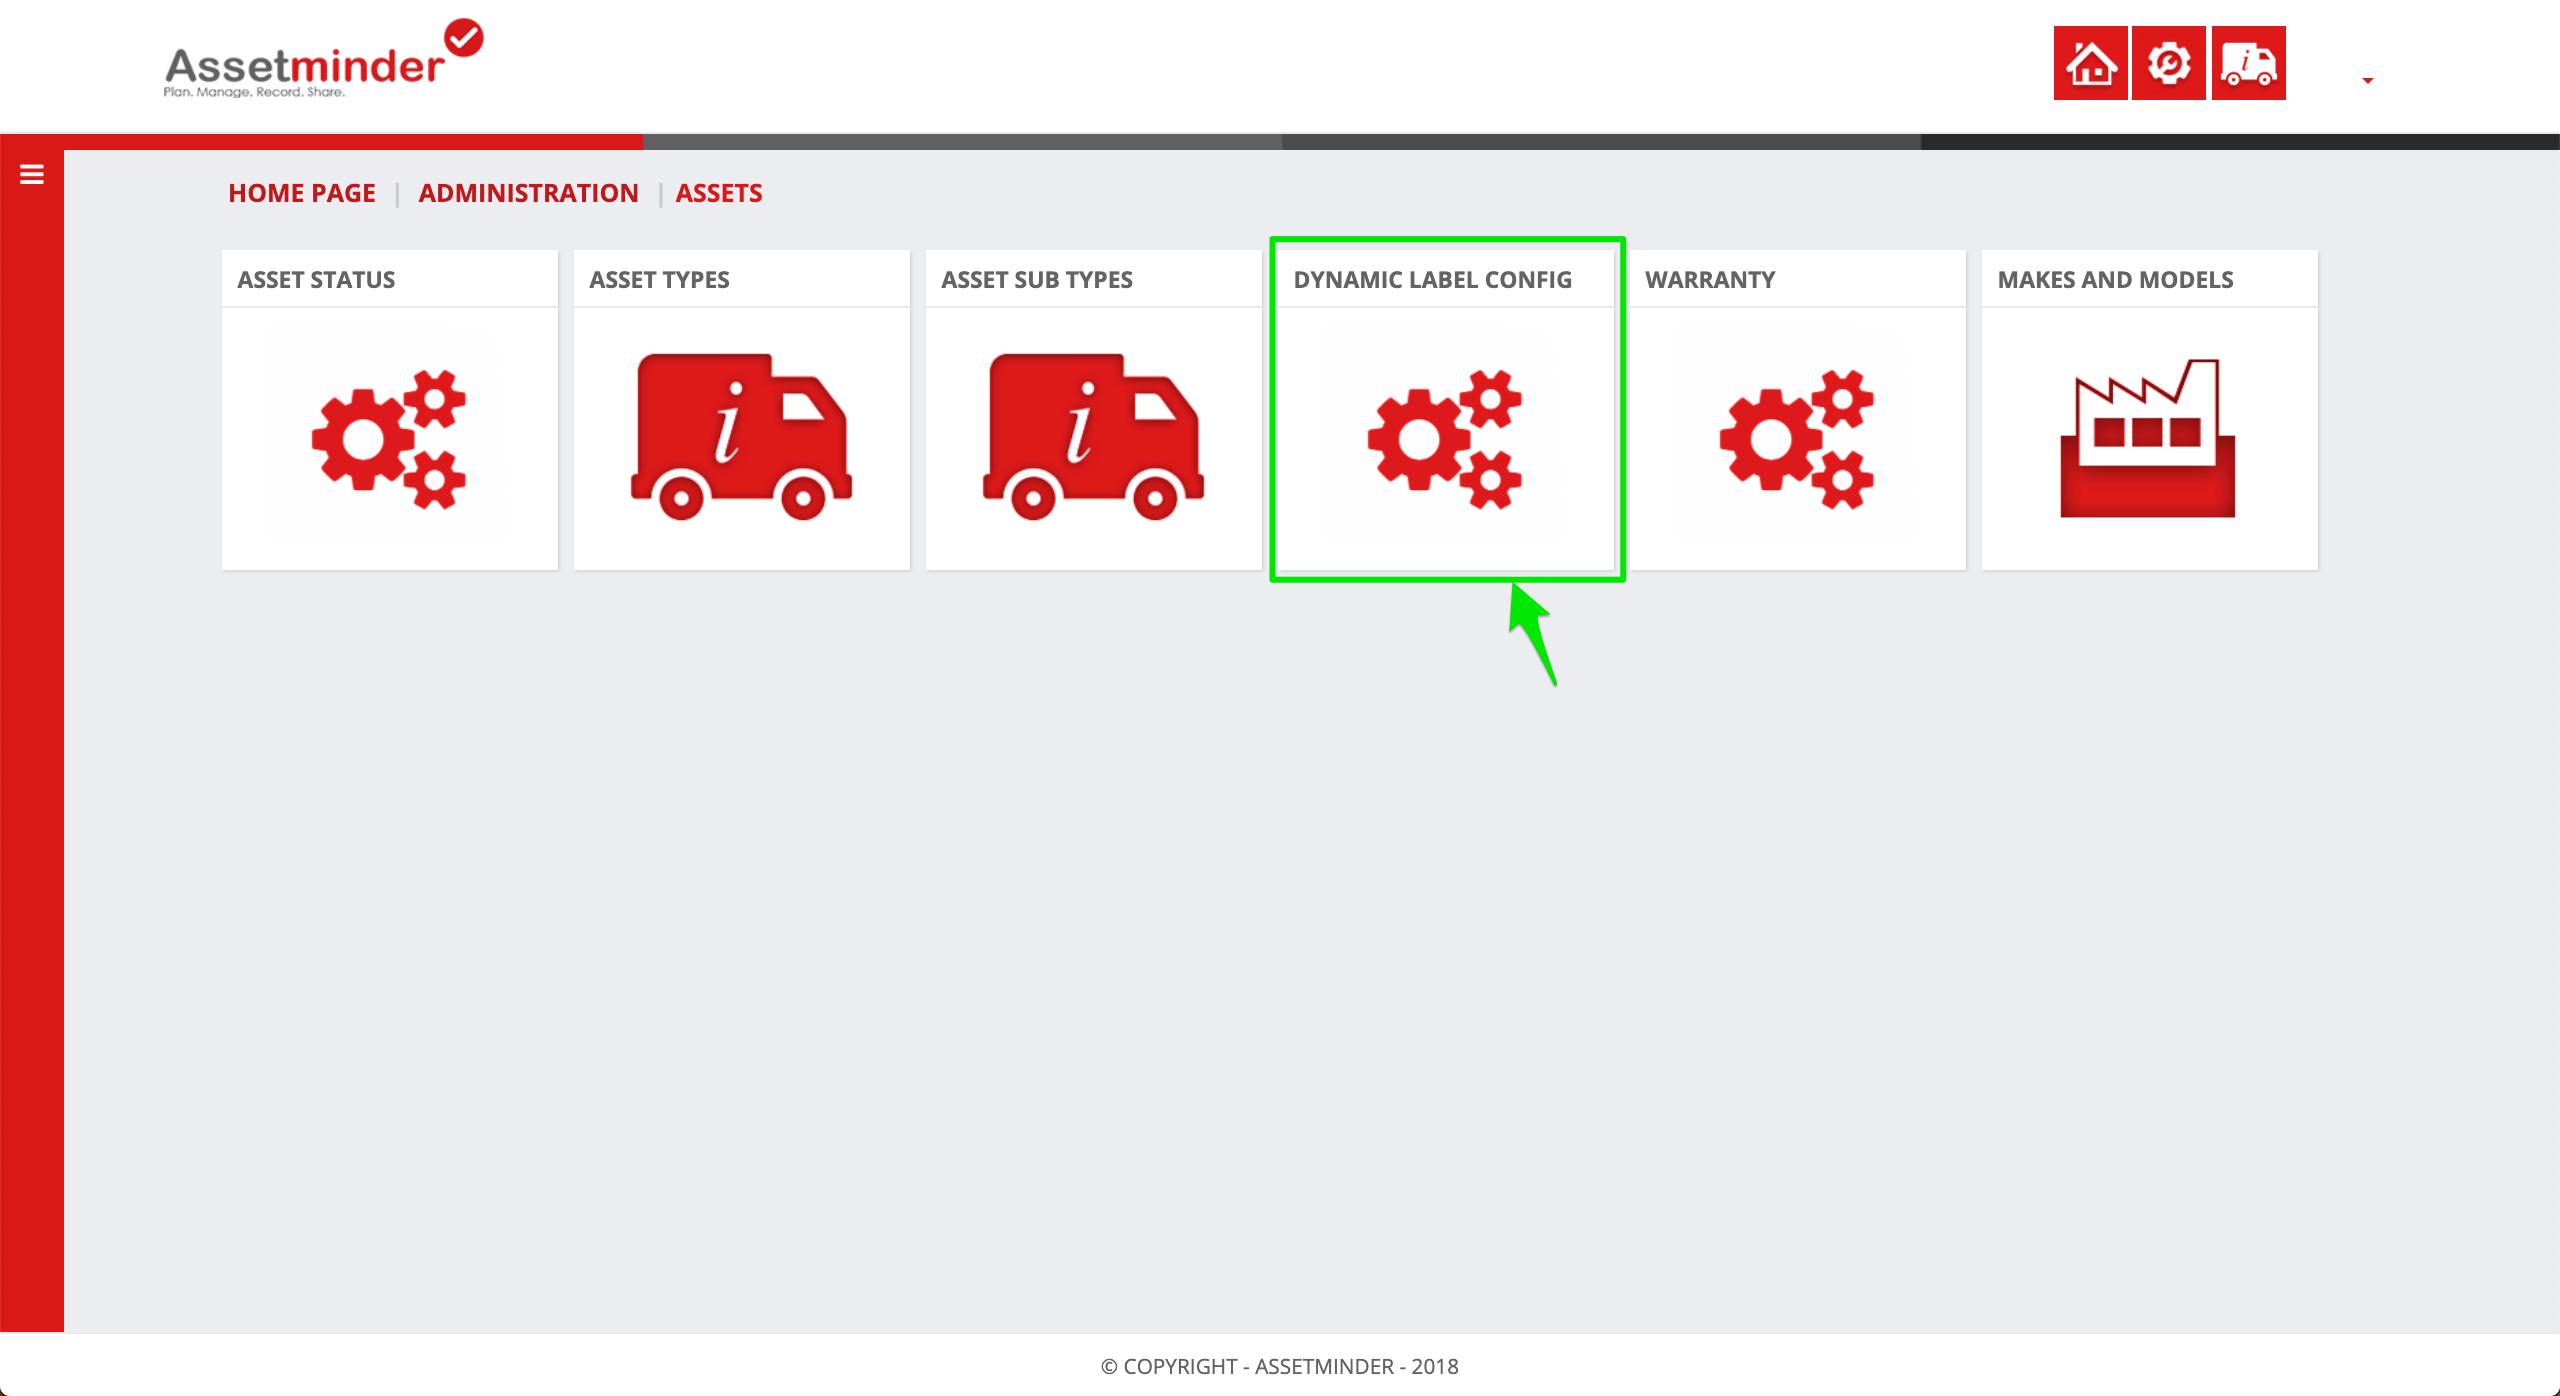
2. Click Assets

3. Click Dynamic Label Config
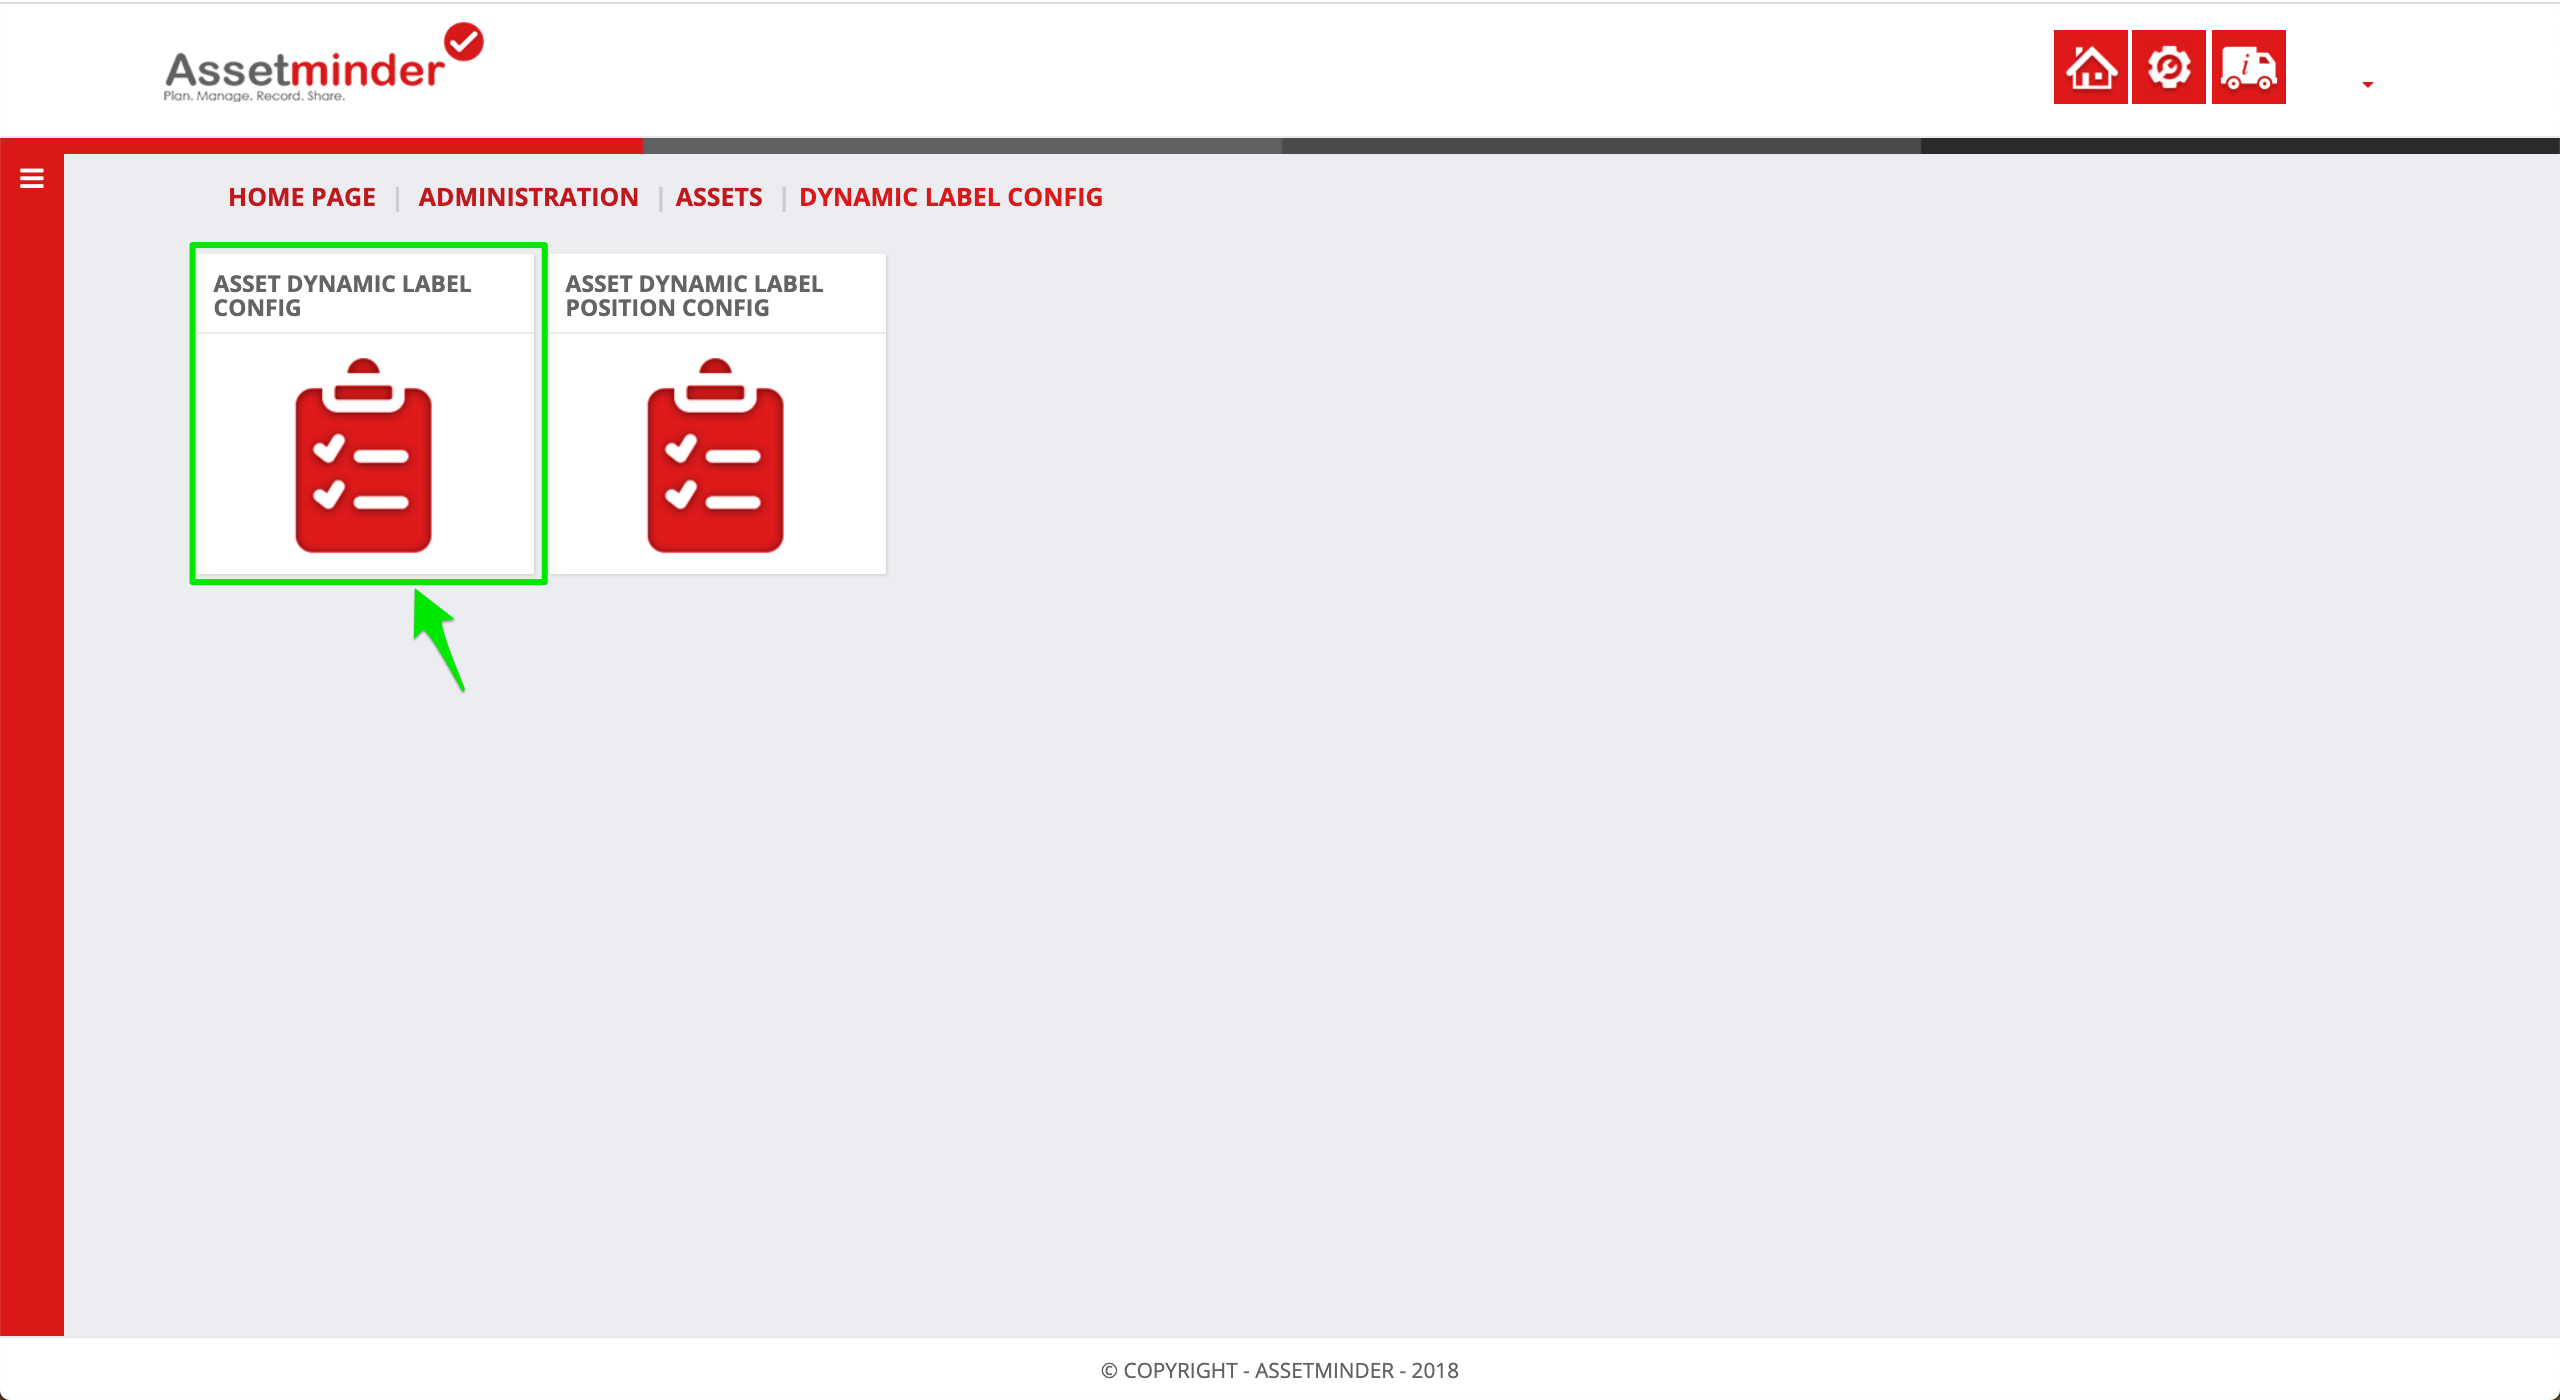
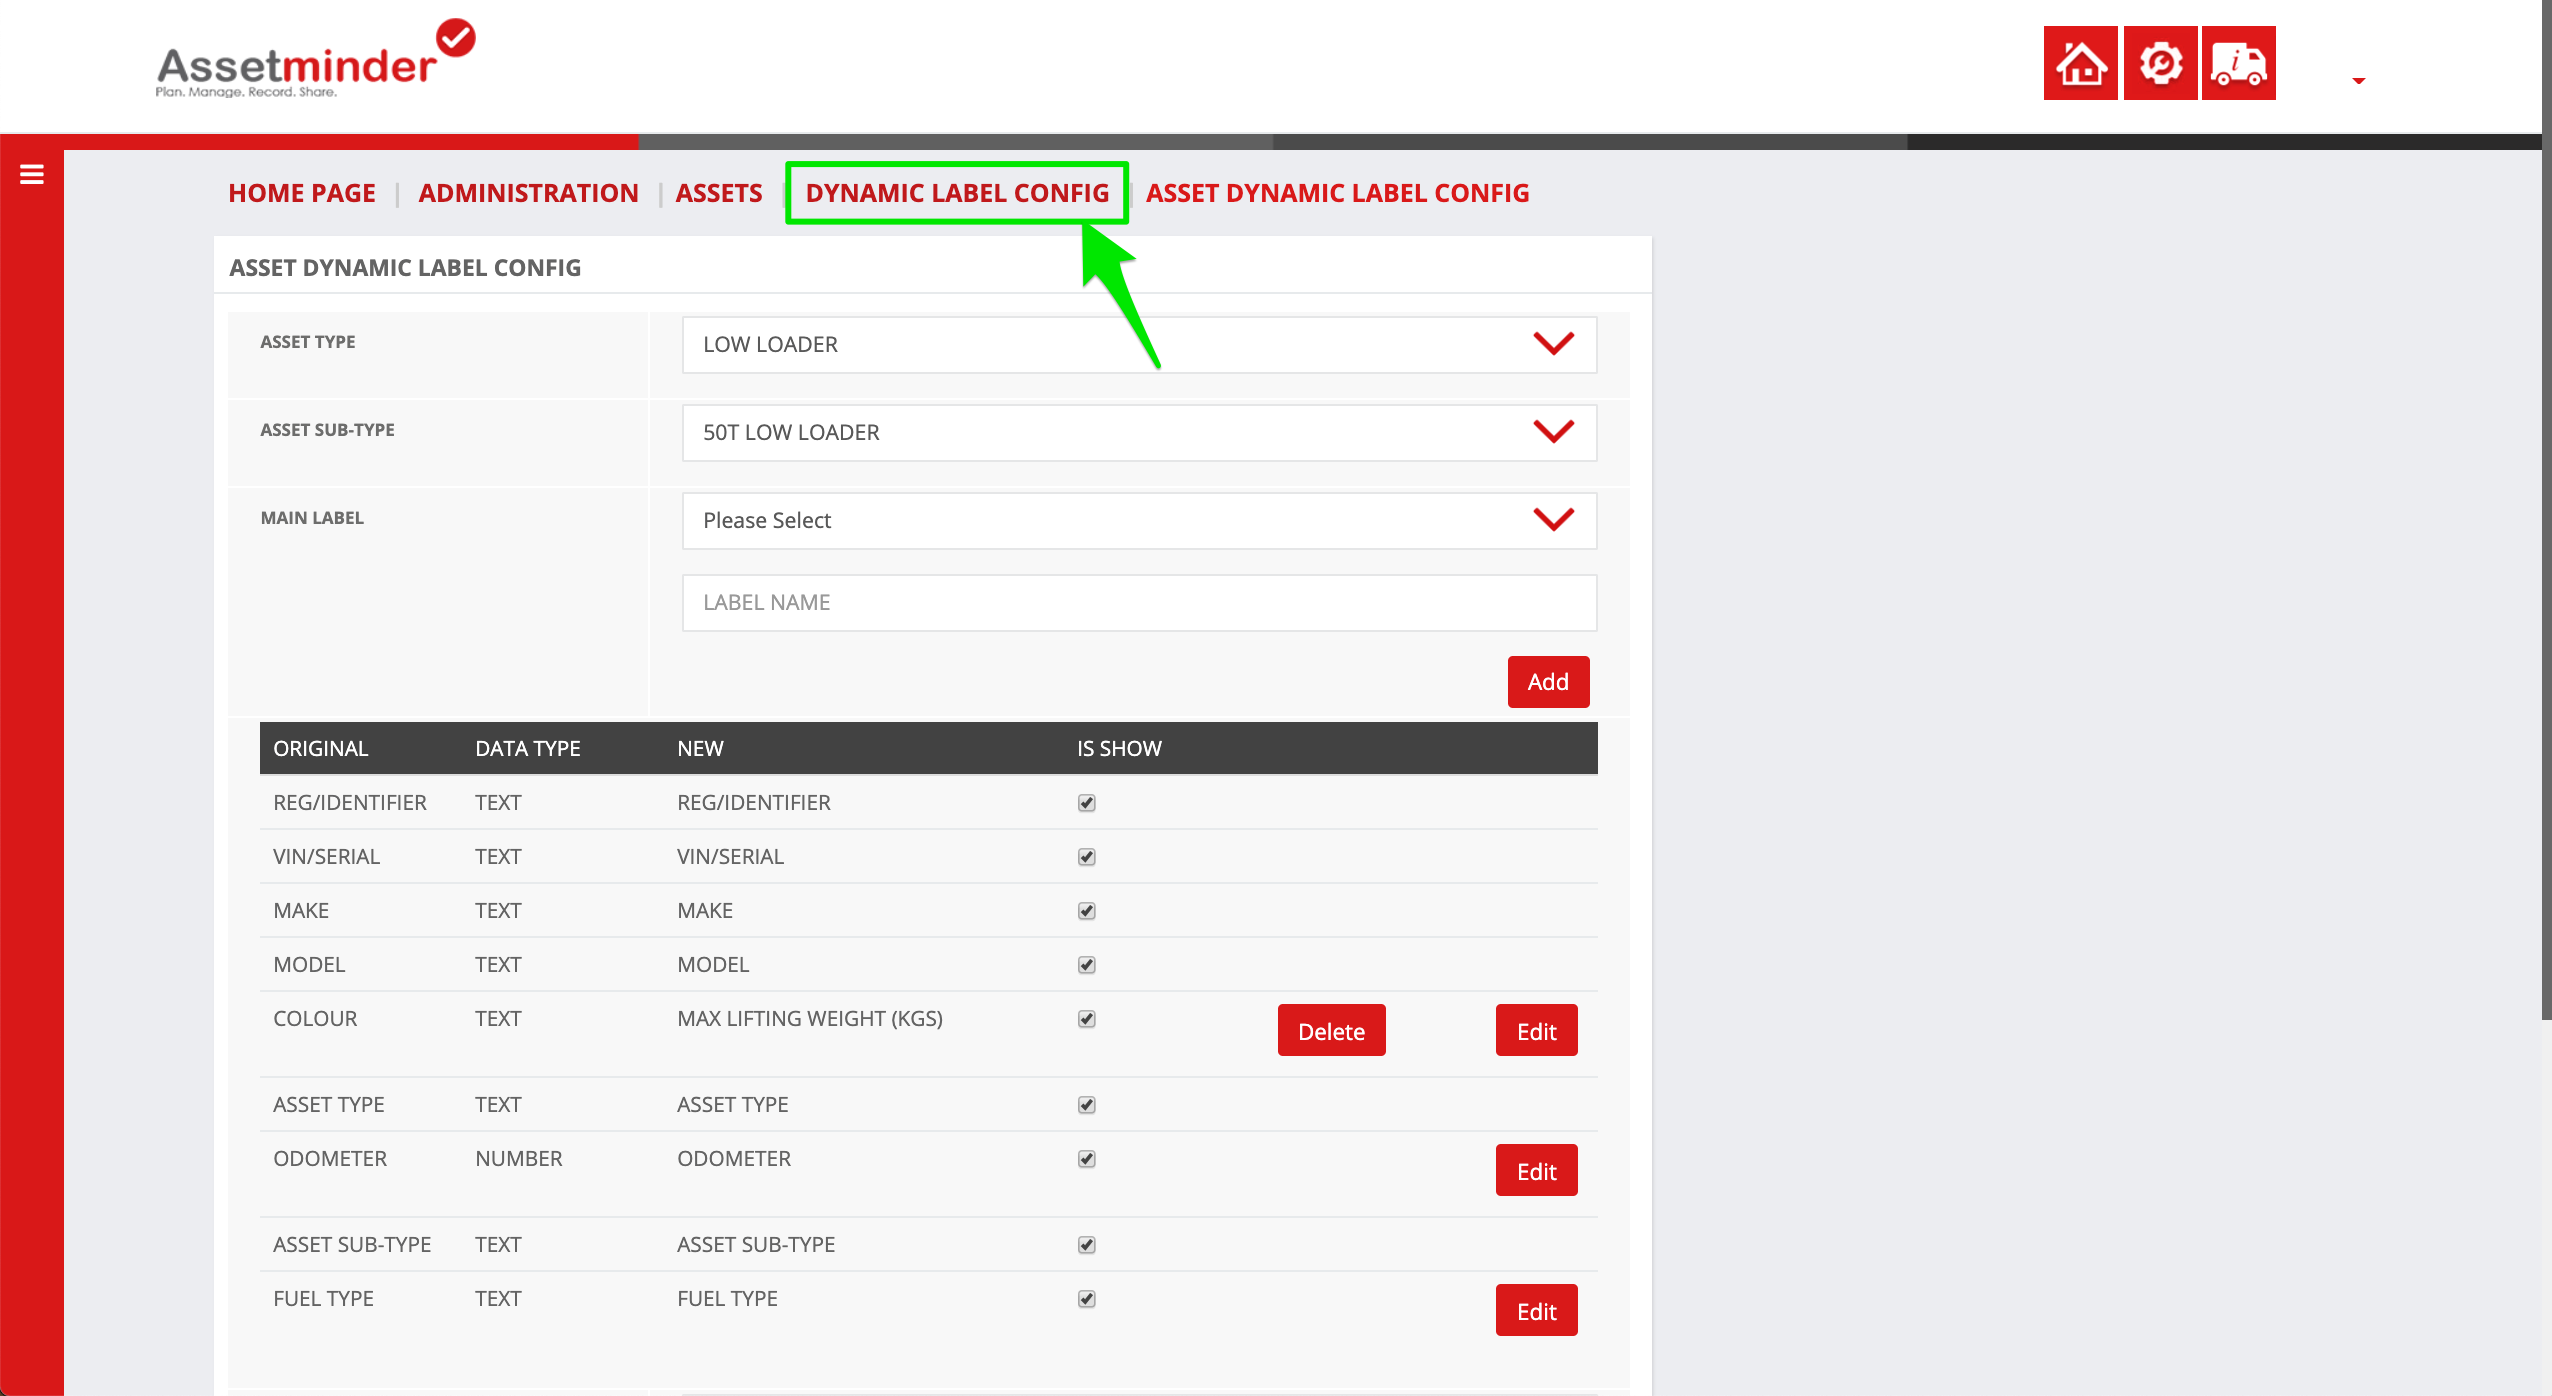
4. Select Asset Dynamic Label Config to add the new custom field
5. Again, custom fields are assigned to the asset subtype. On the Asset Dynamic Label Config screen, select the asset type and subtype from the dropdown
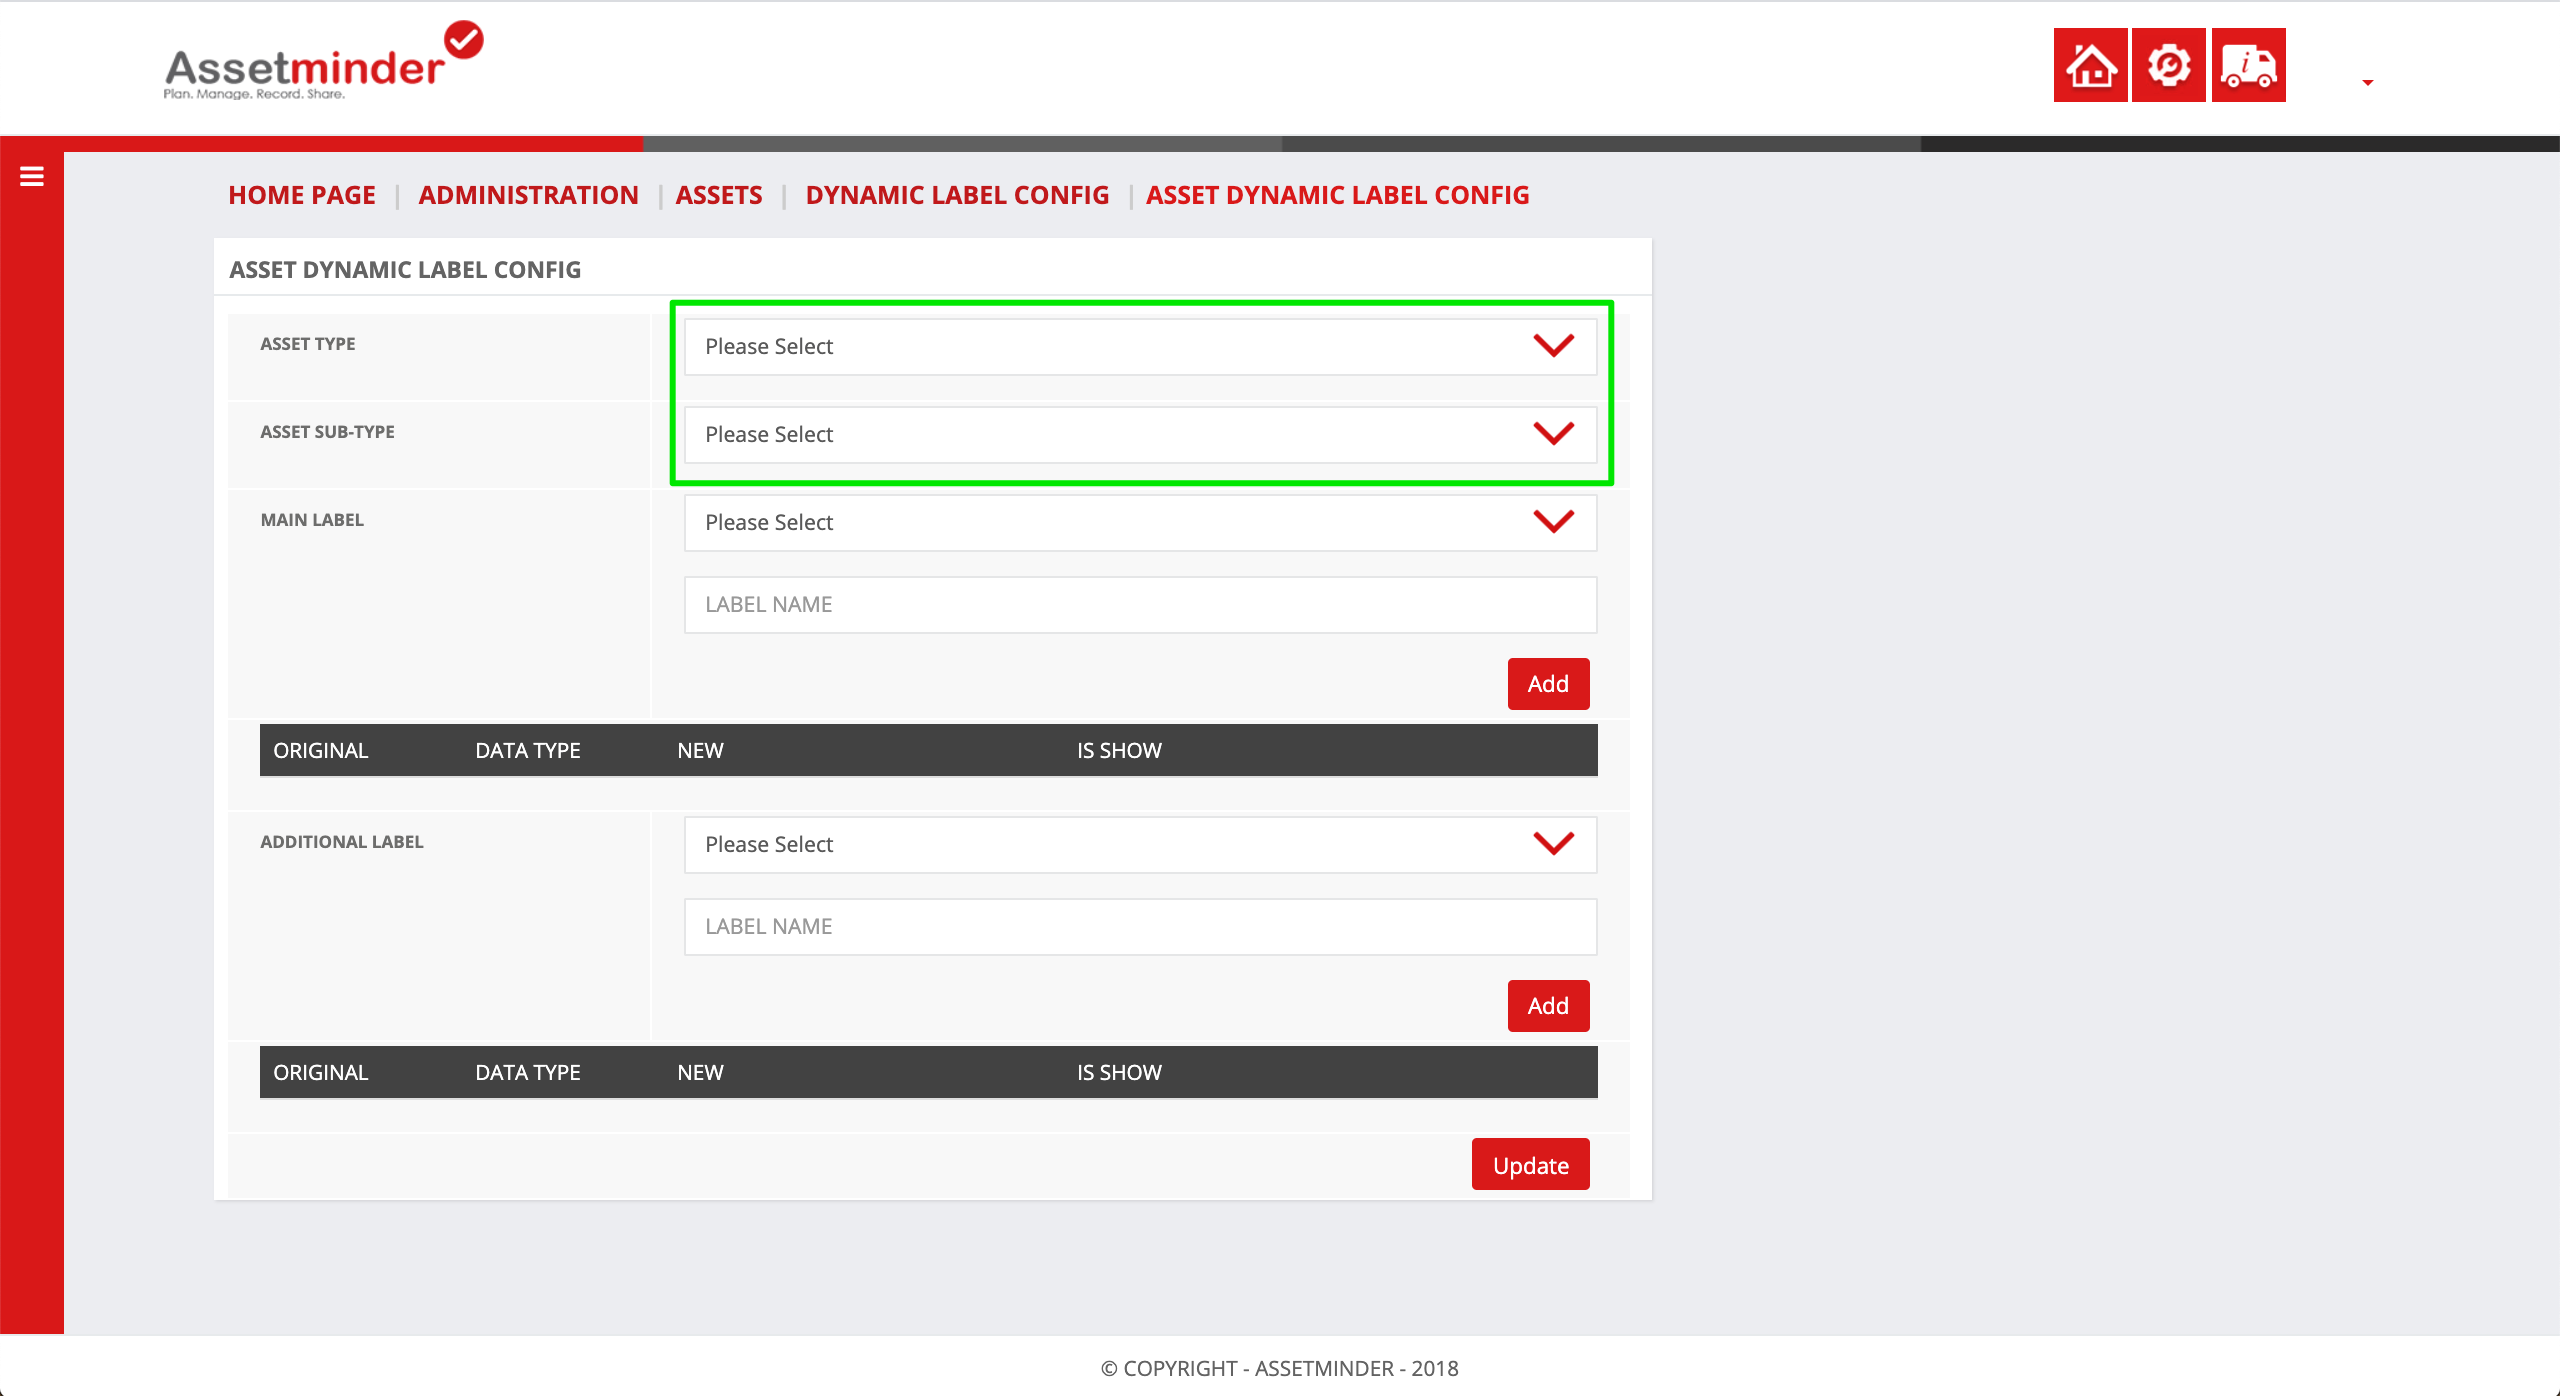
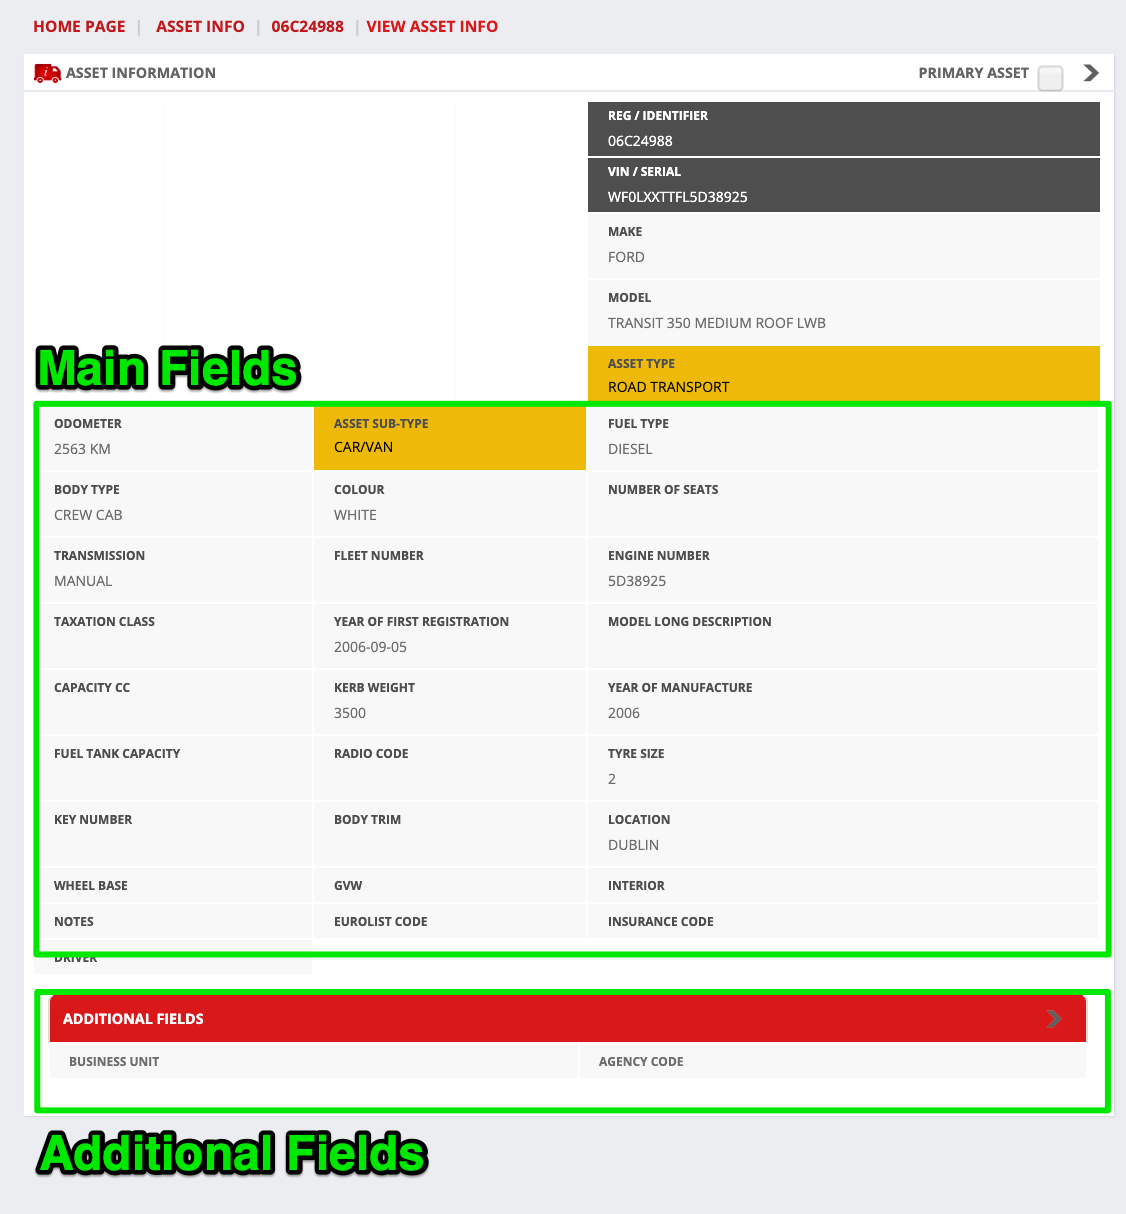
6. Main fields appear on the main screen of the asset record. Additional fields appear below the fold:
7. Rather than create new fields from scratch, Assetminder duplicates existing fields and let's the user change the field label. Select the field to be copied, and then set the name of the new field label as follows
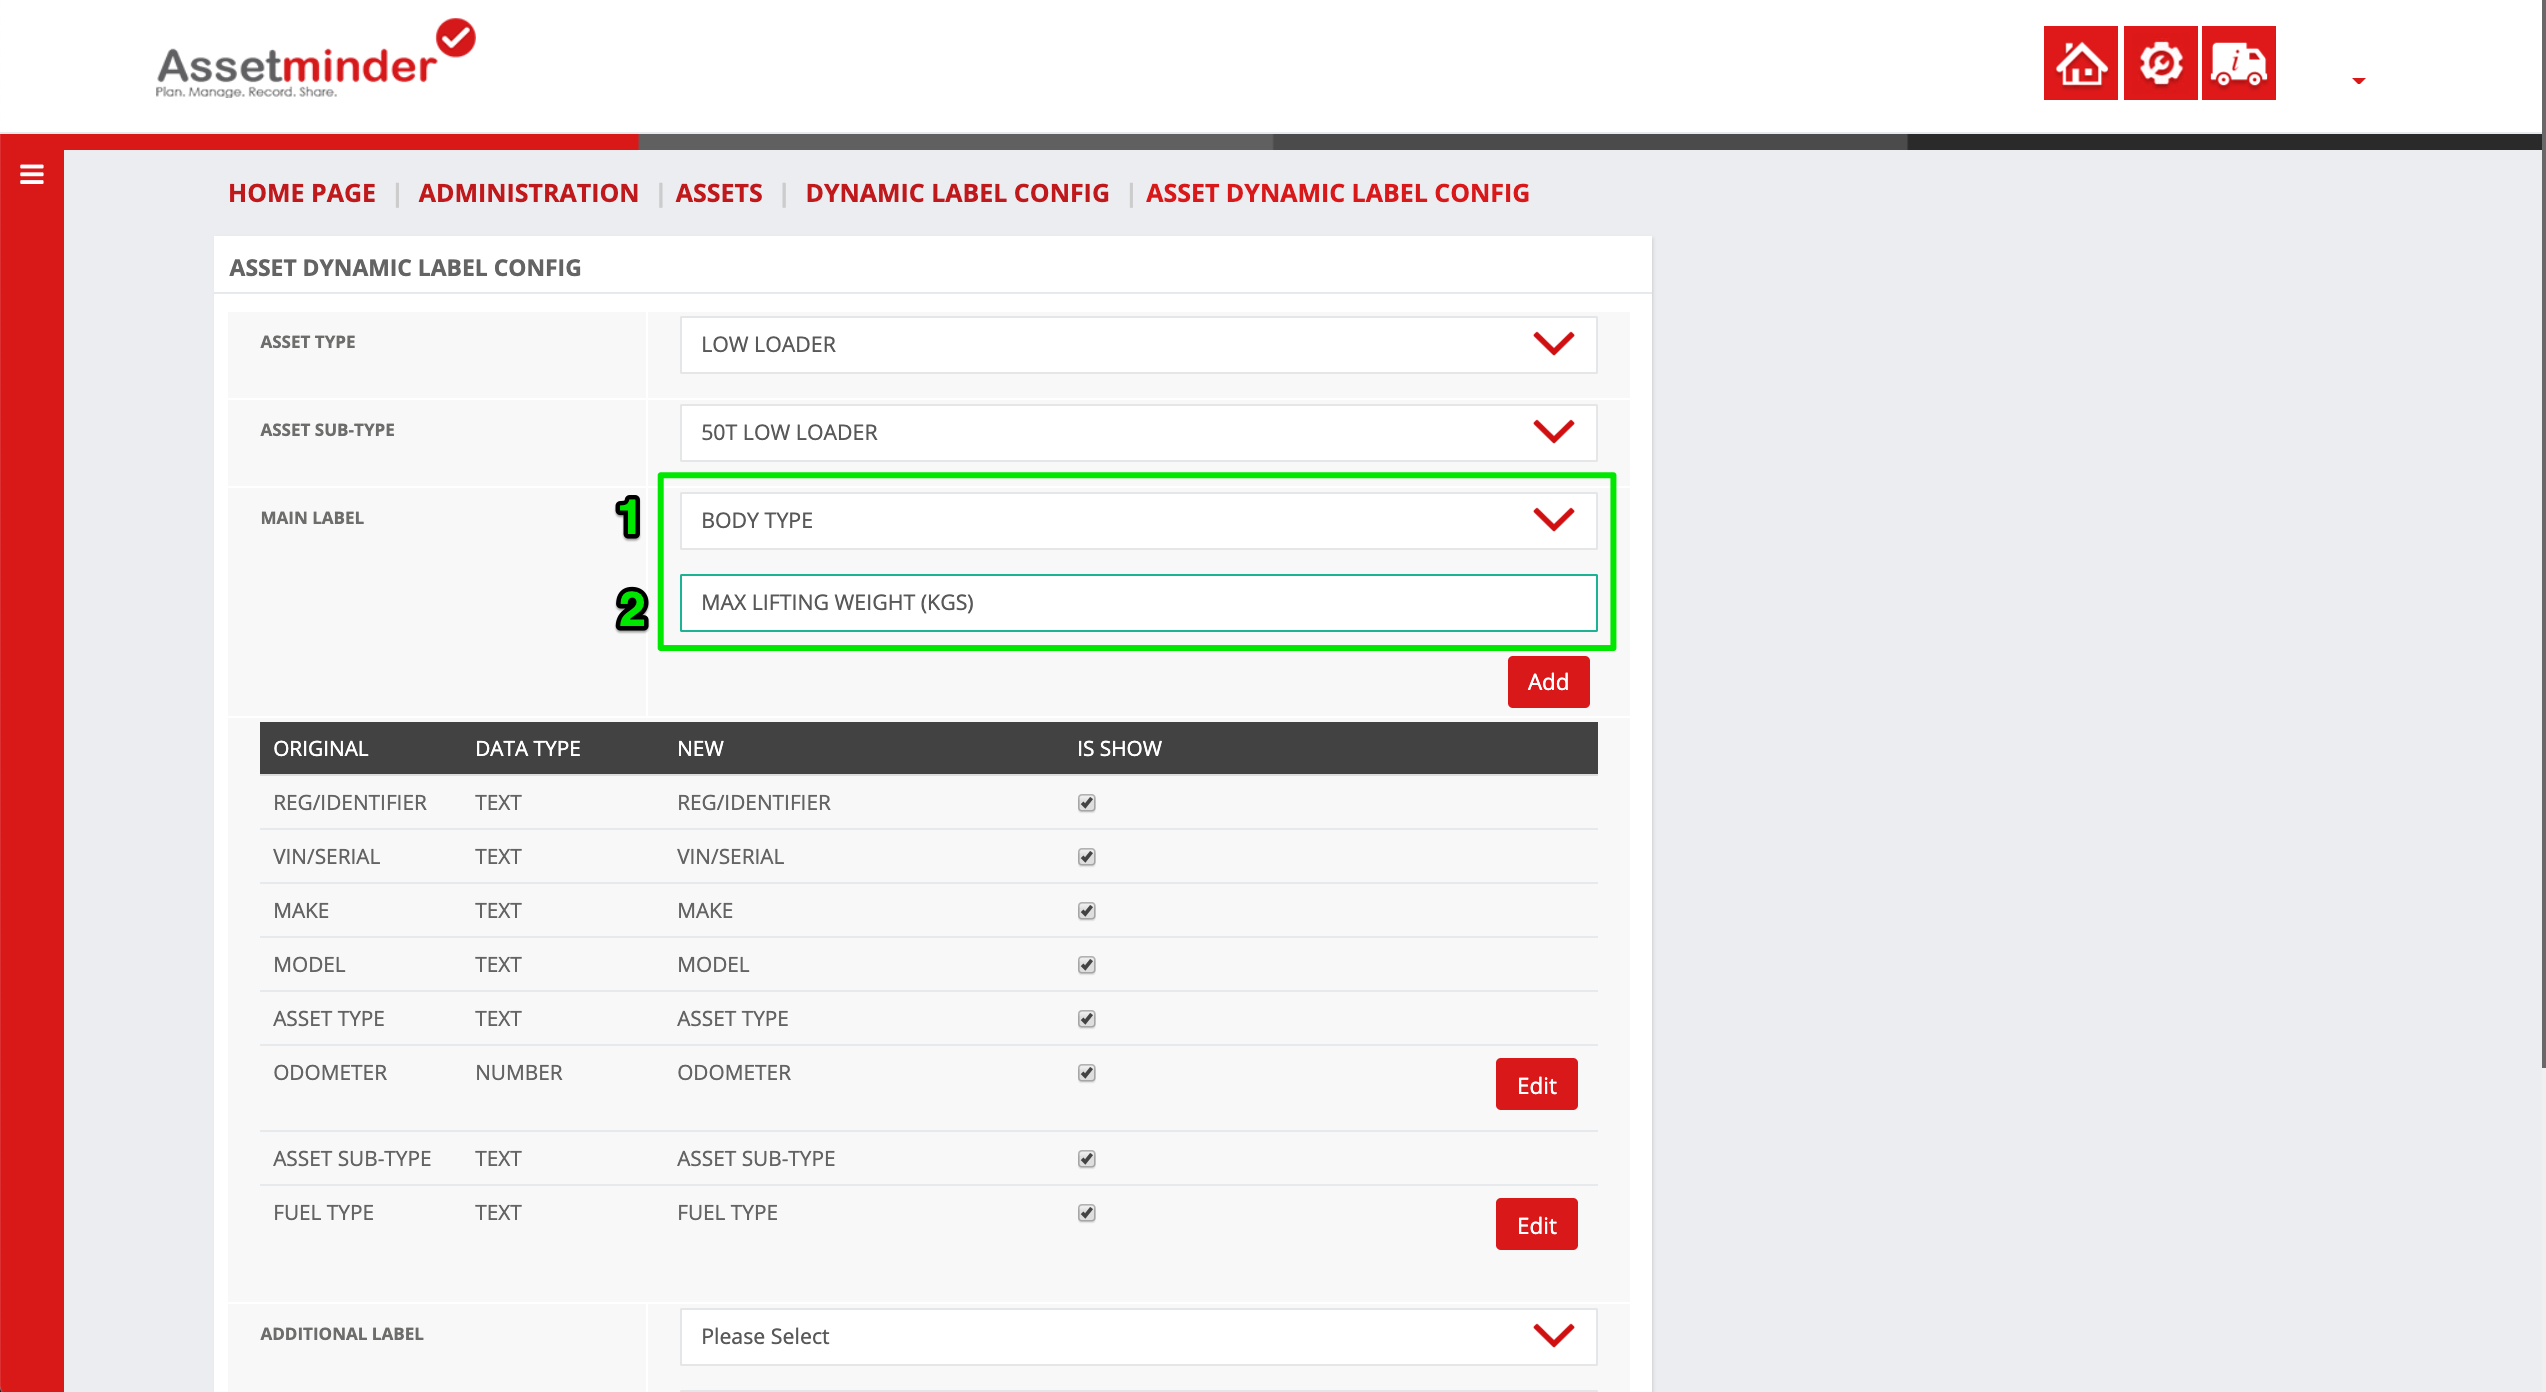
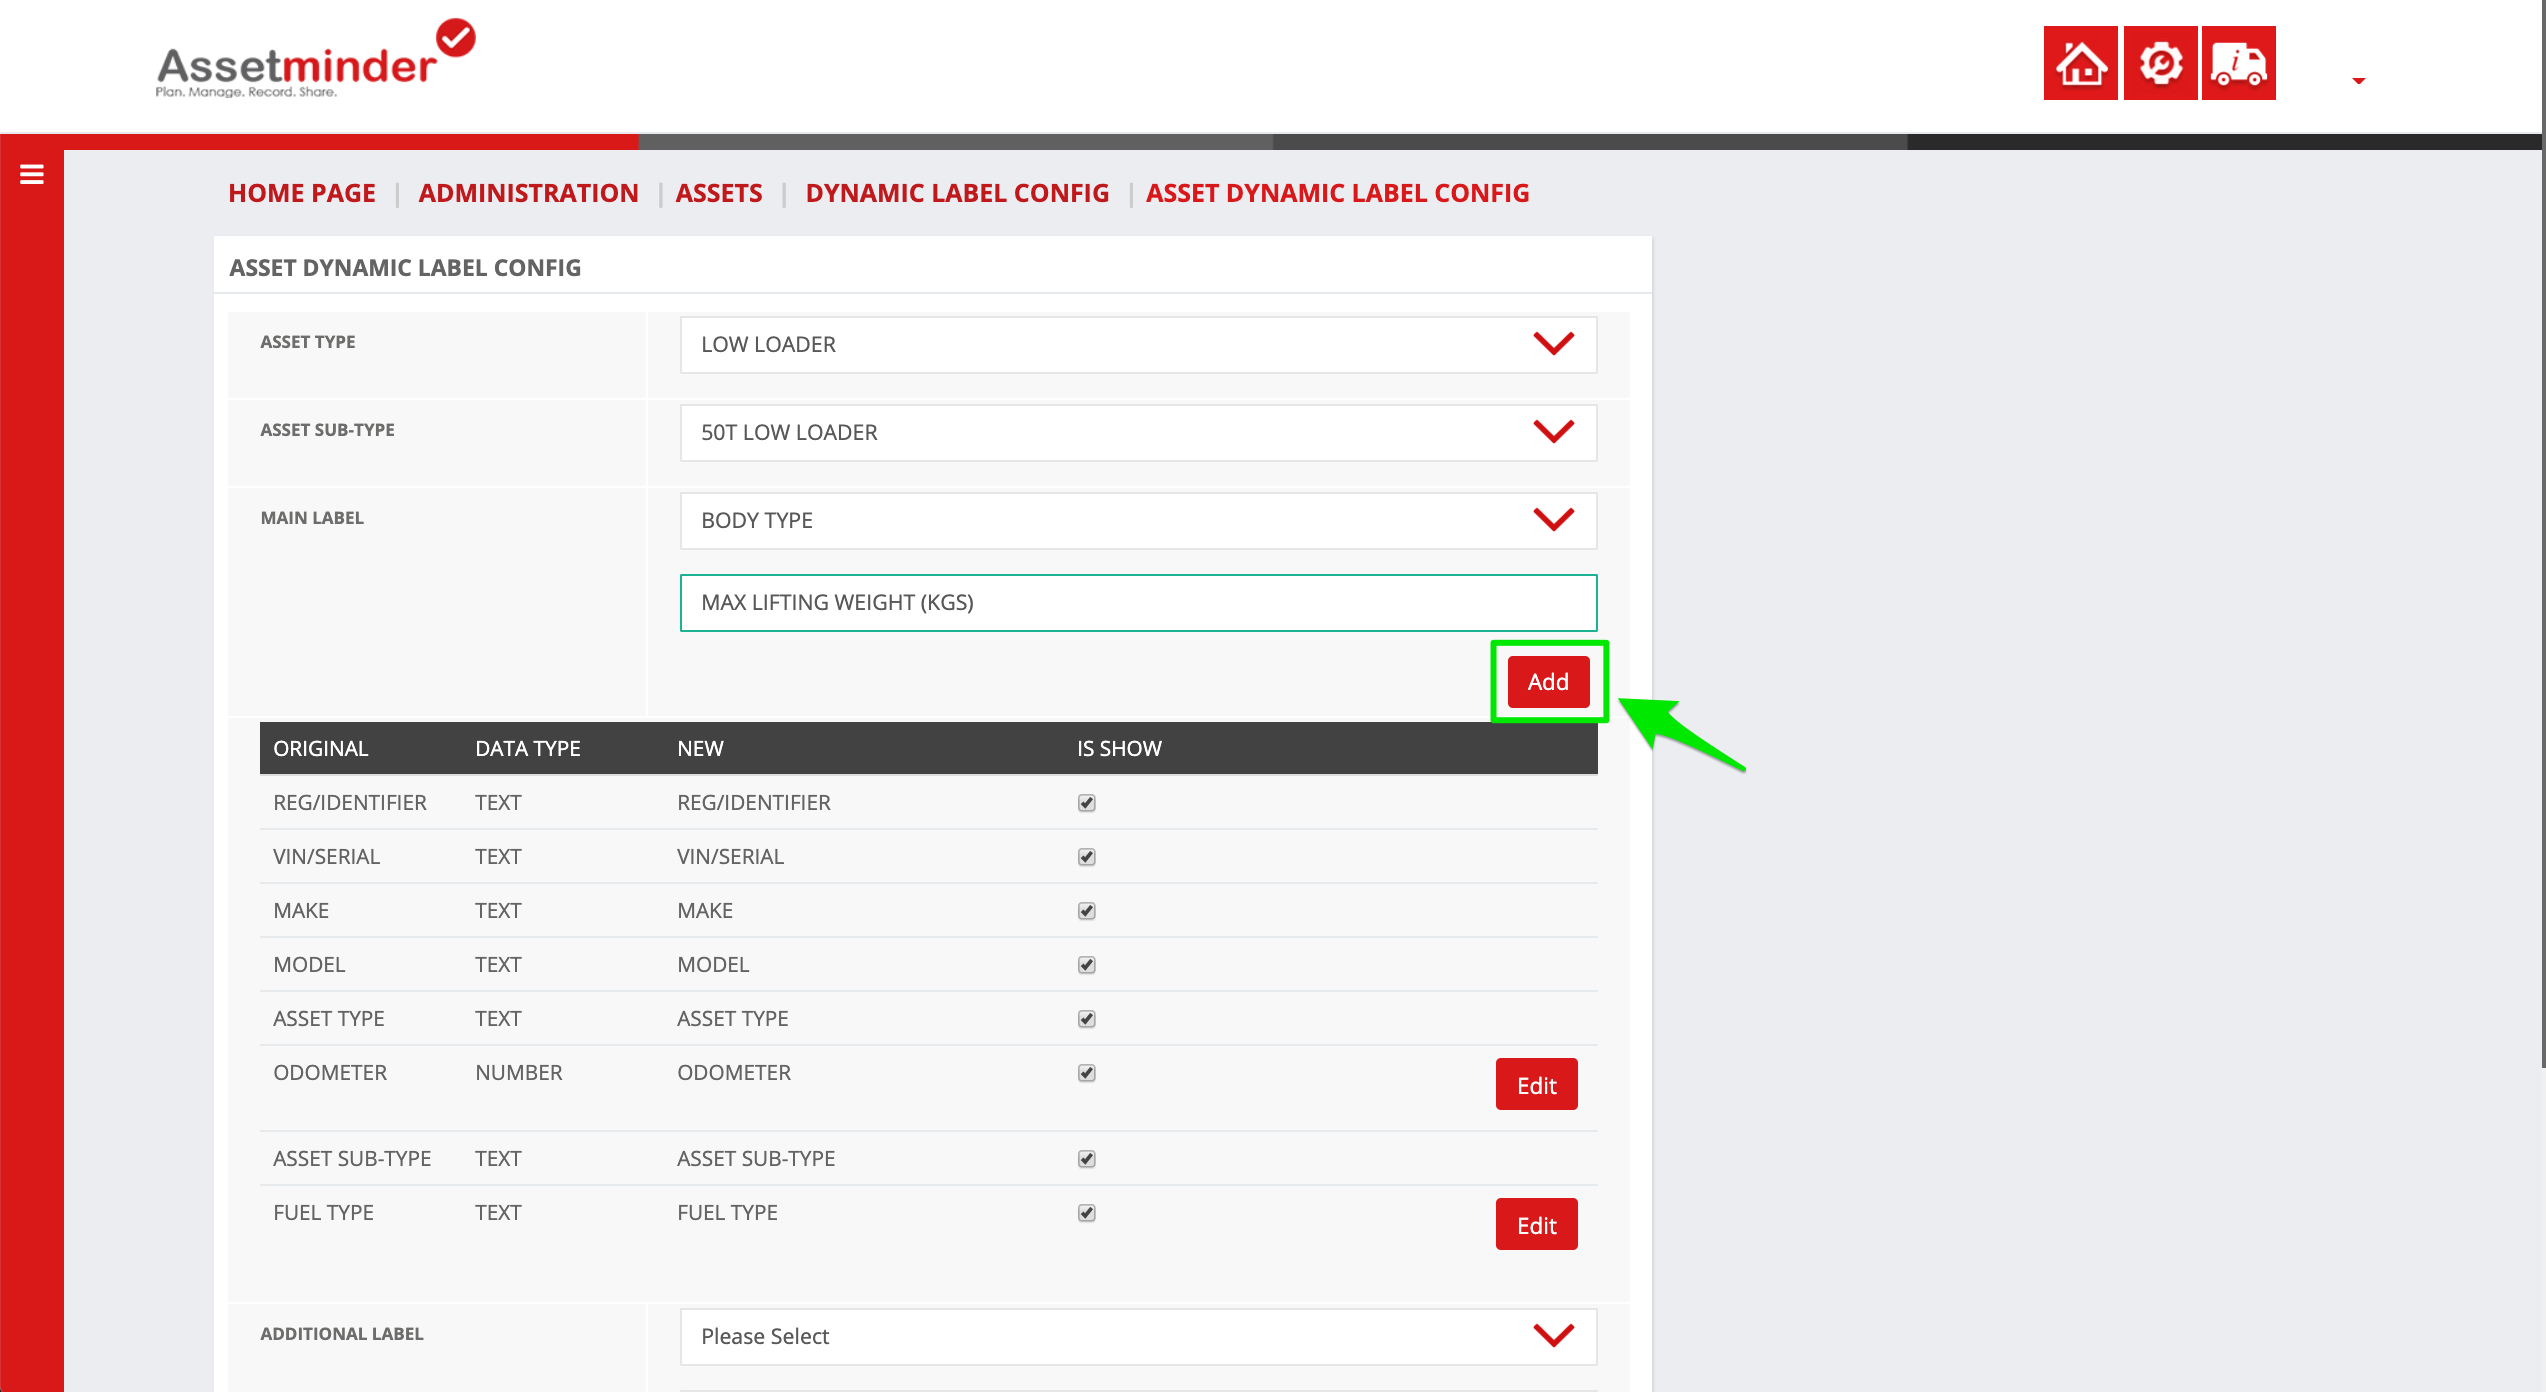
8. Click Add to add the field to the subtype asset record
9. Click Update at the bottom of the page for the changes to take effect
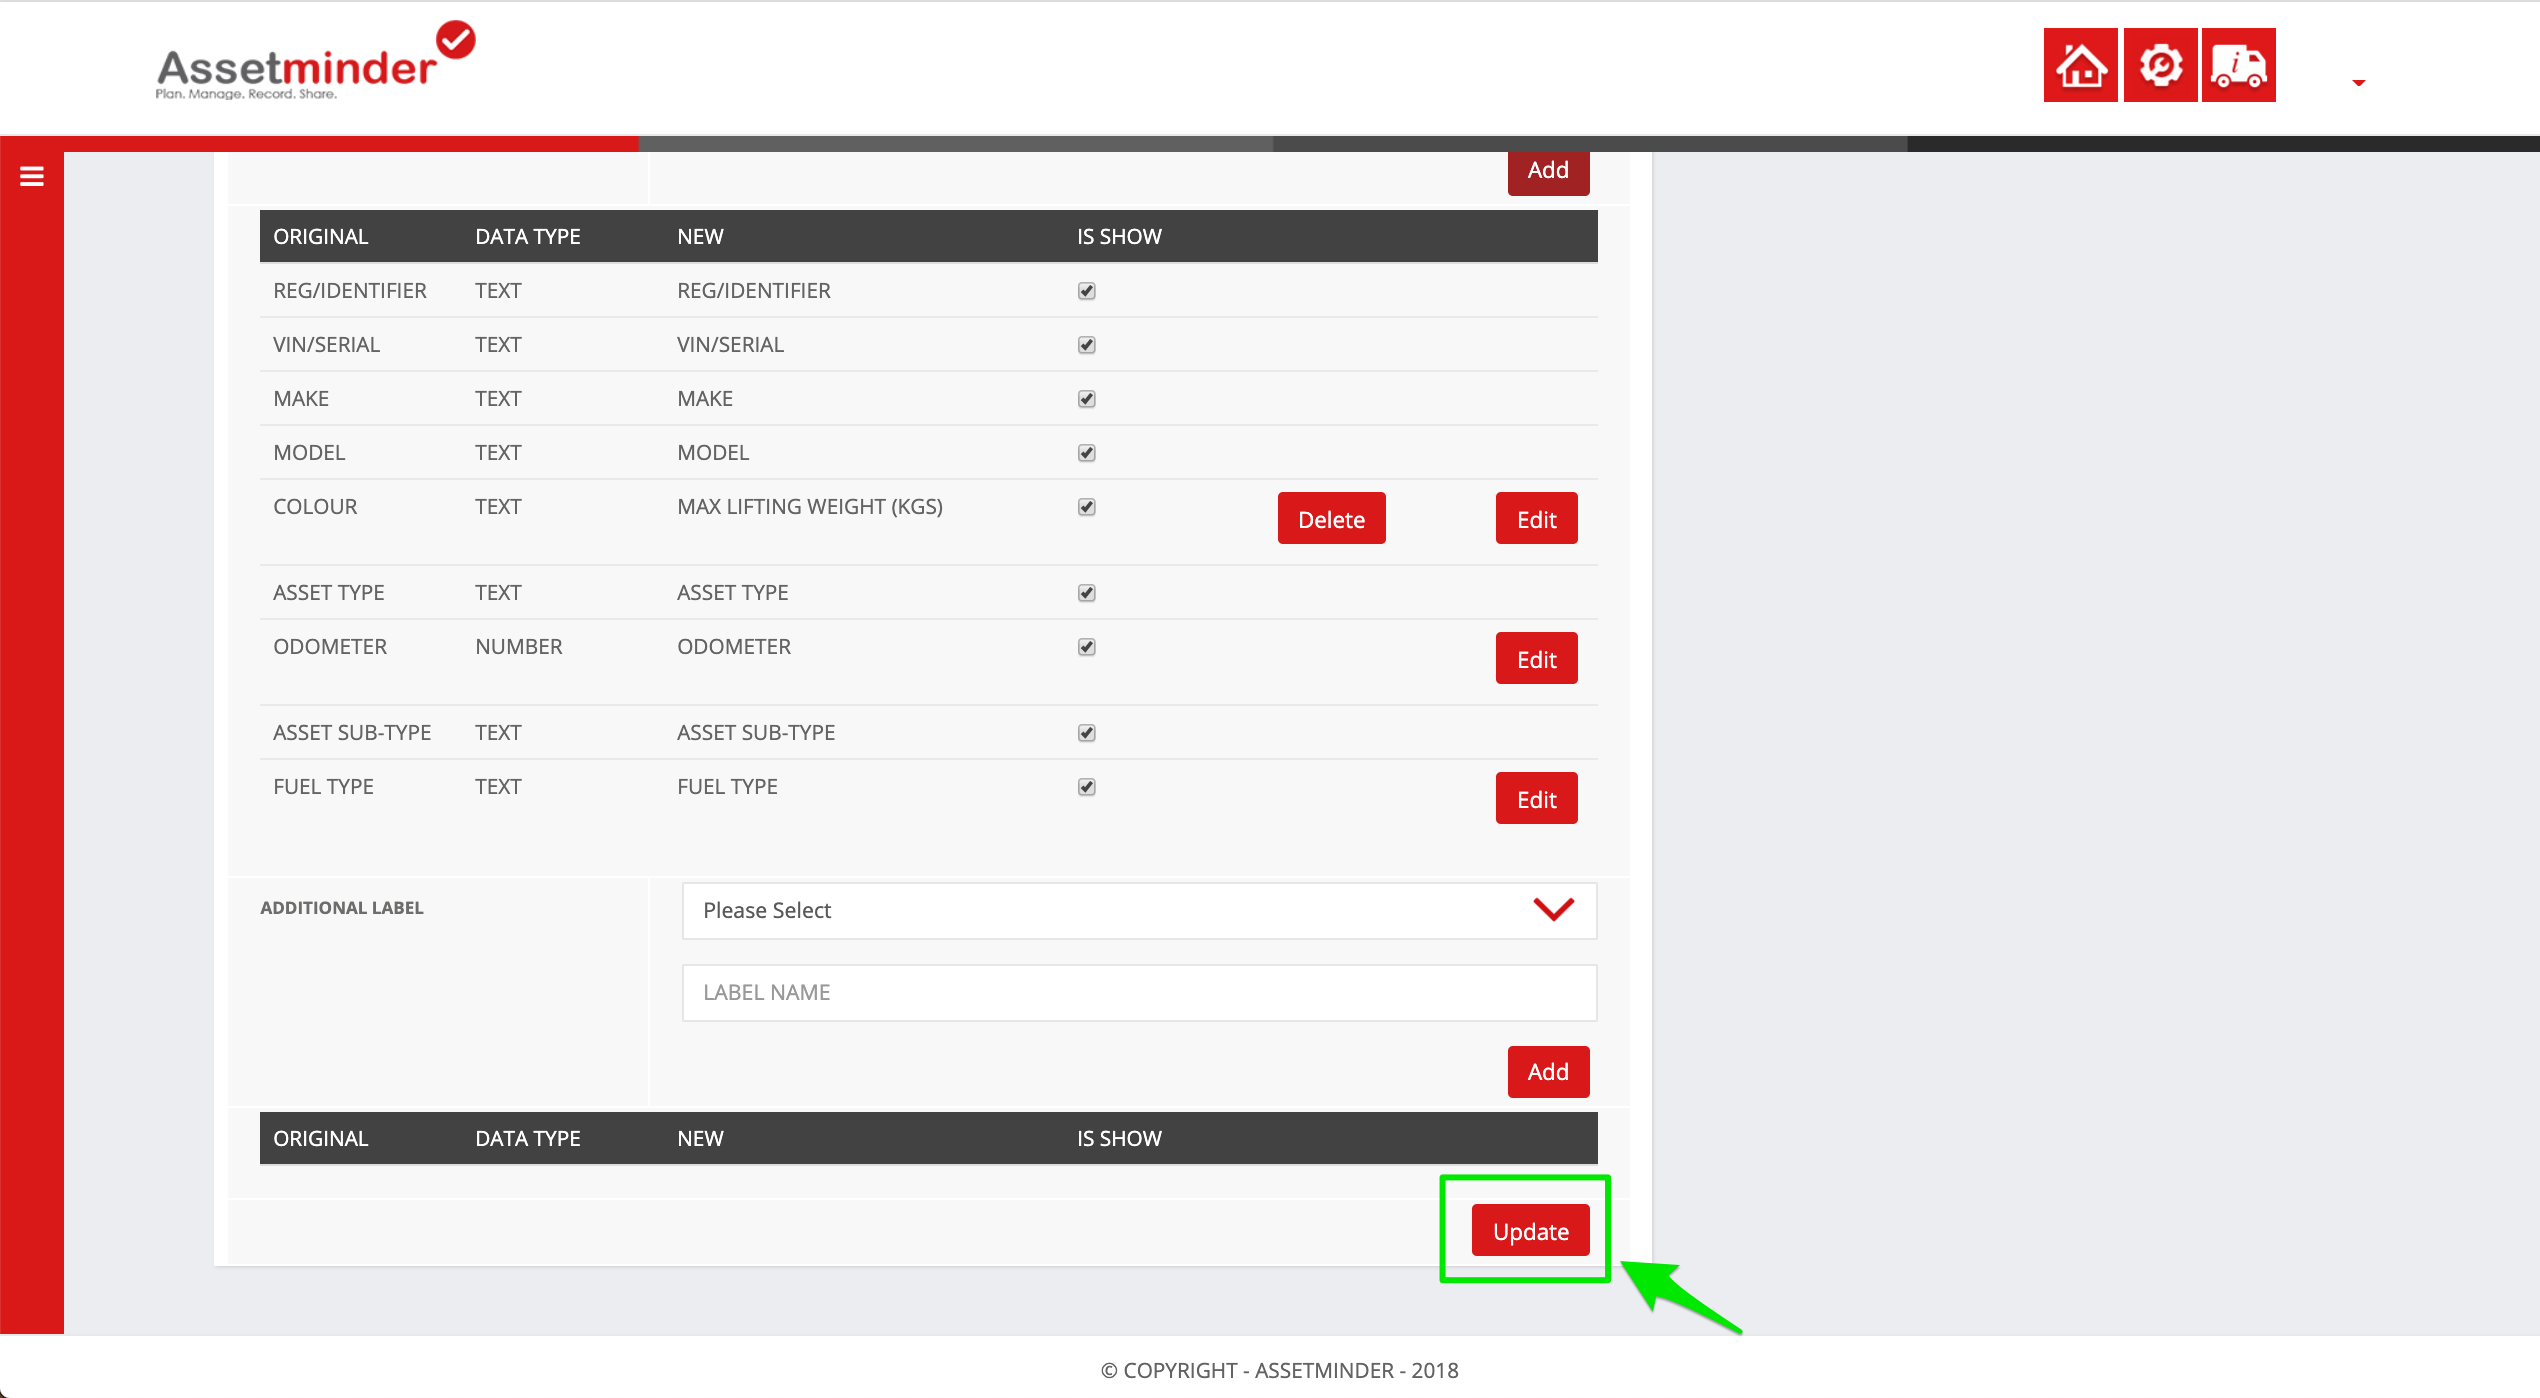
10. The field is now available on the subtype asset record

2. Reposition the Custom Field
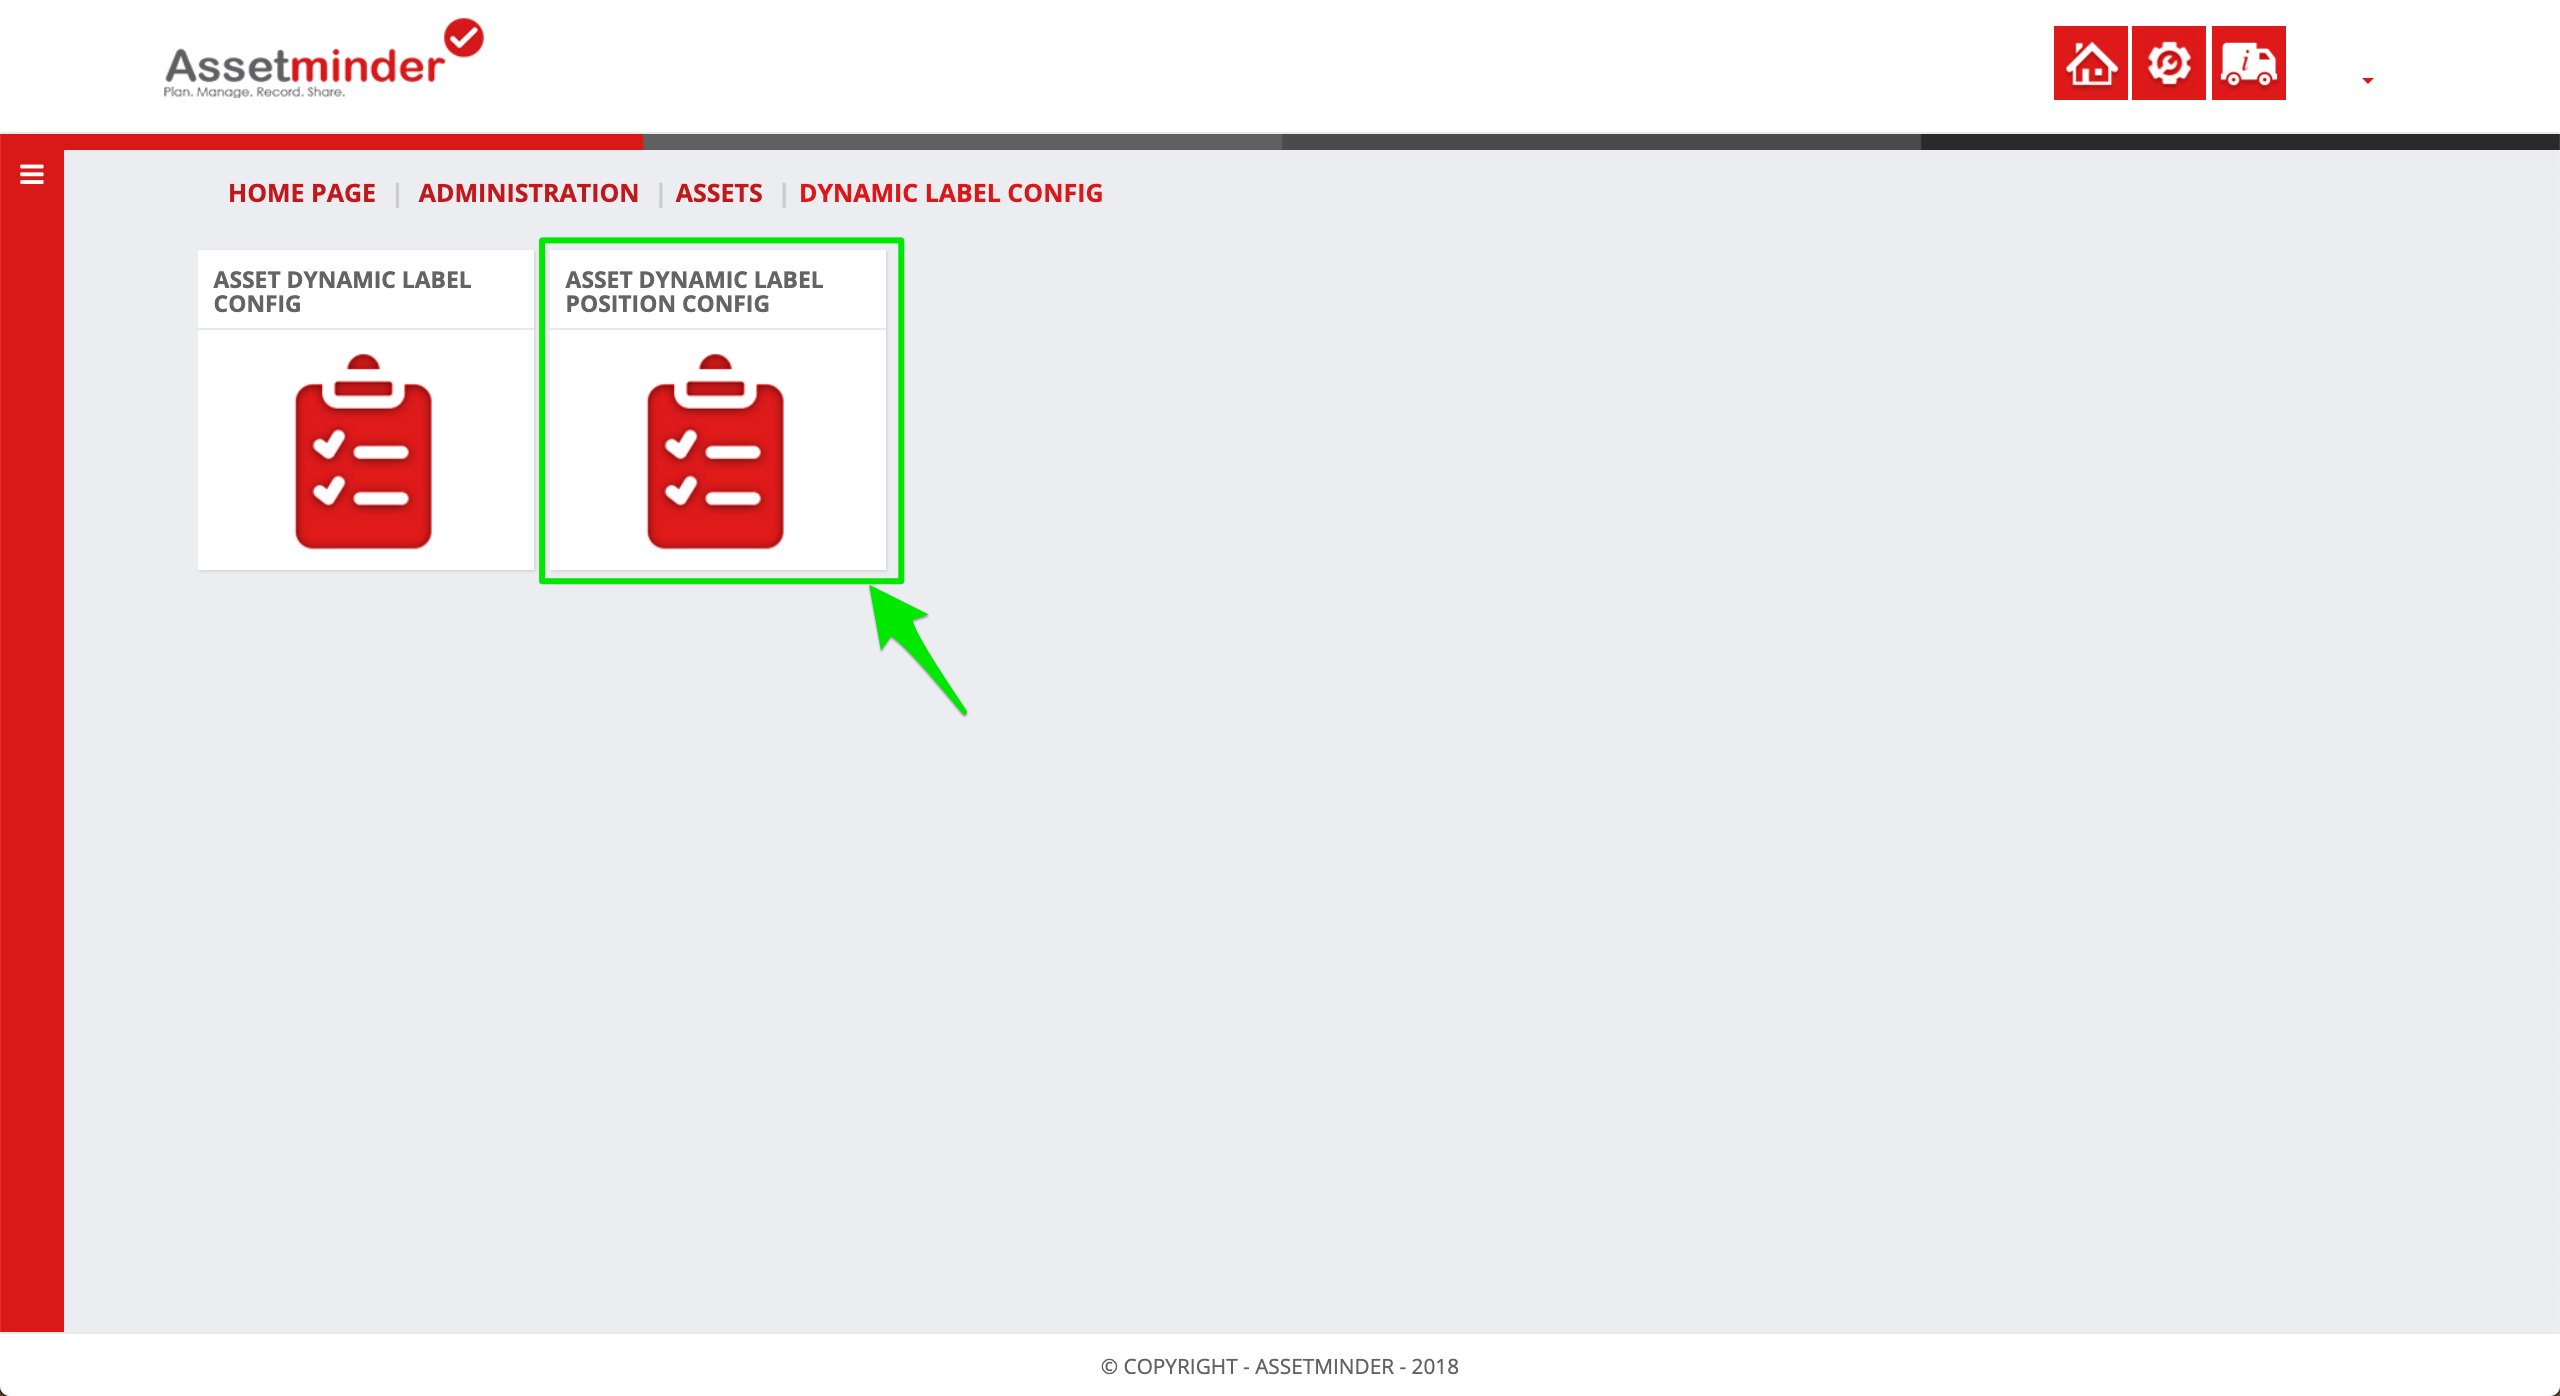
1. Navigate back to the Dynamic Label Config page by clicking the Dynamic Label Config breadcrumb
2. Click Asset Dynamic Label Position Configuration
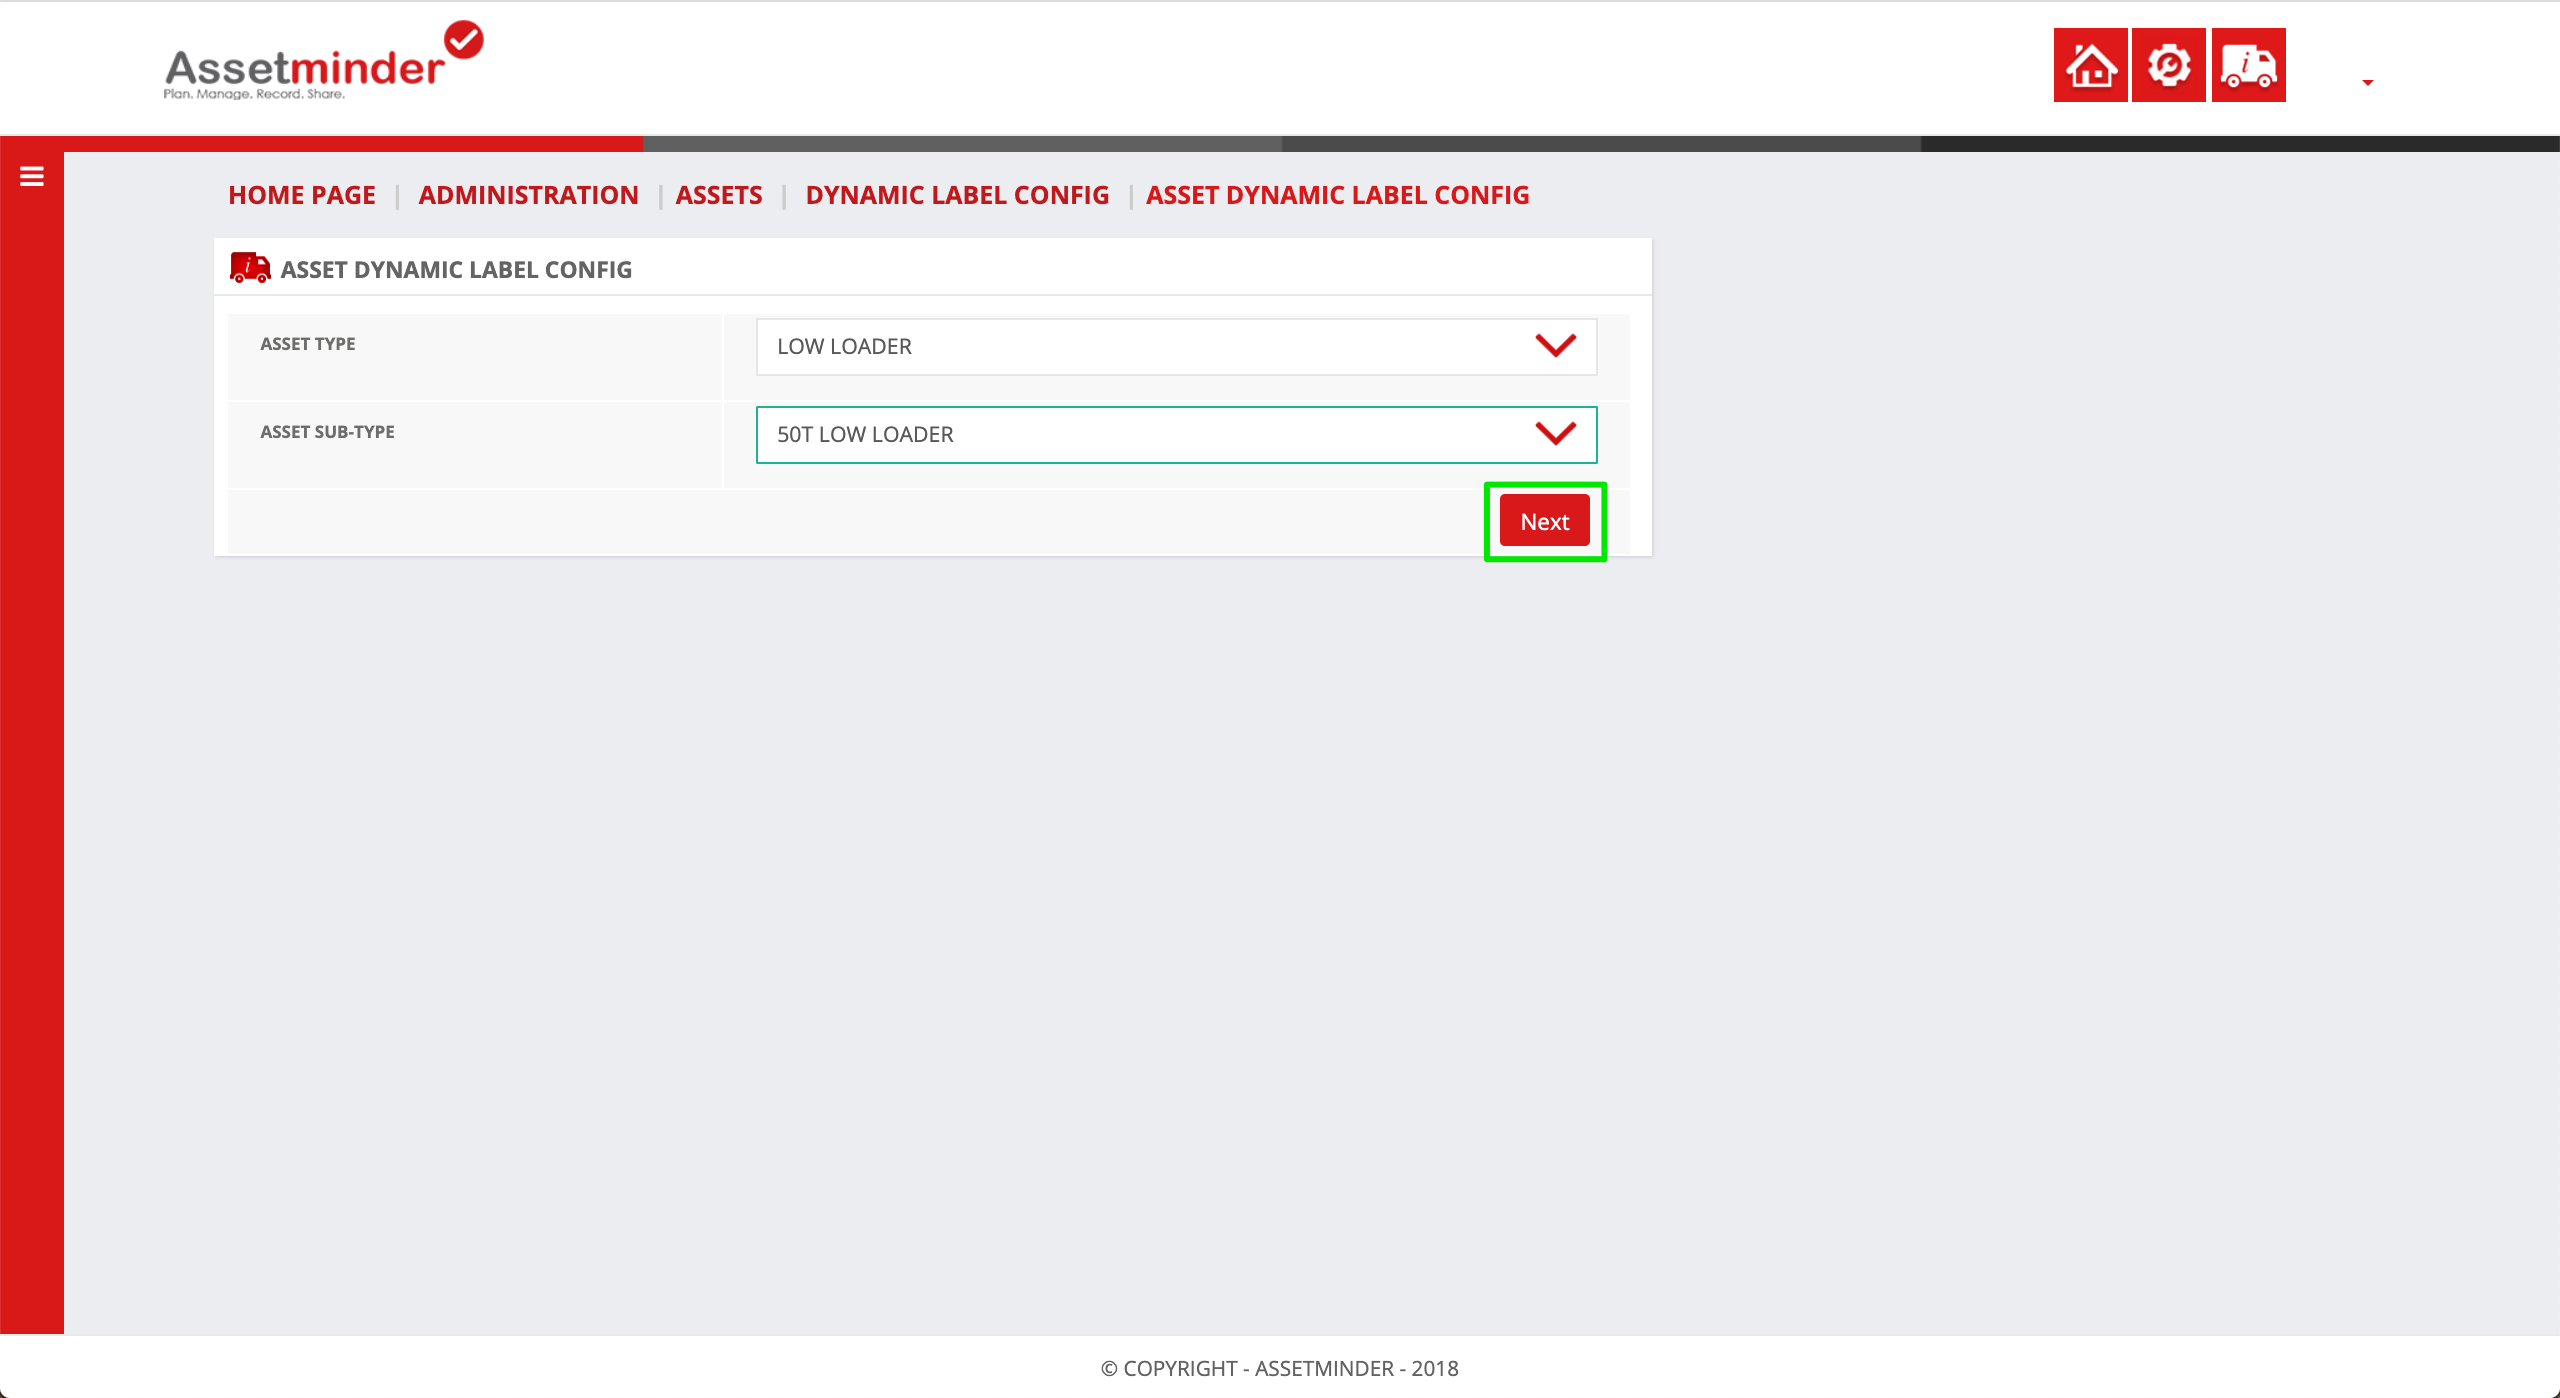
3. Select the required asset type and subtype from the dropdown lists. Click Next
4. Asset fields are assigned to a slot on the asset record. When moving fields, you are simply reassigning the slot to another custom field.
Note:- if a field does not show up on the asset record, it may not be assigned to the asset subtype, or it may not be active.
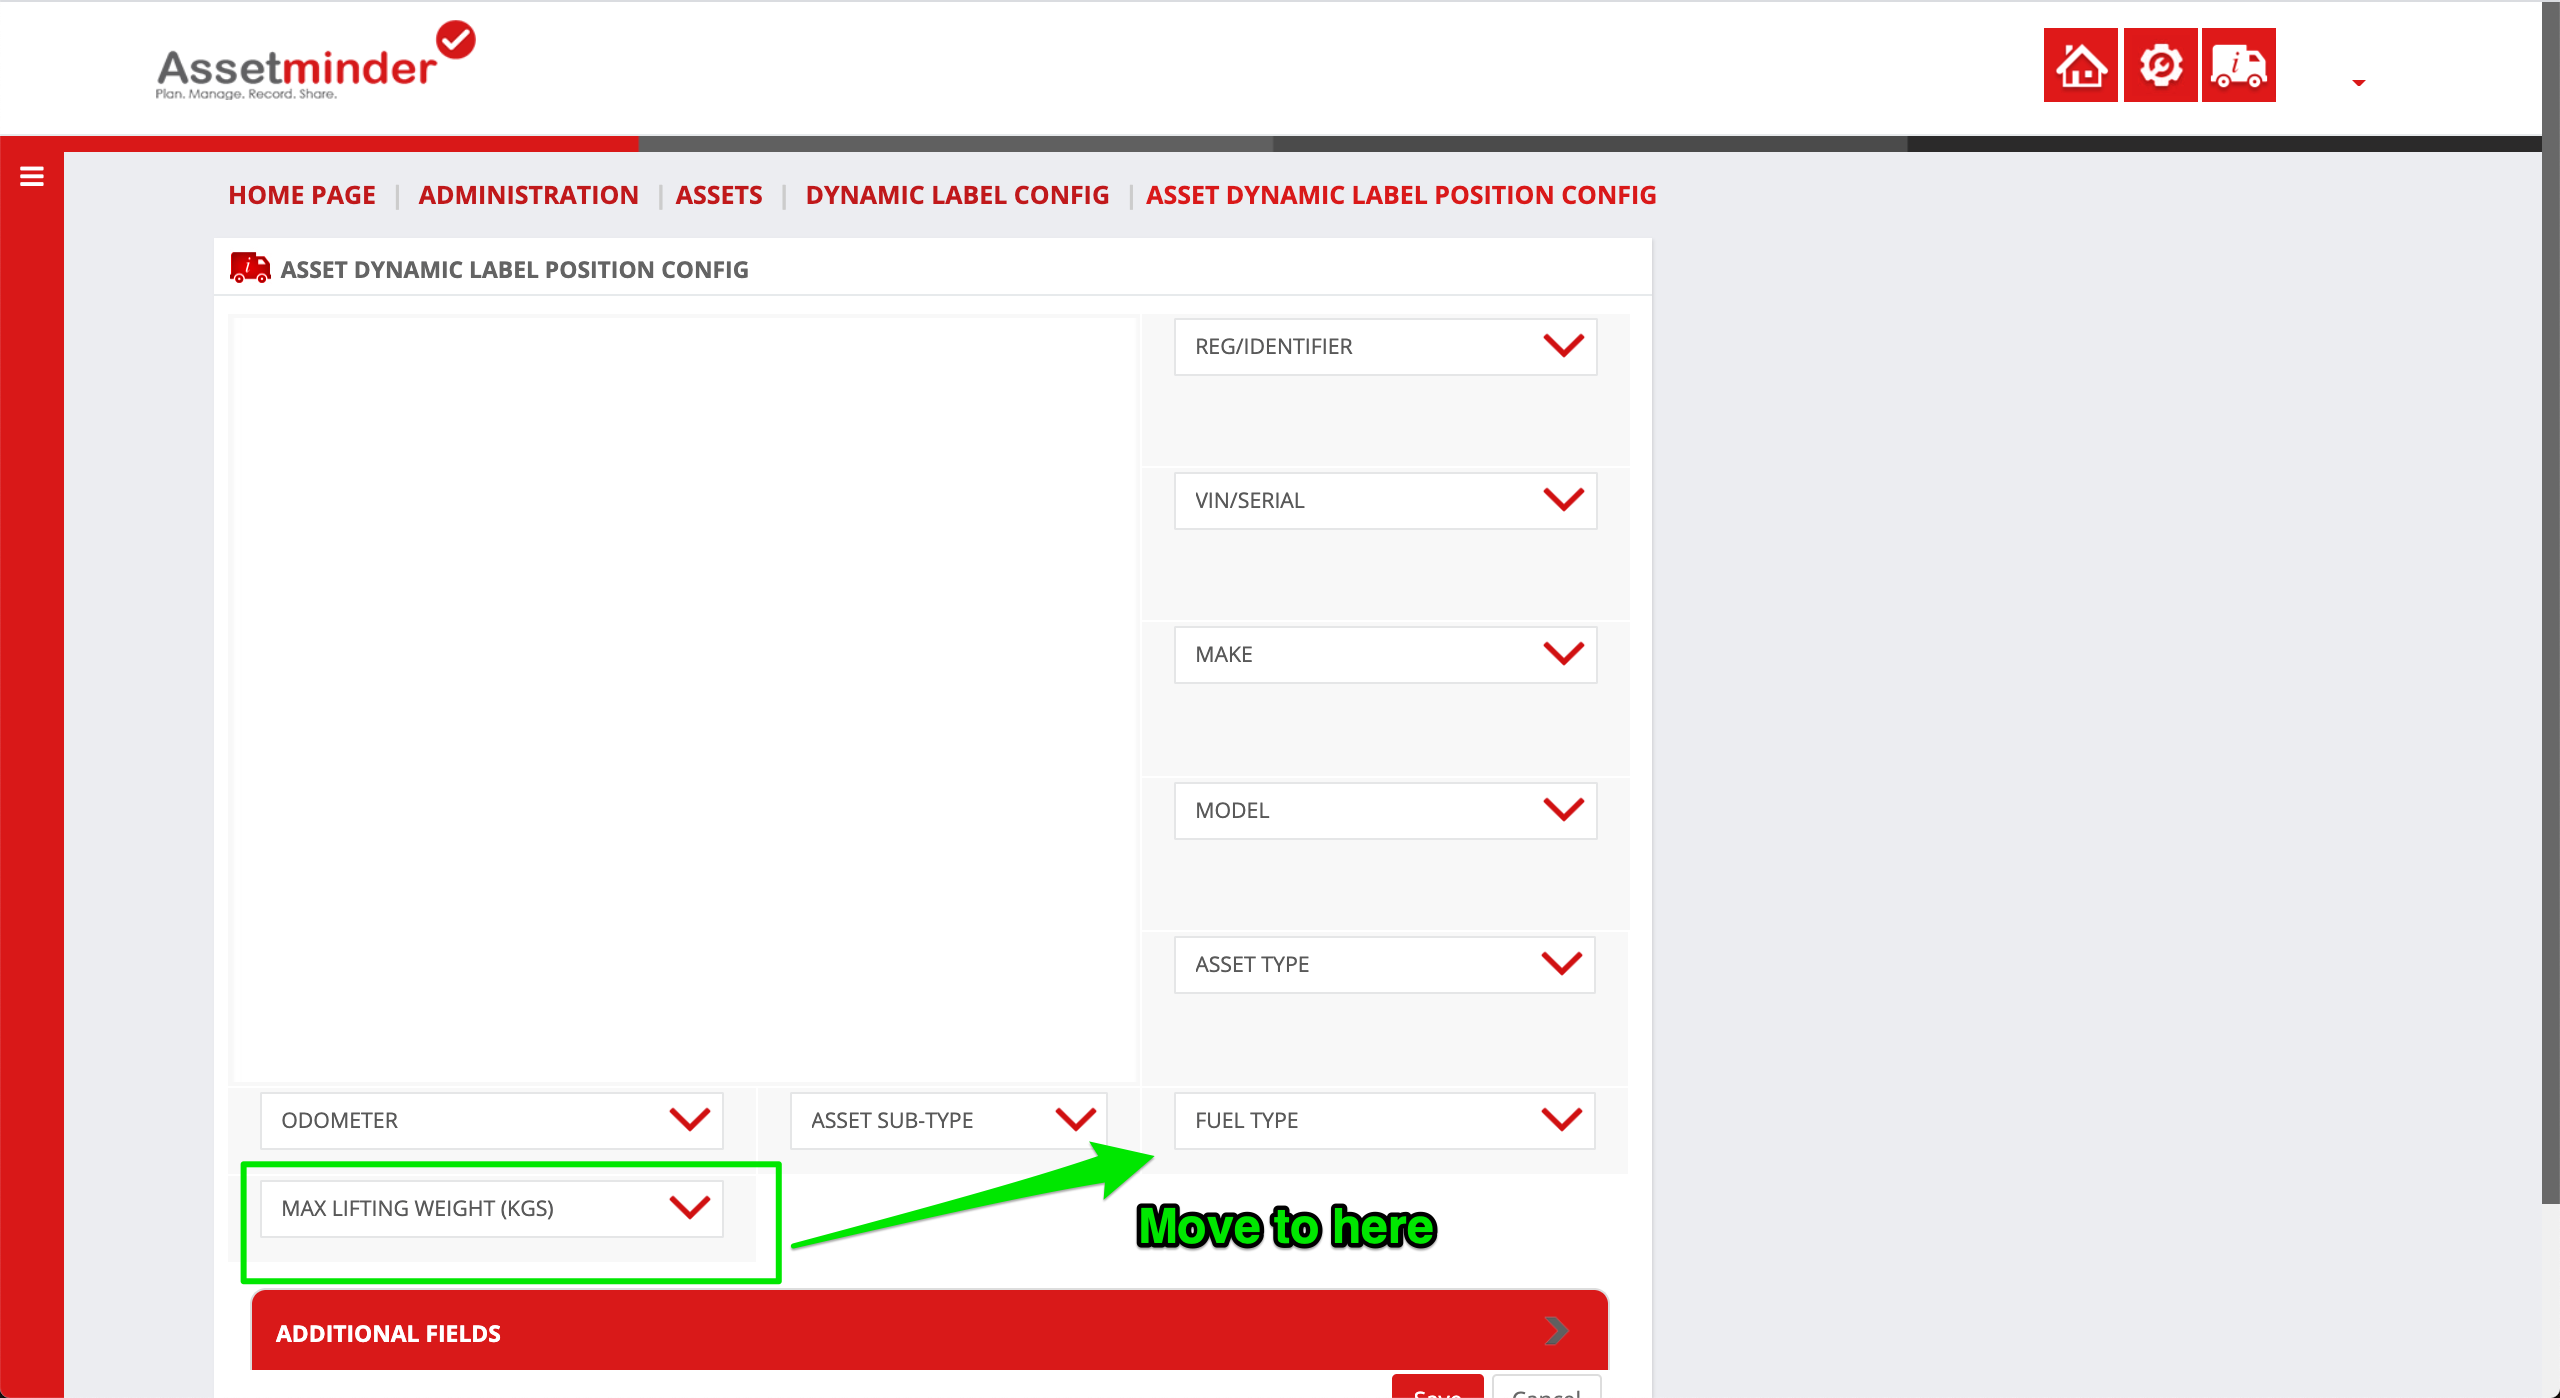
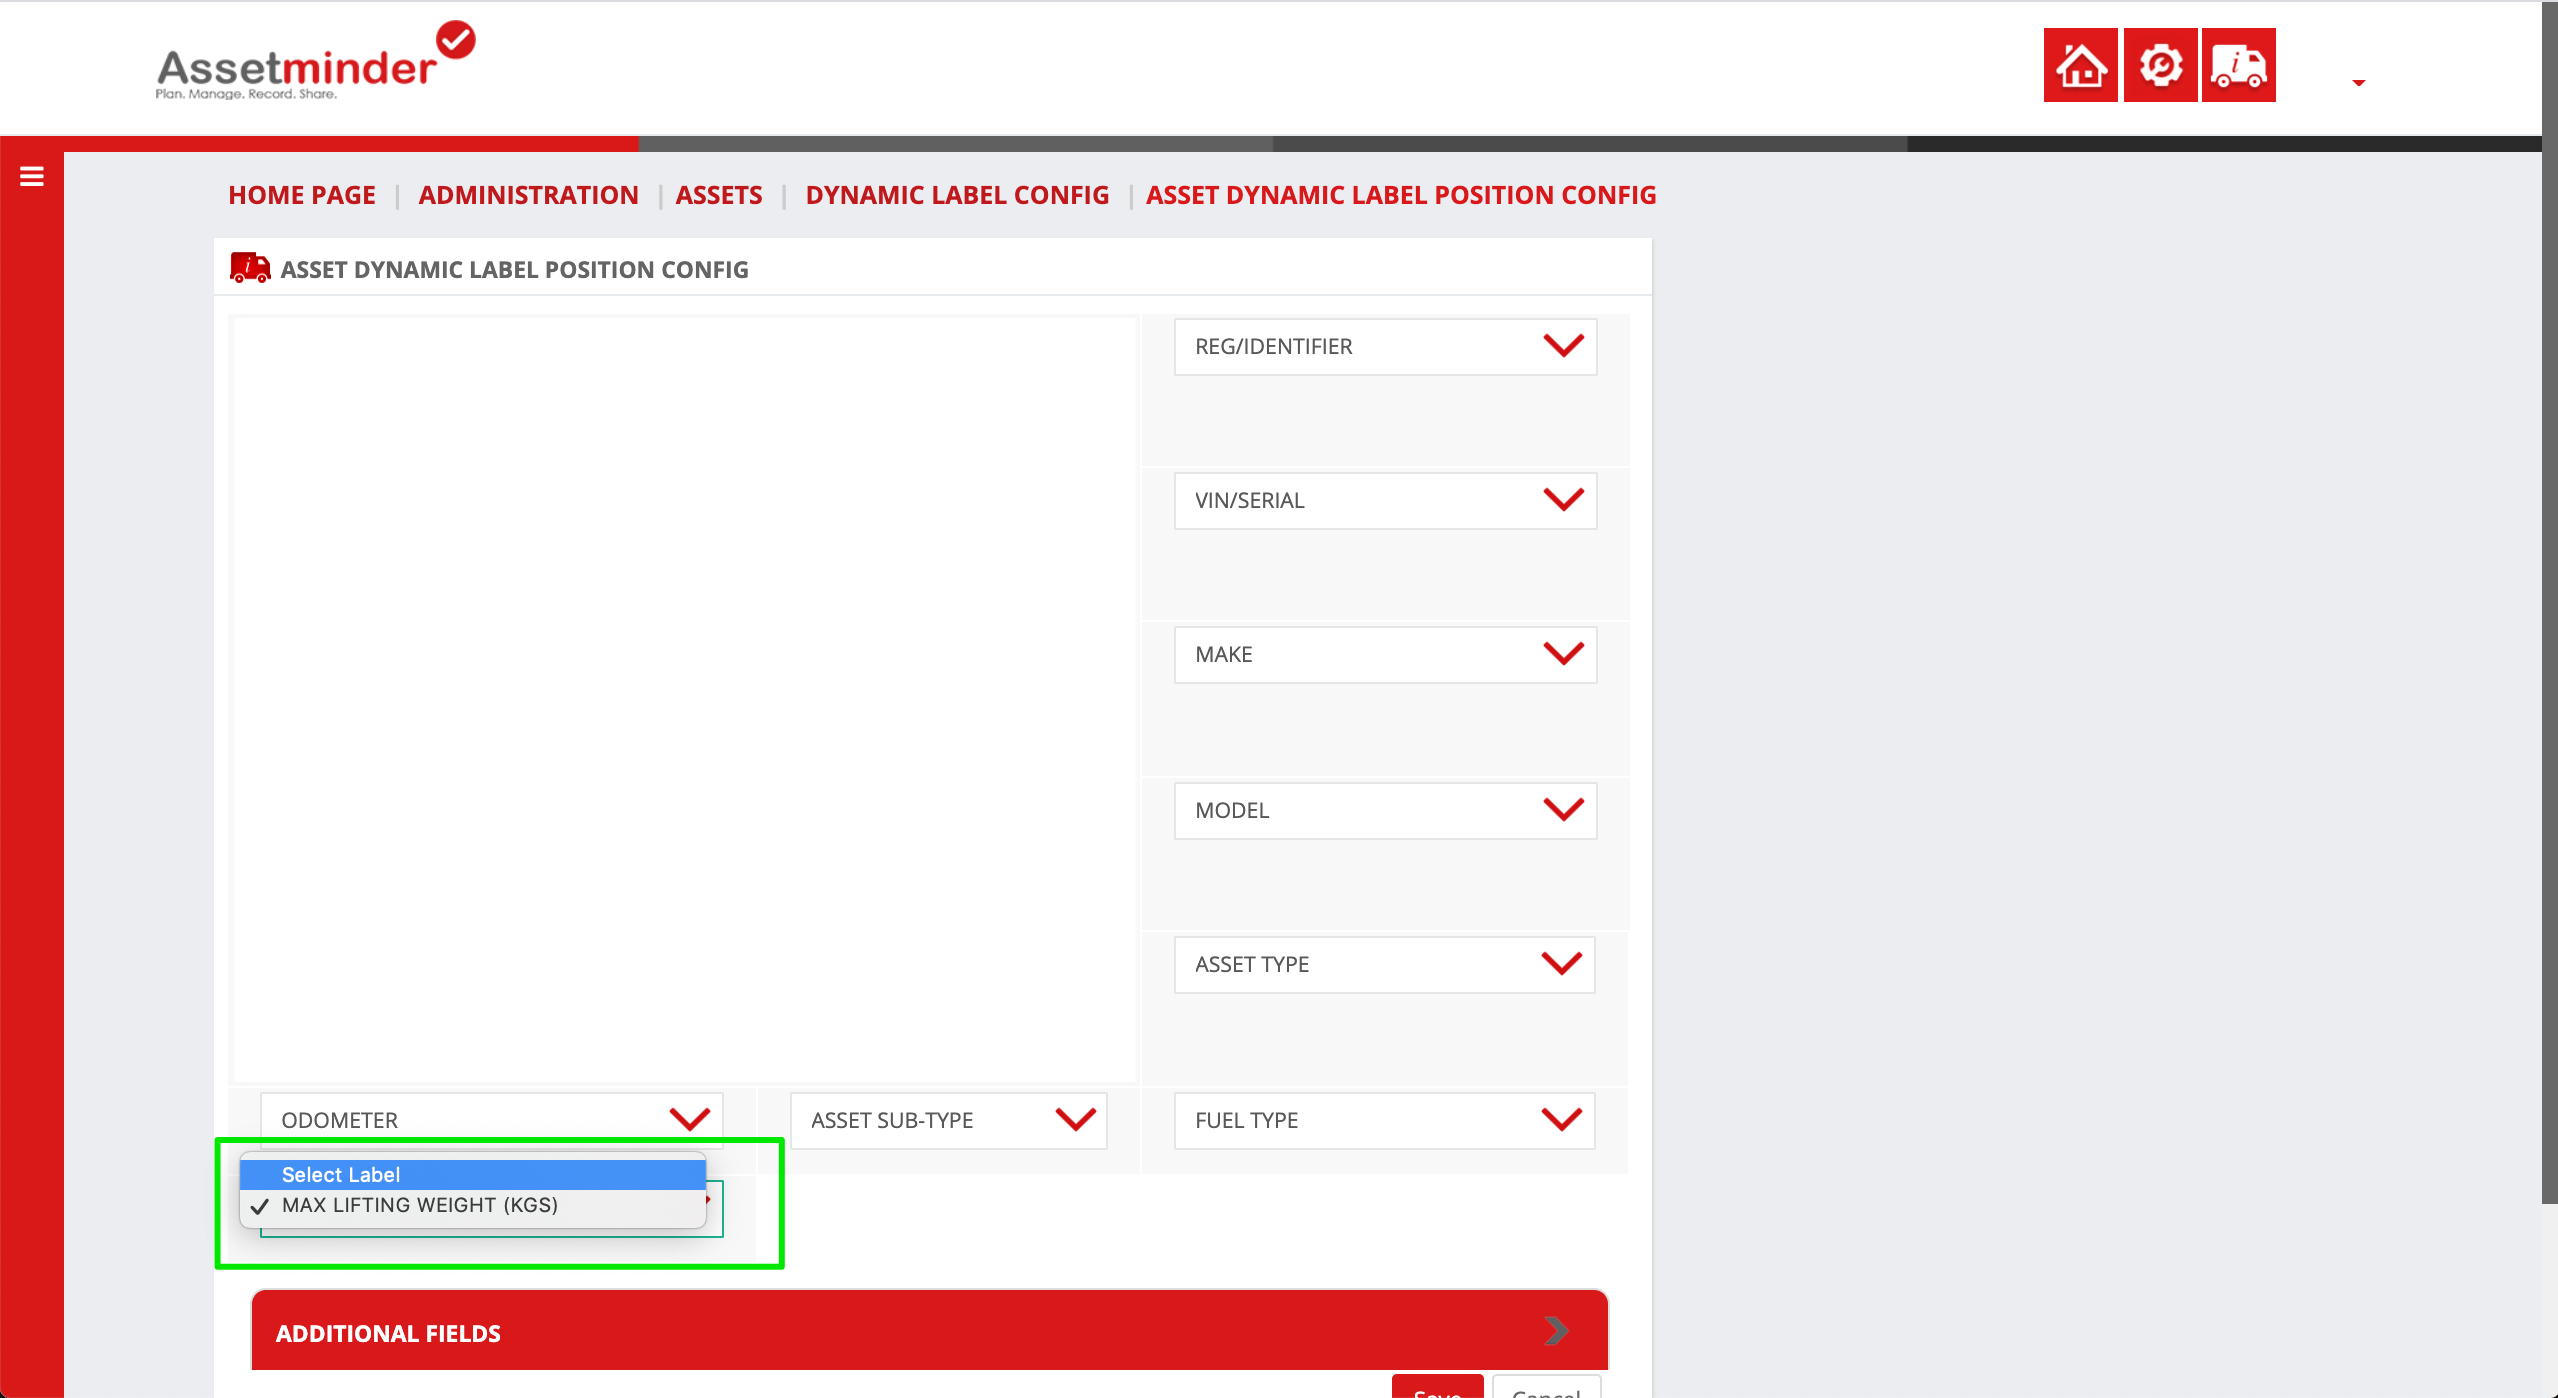
5. Select the field you want to move and disassociate it from that slot by selecting the Select Label option from the dropdown.
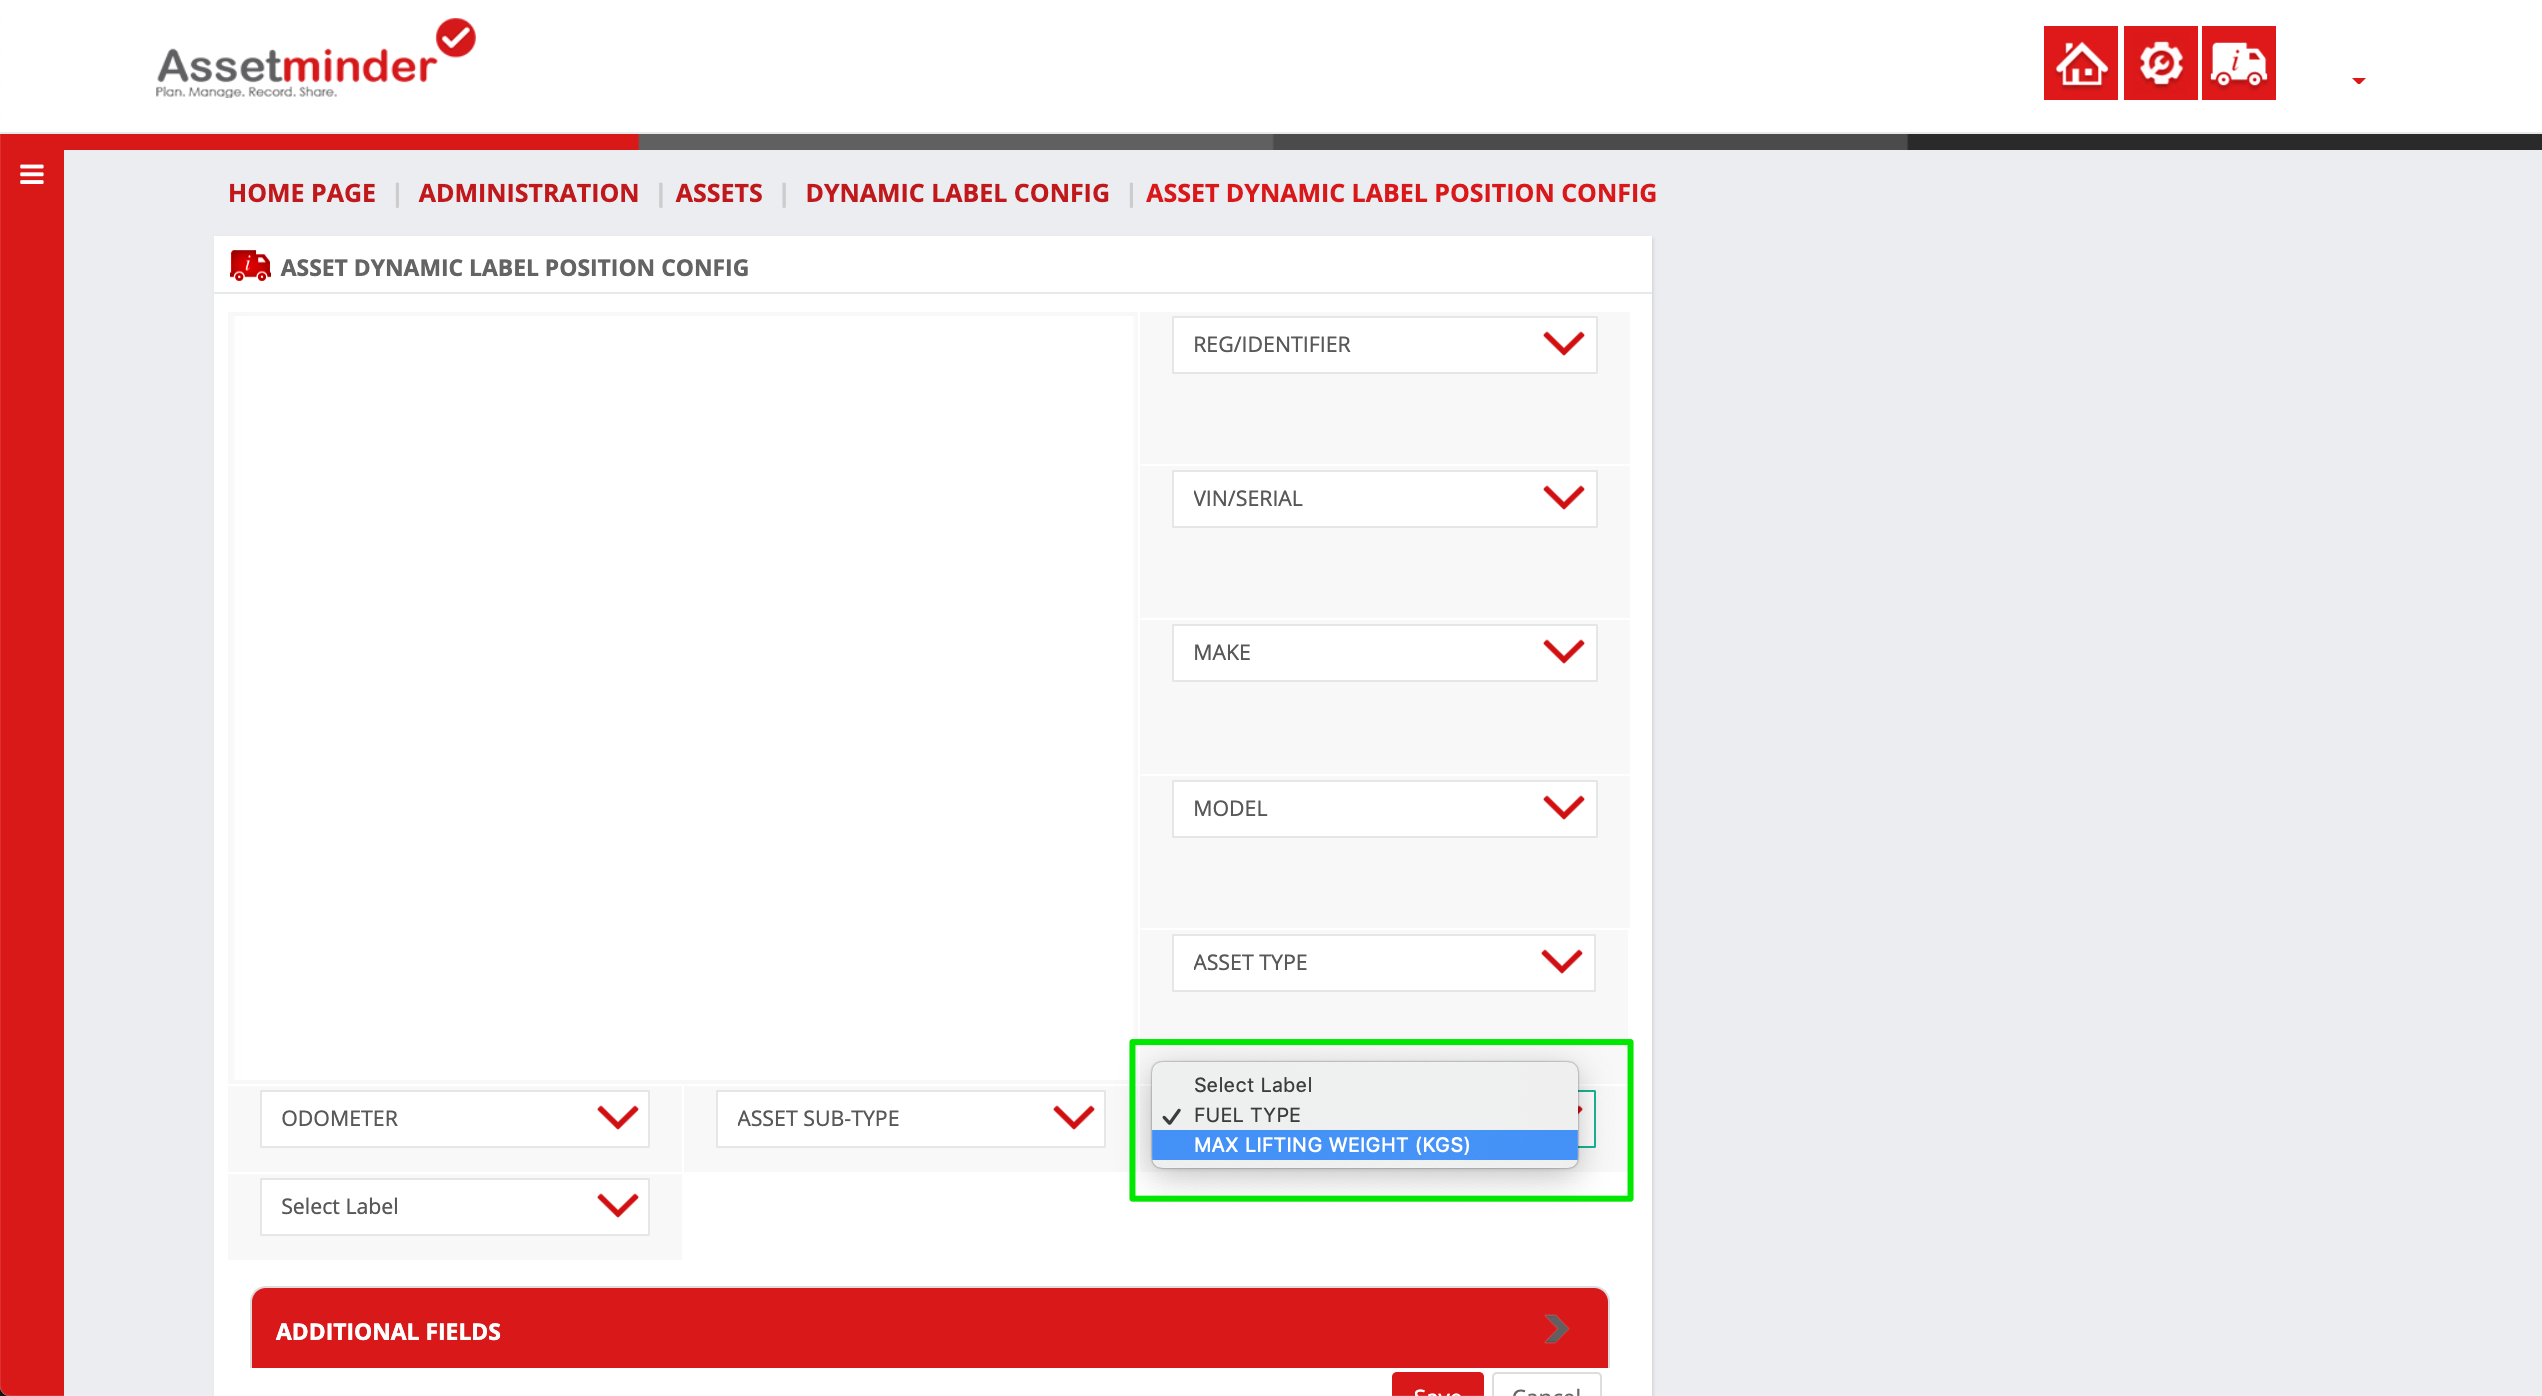
6. Select the new location for the custom field, and select the custom field from the dropdown
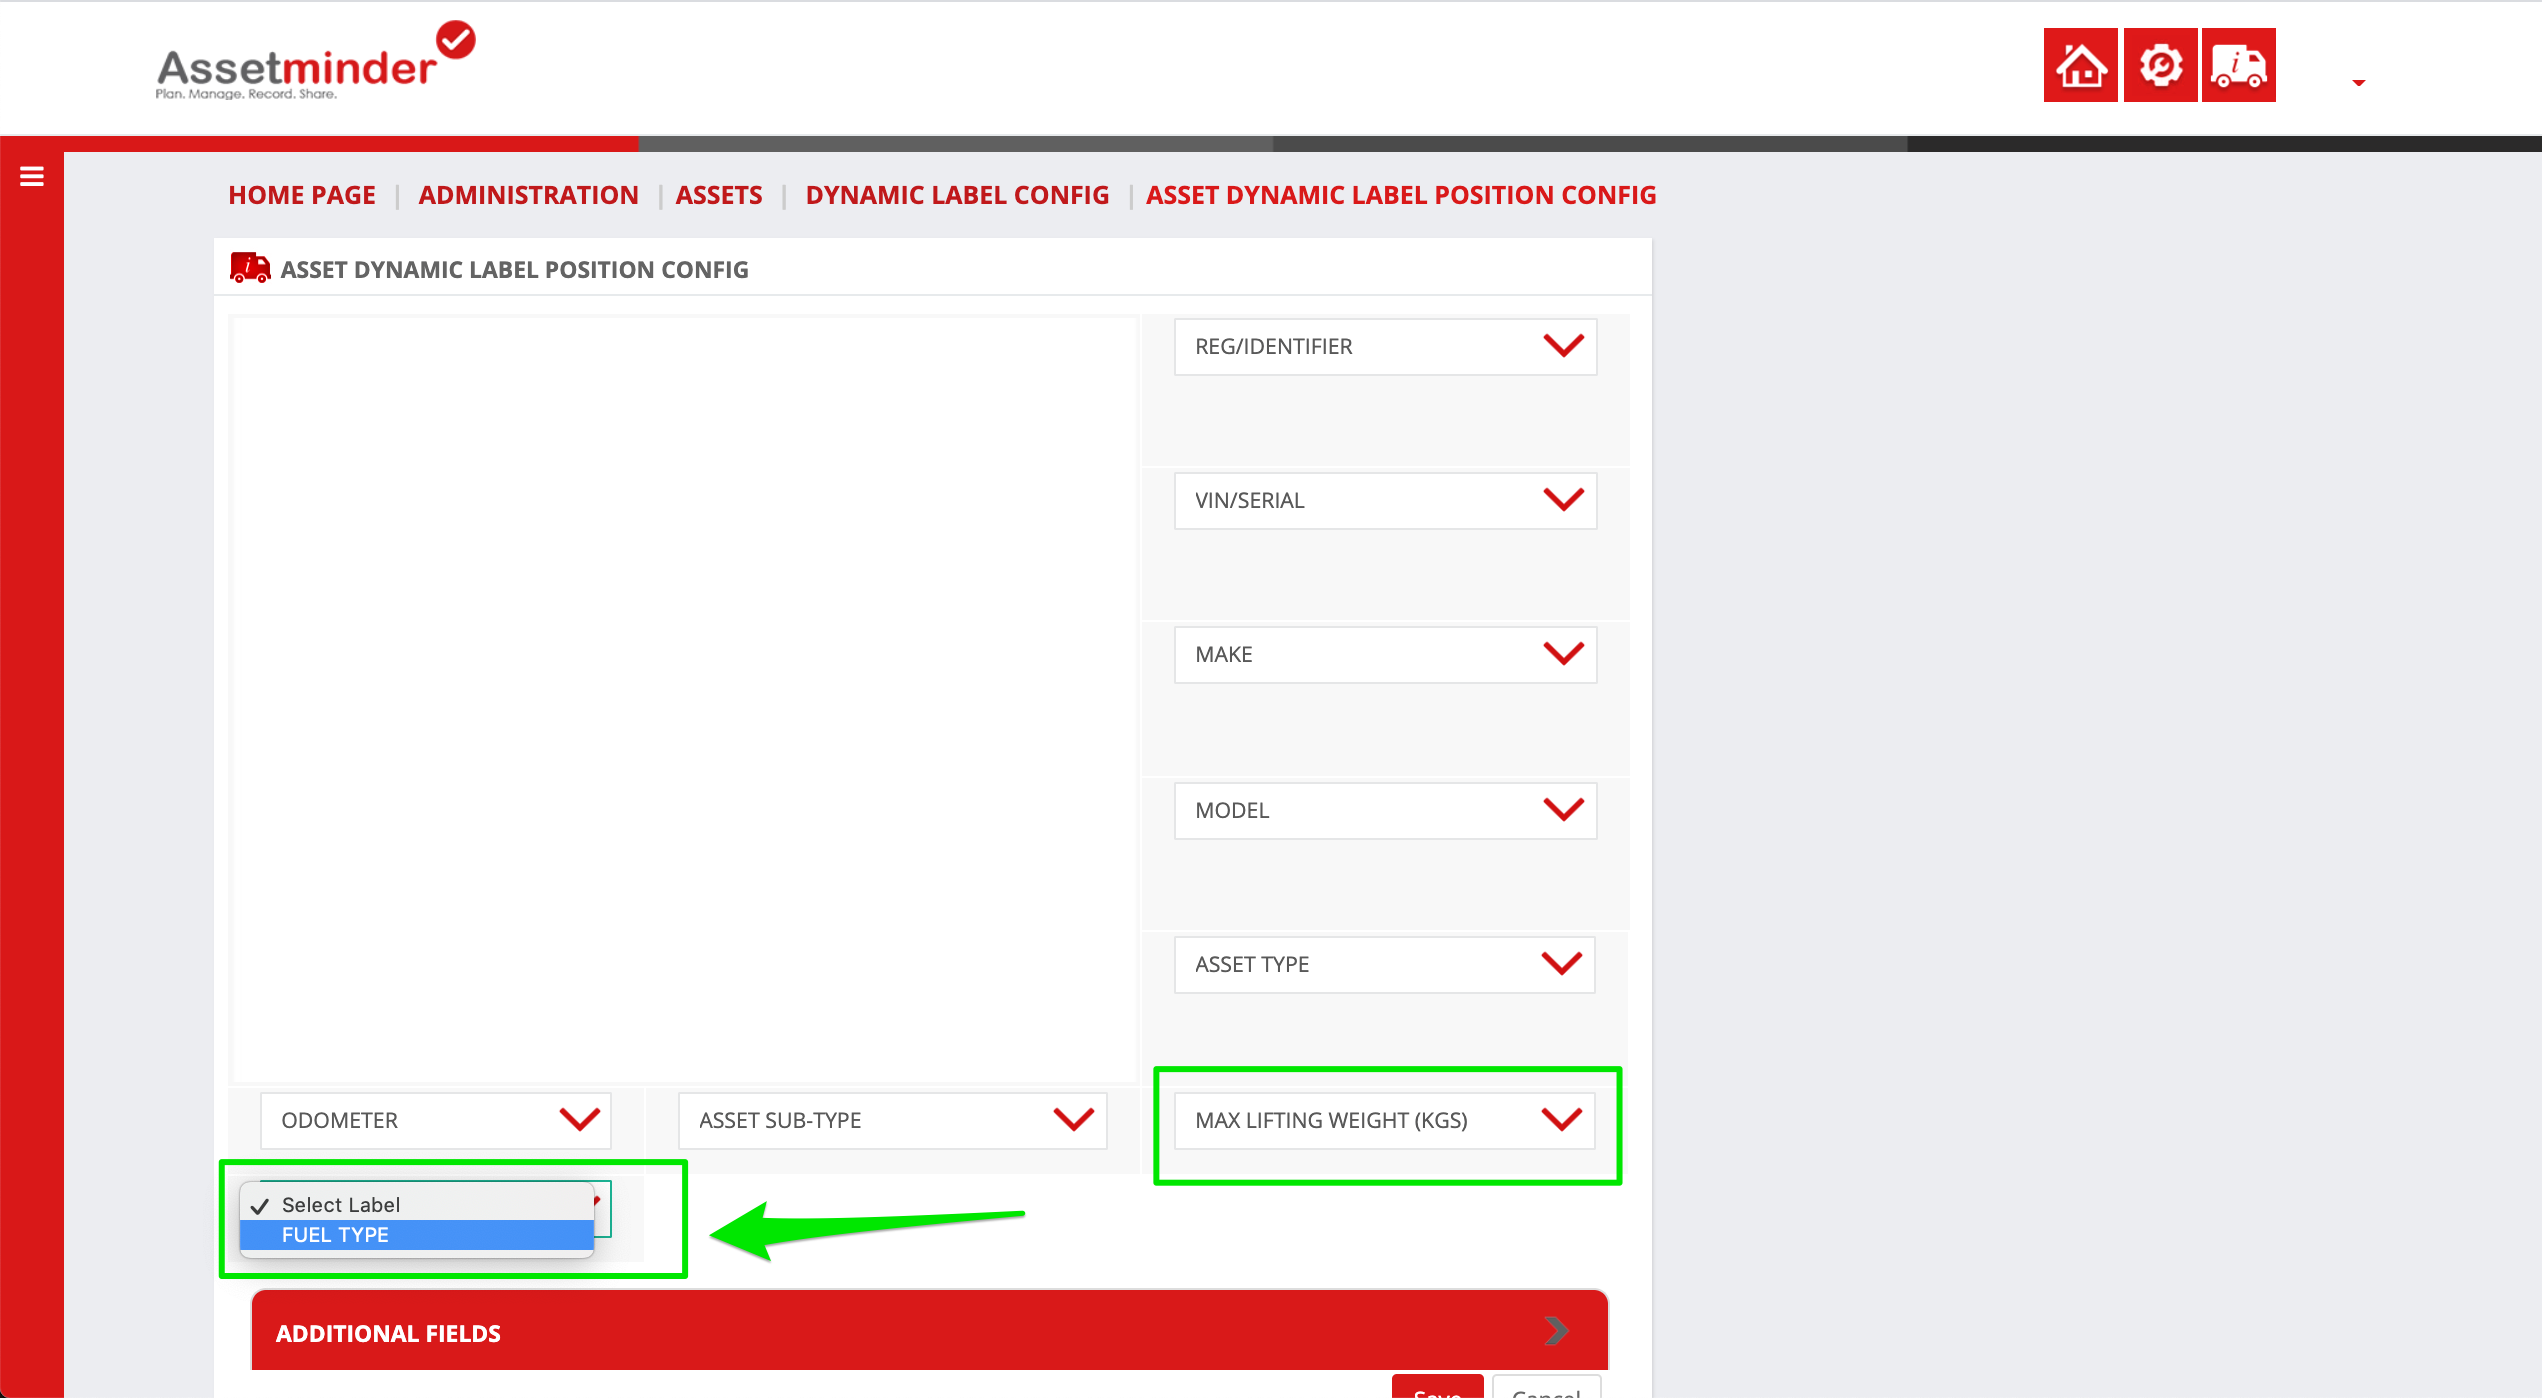
7. The custom field is now associated with the new location on the asset record. Repeat the process for the bumped field.
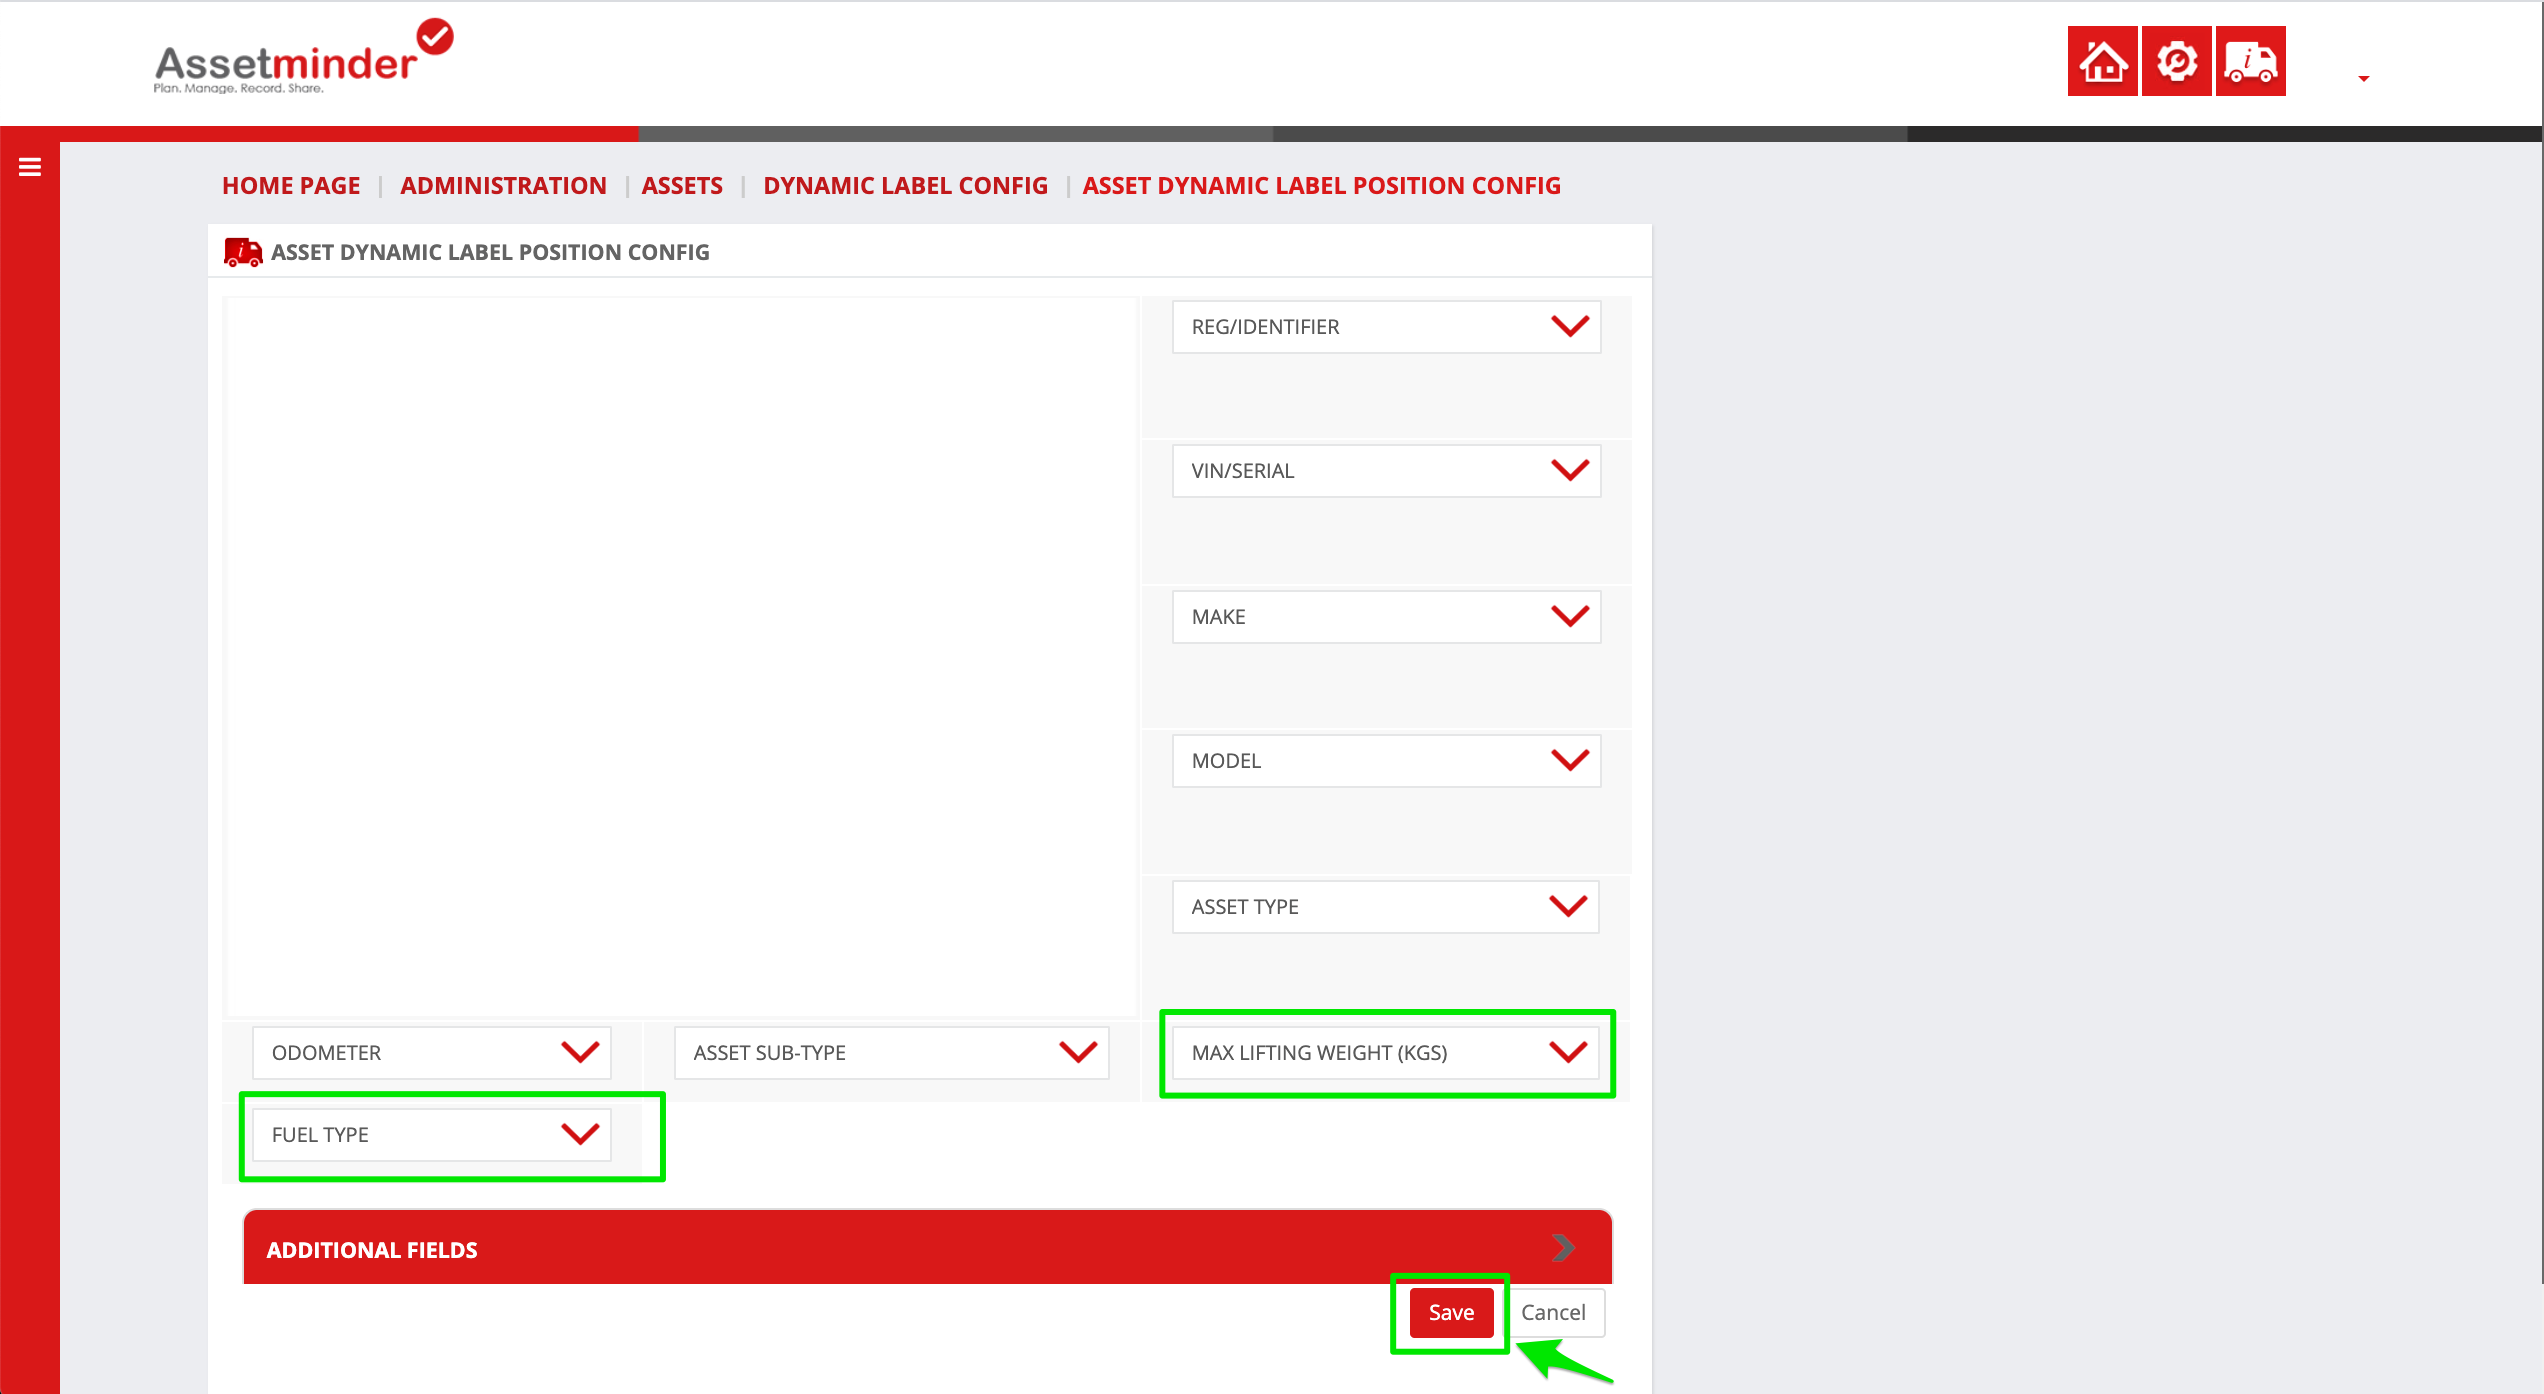
8. The field swap is now complete. Click Save to lock in the new positions.
9. Repeat this process as needed for all custom fields.
Conor Gibson
Comments