Most new, rebuilt, or remanufactured assets come with some form of manuracturer's or supplier's warranty to protect against defects or failures. It could also be possible to pay for an extended warranty. This procedure is made up of 2 sections:
- Add the new warranty type
- Assign the warranty type to the asset subtype
1. Add the new warranty type
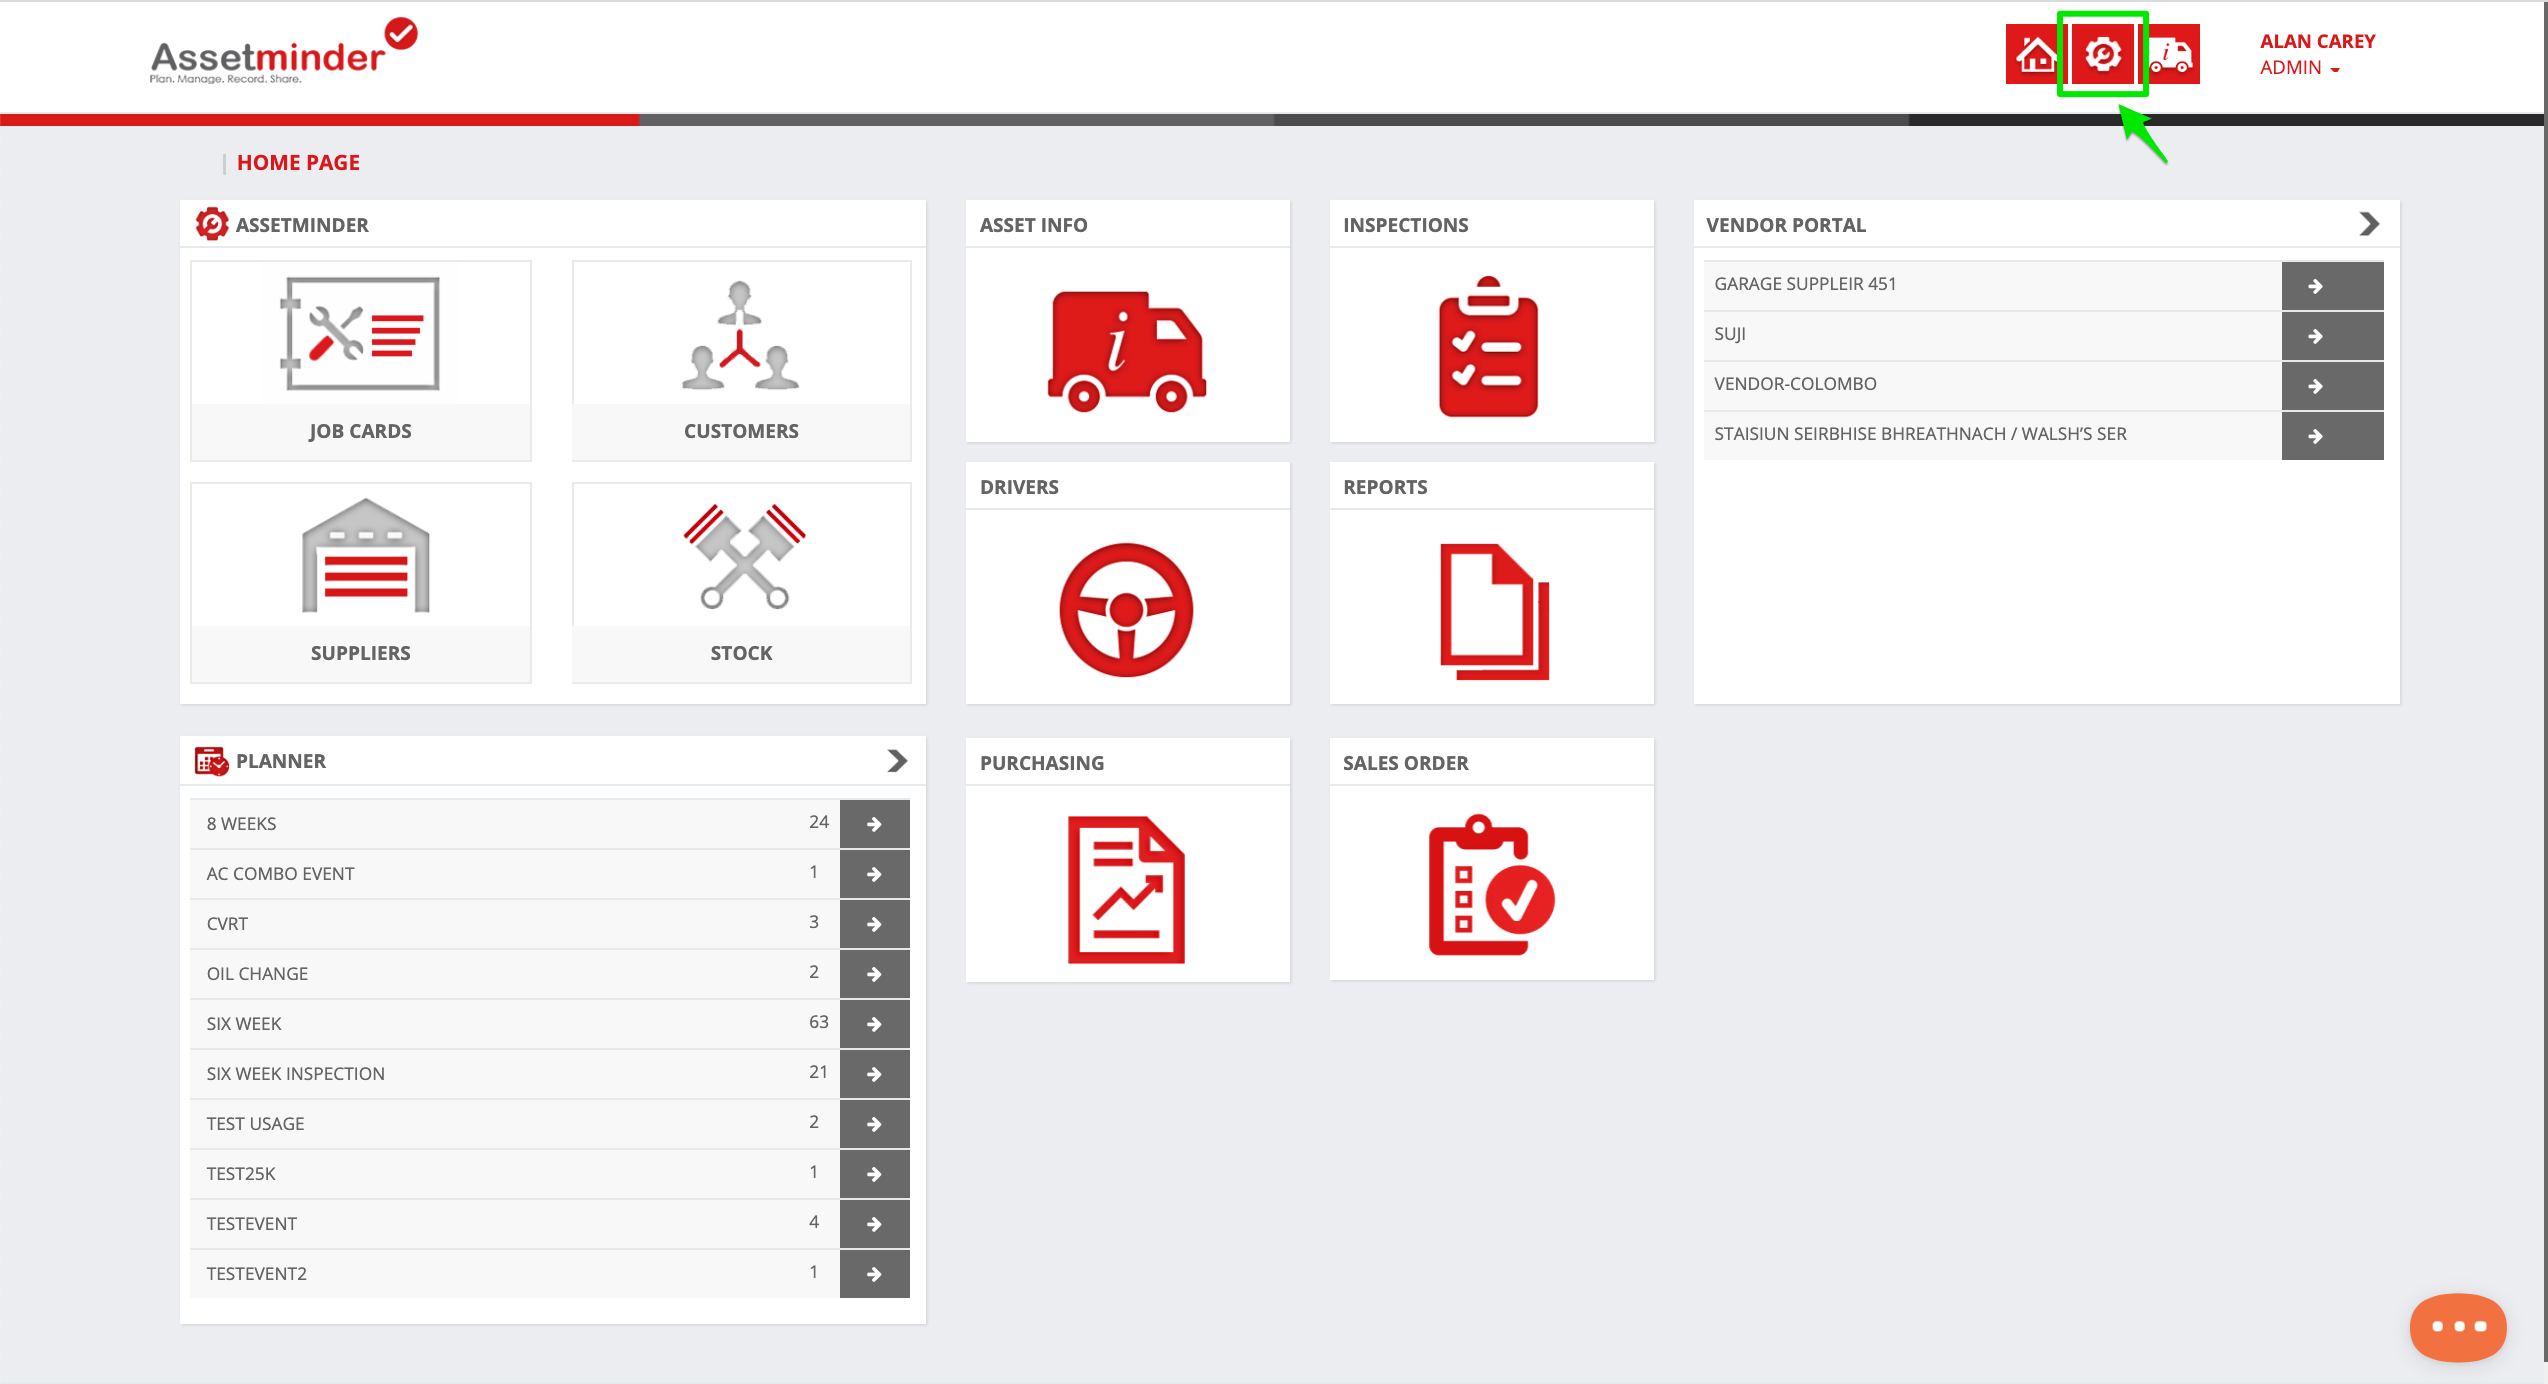
1. To create an asset subtype, click the Administrator Settings icon on the home screen
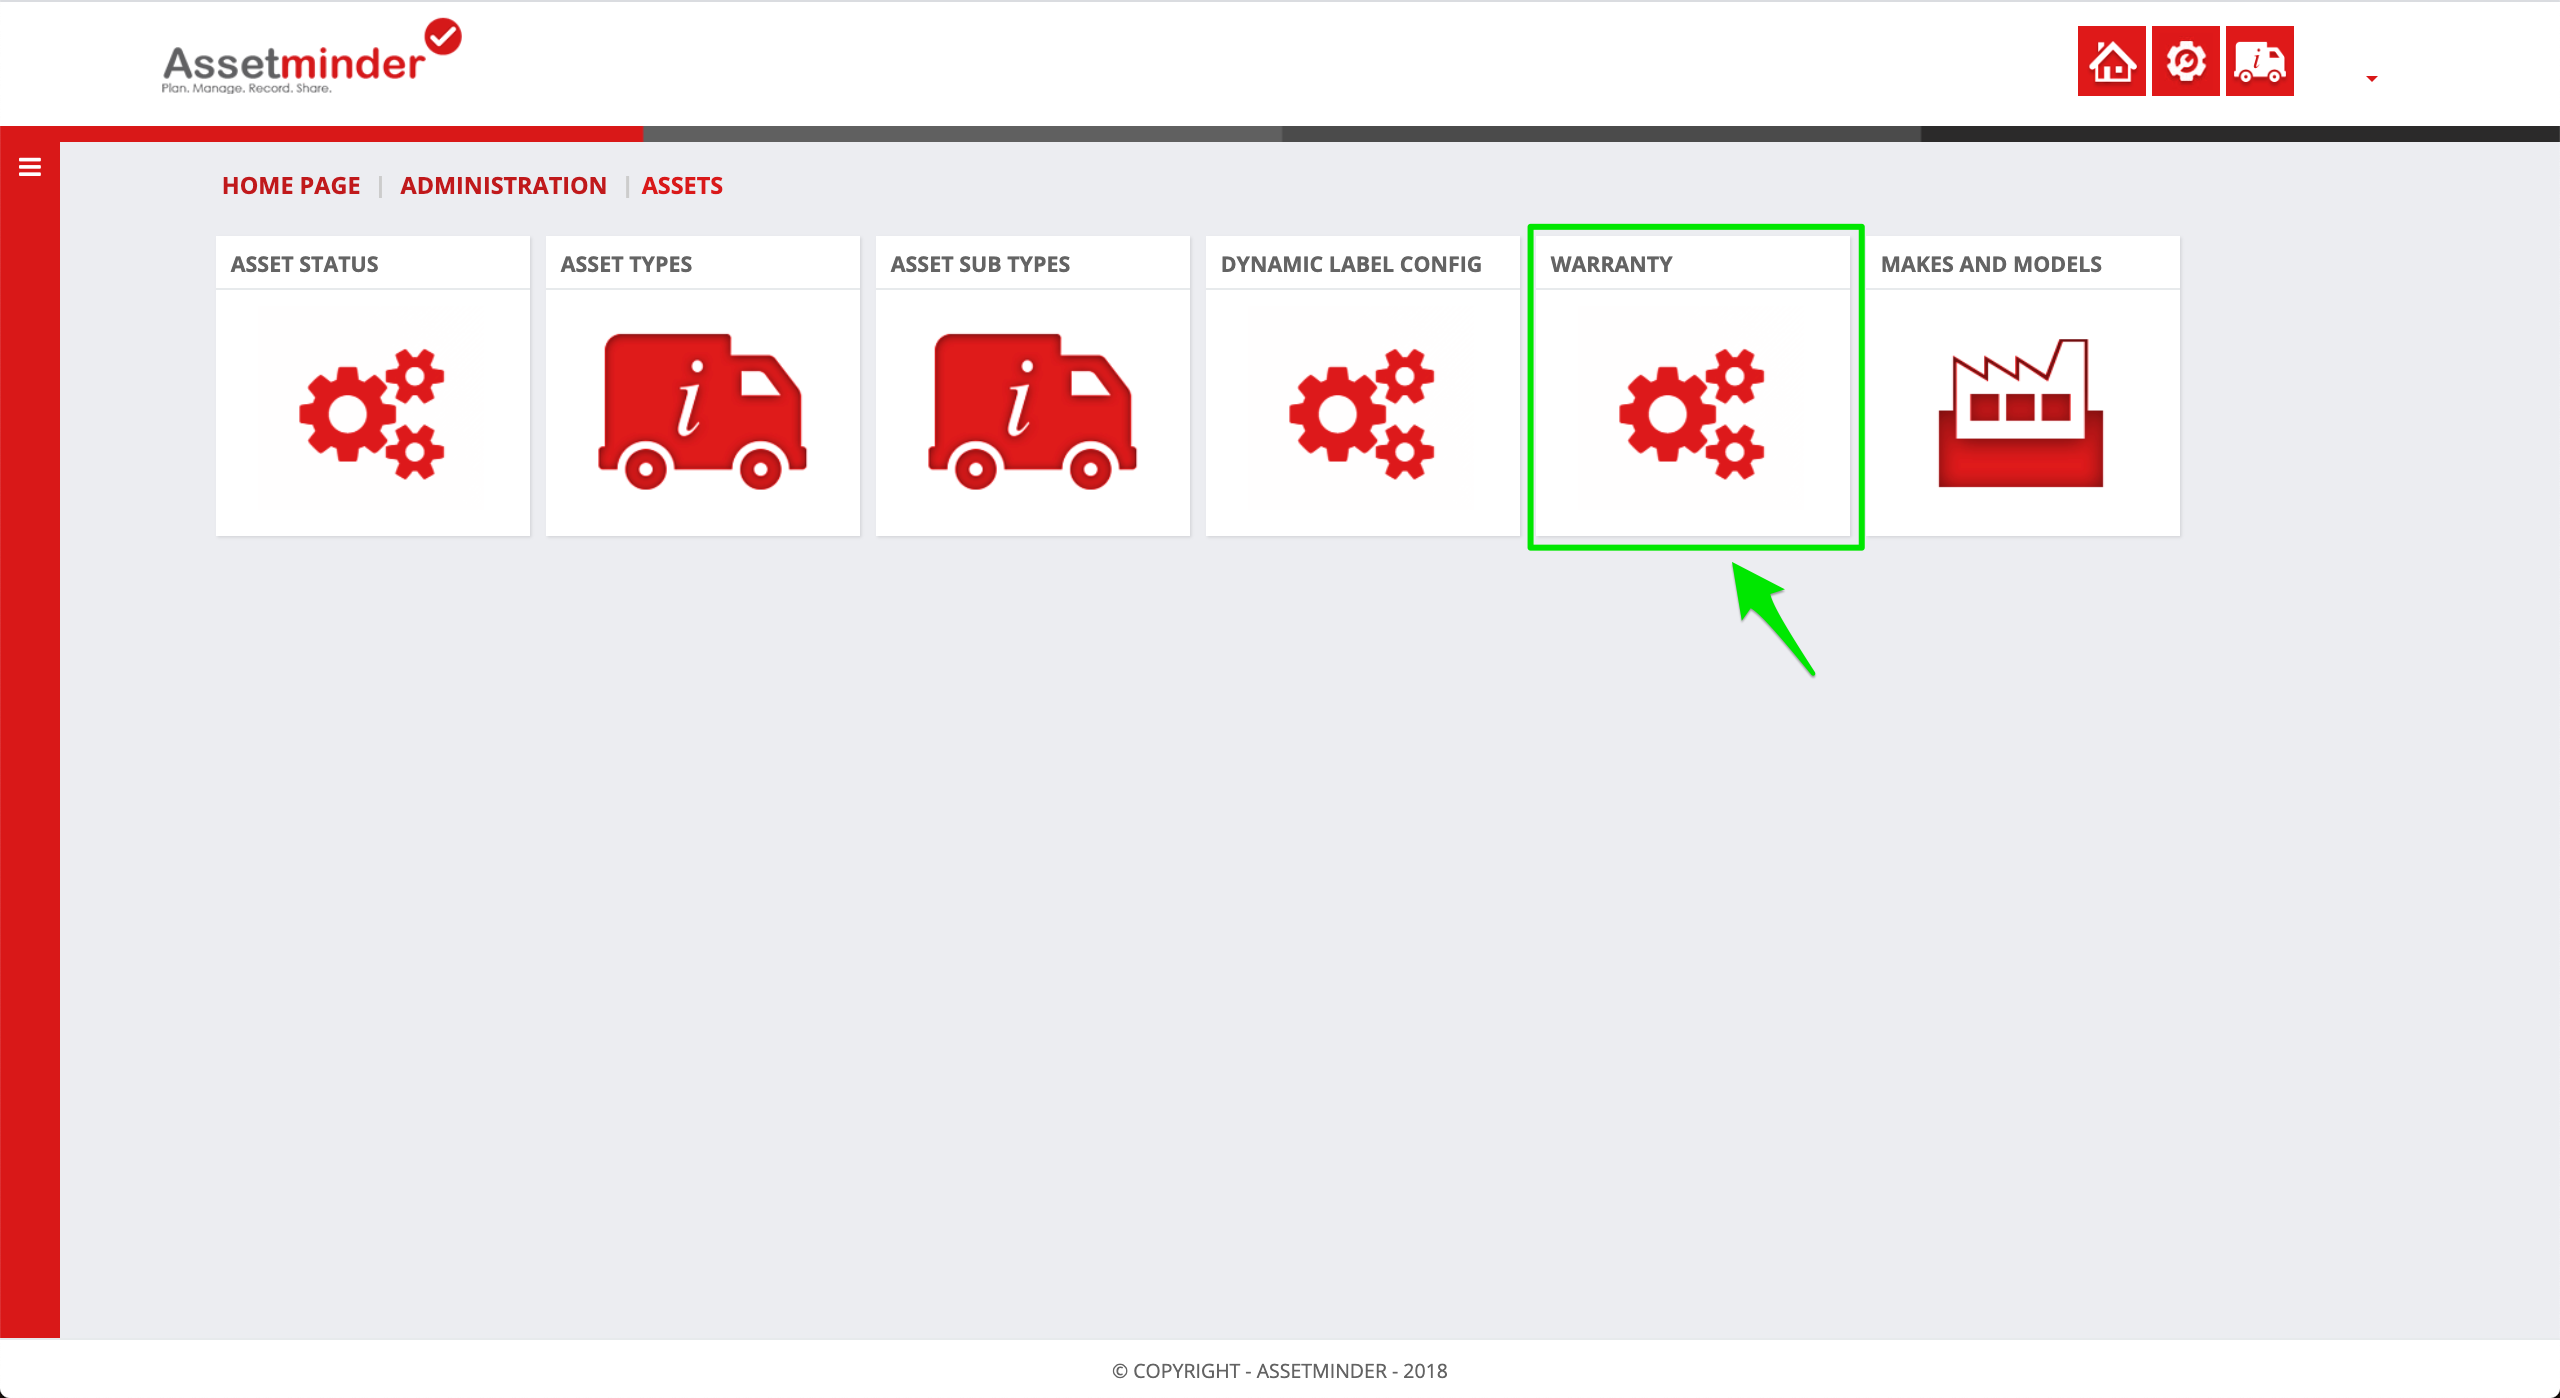
2. Click Assets

3. Click the Warranty icon
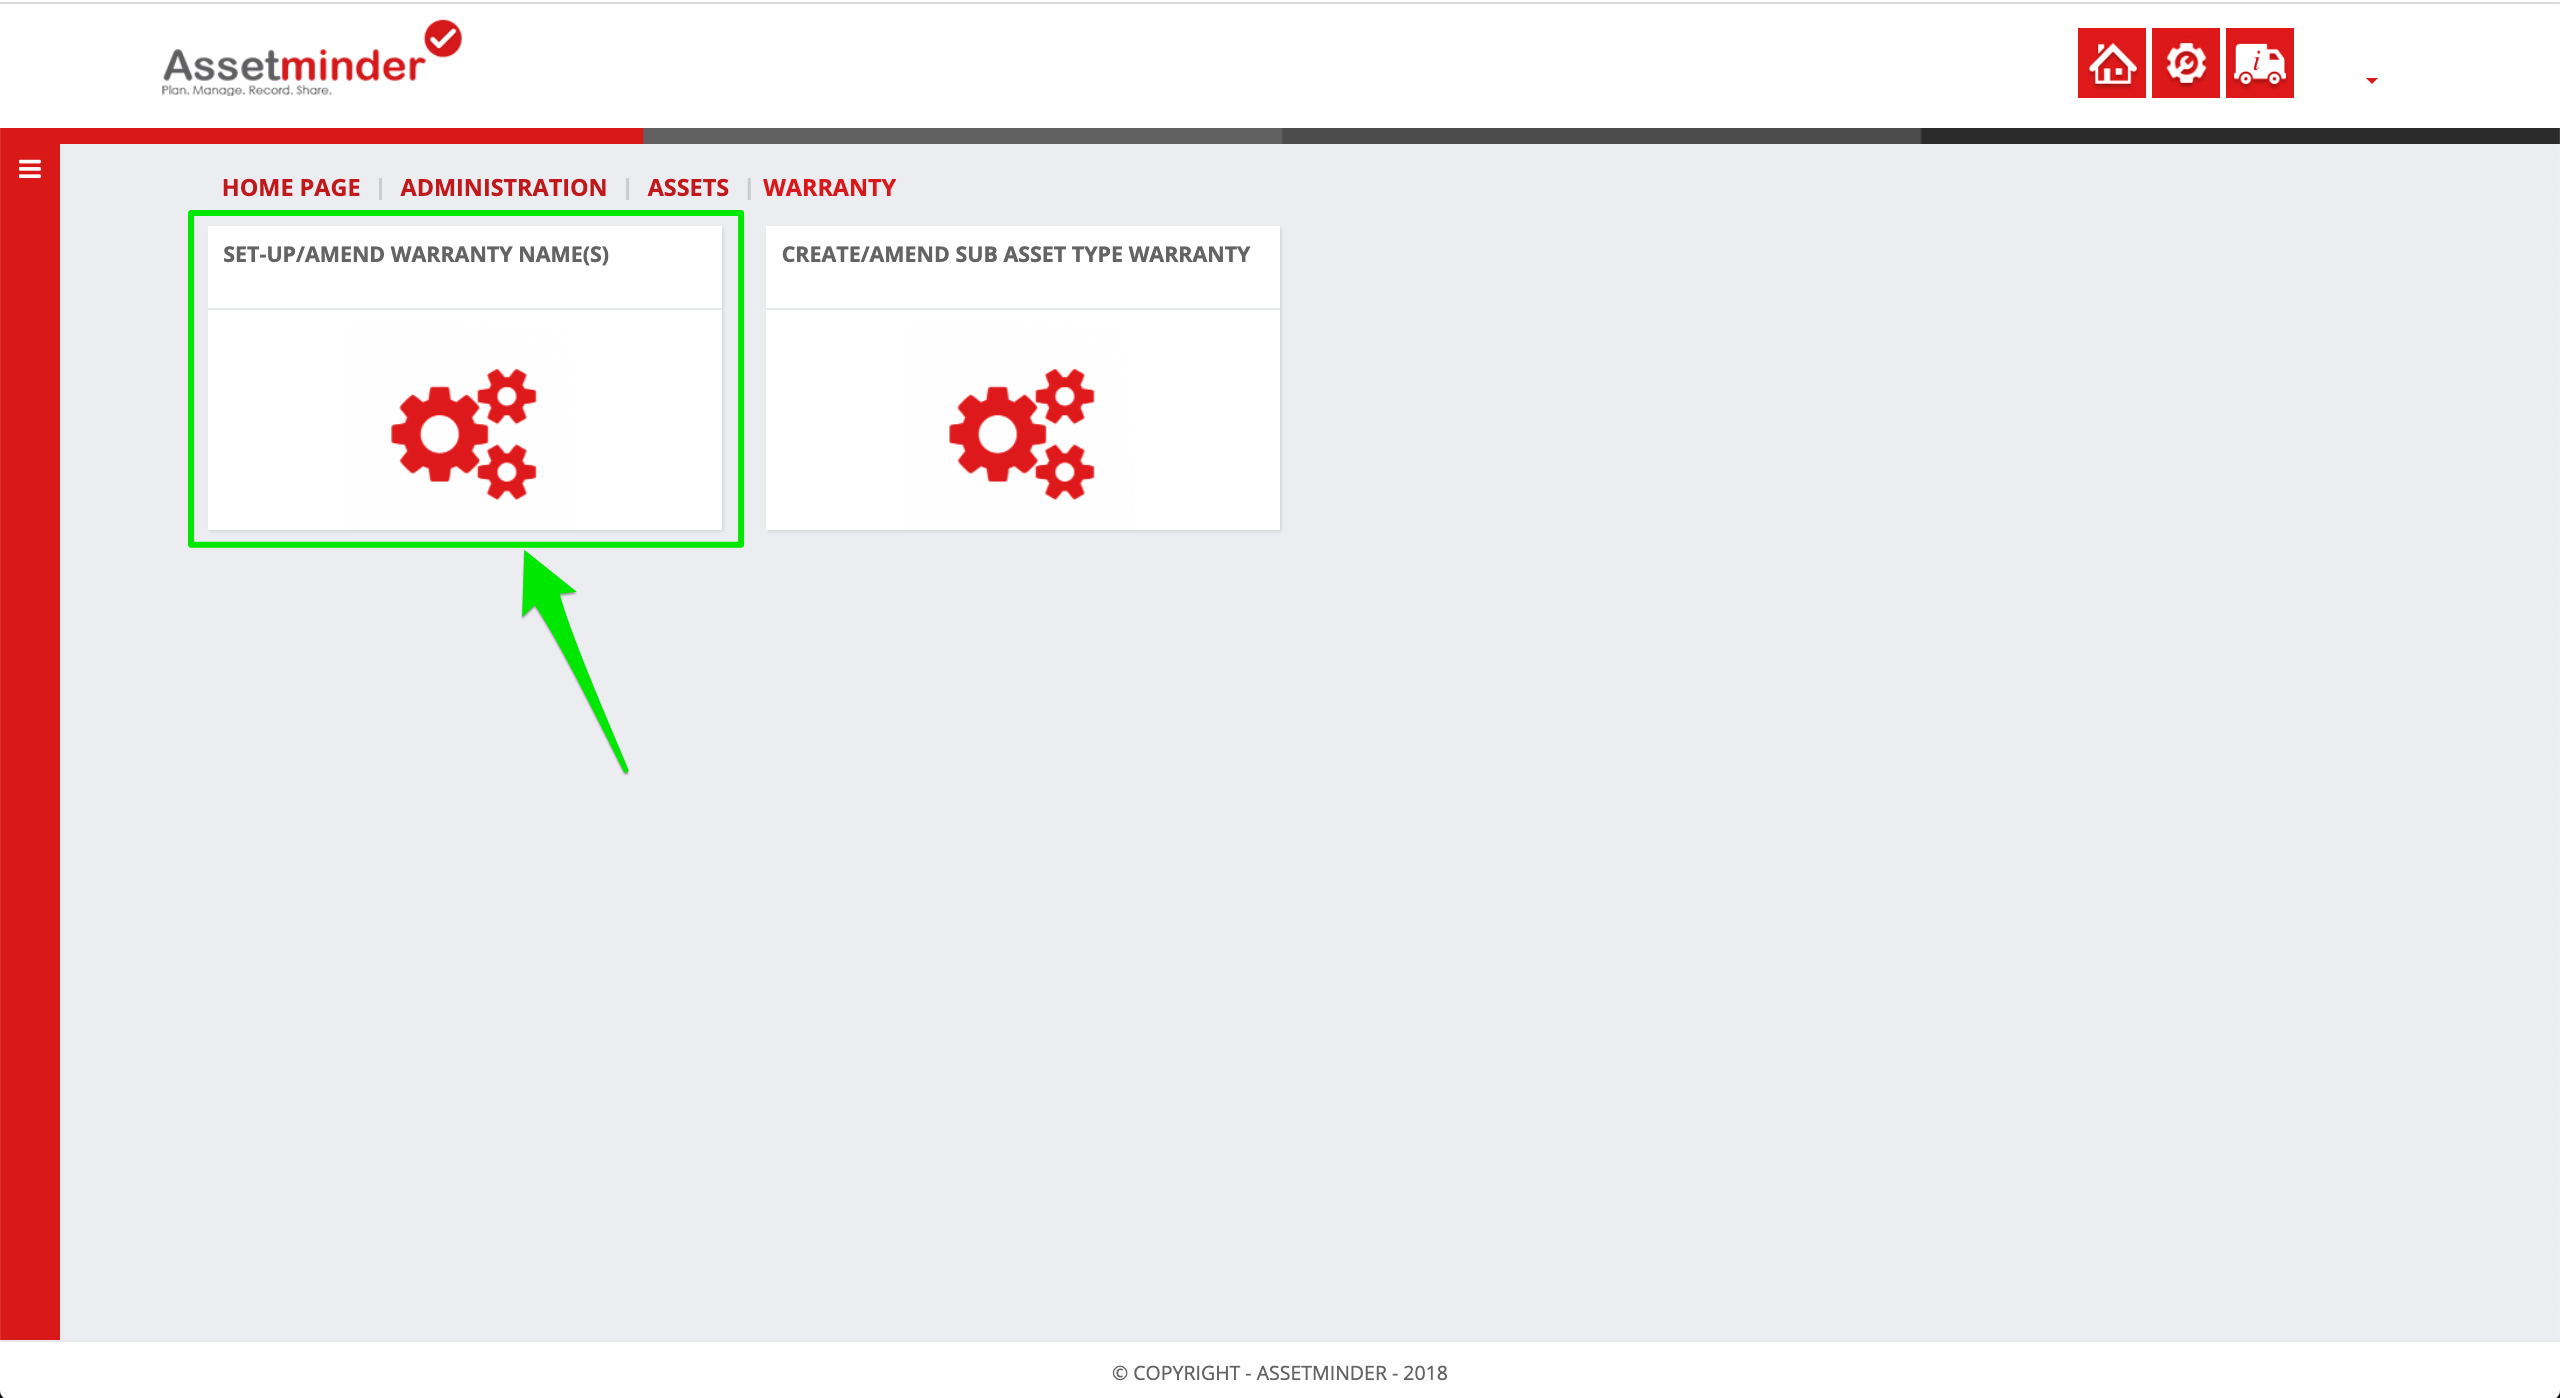
4. Click Set-up/Amend Warranty name(s) to add a new warranty type
5. It is possible to see existing warranty types in the Set-up/Amend Warranty name(s) screen. To add a new warranty type, click the Add New icon
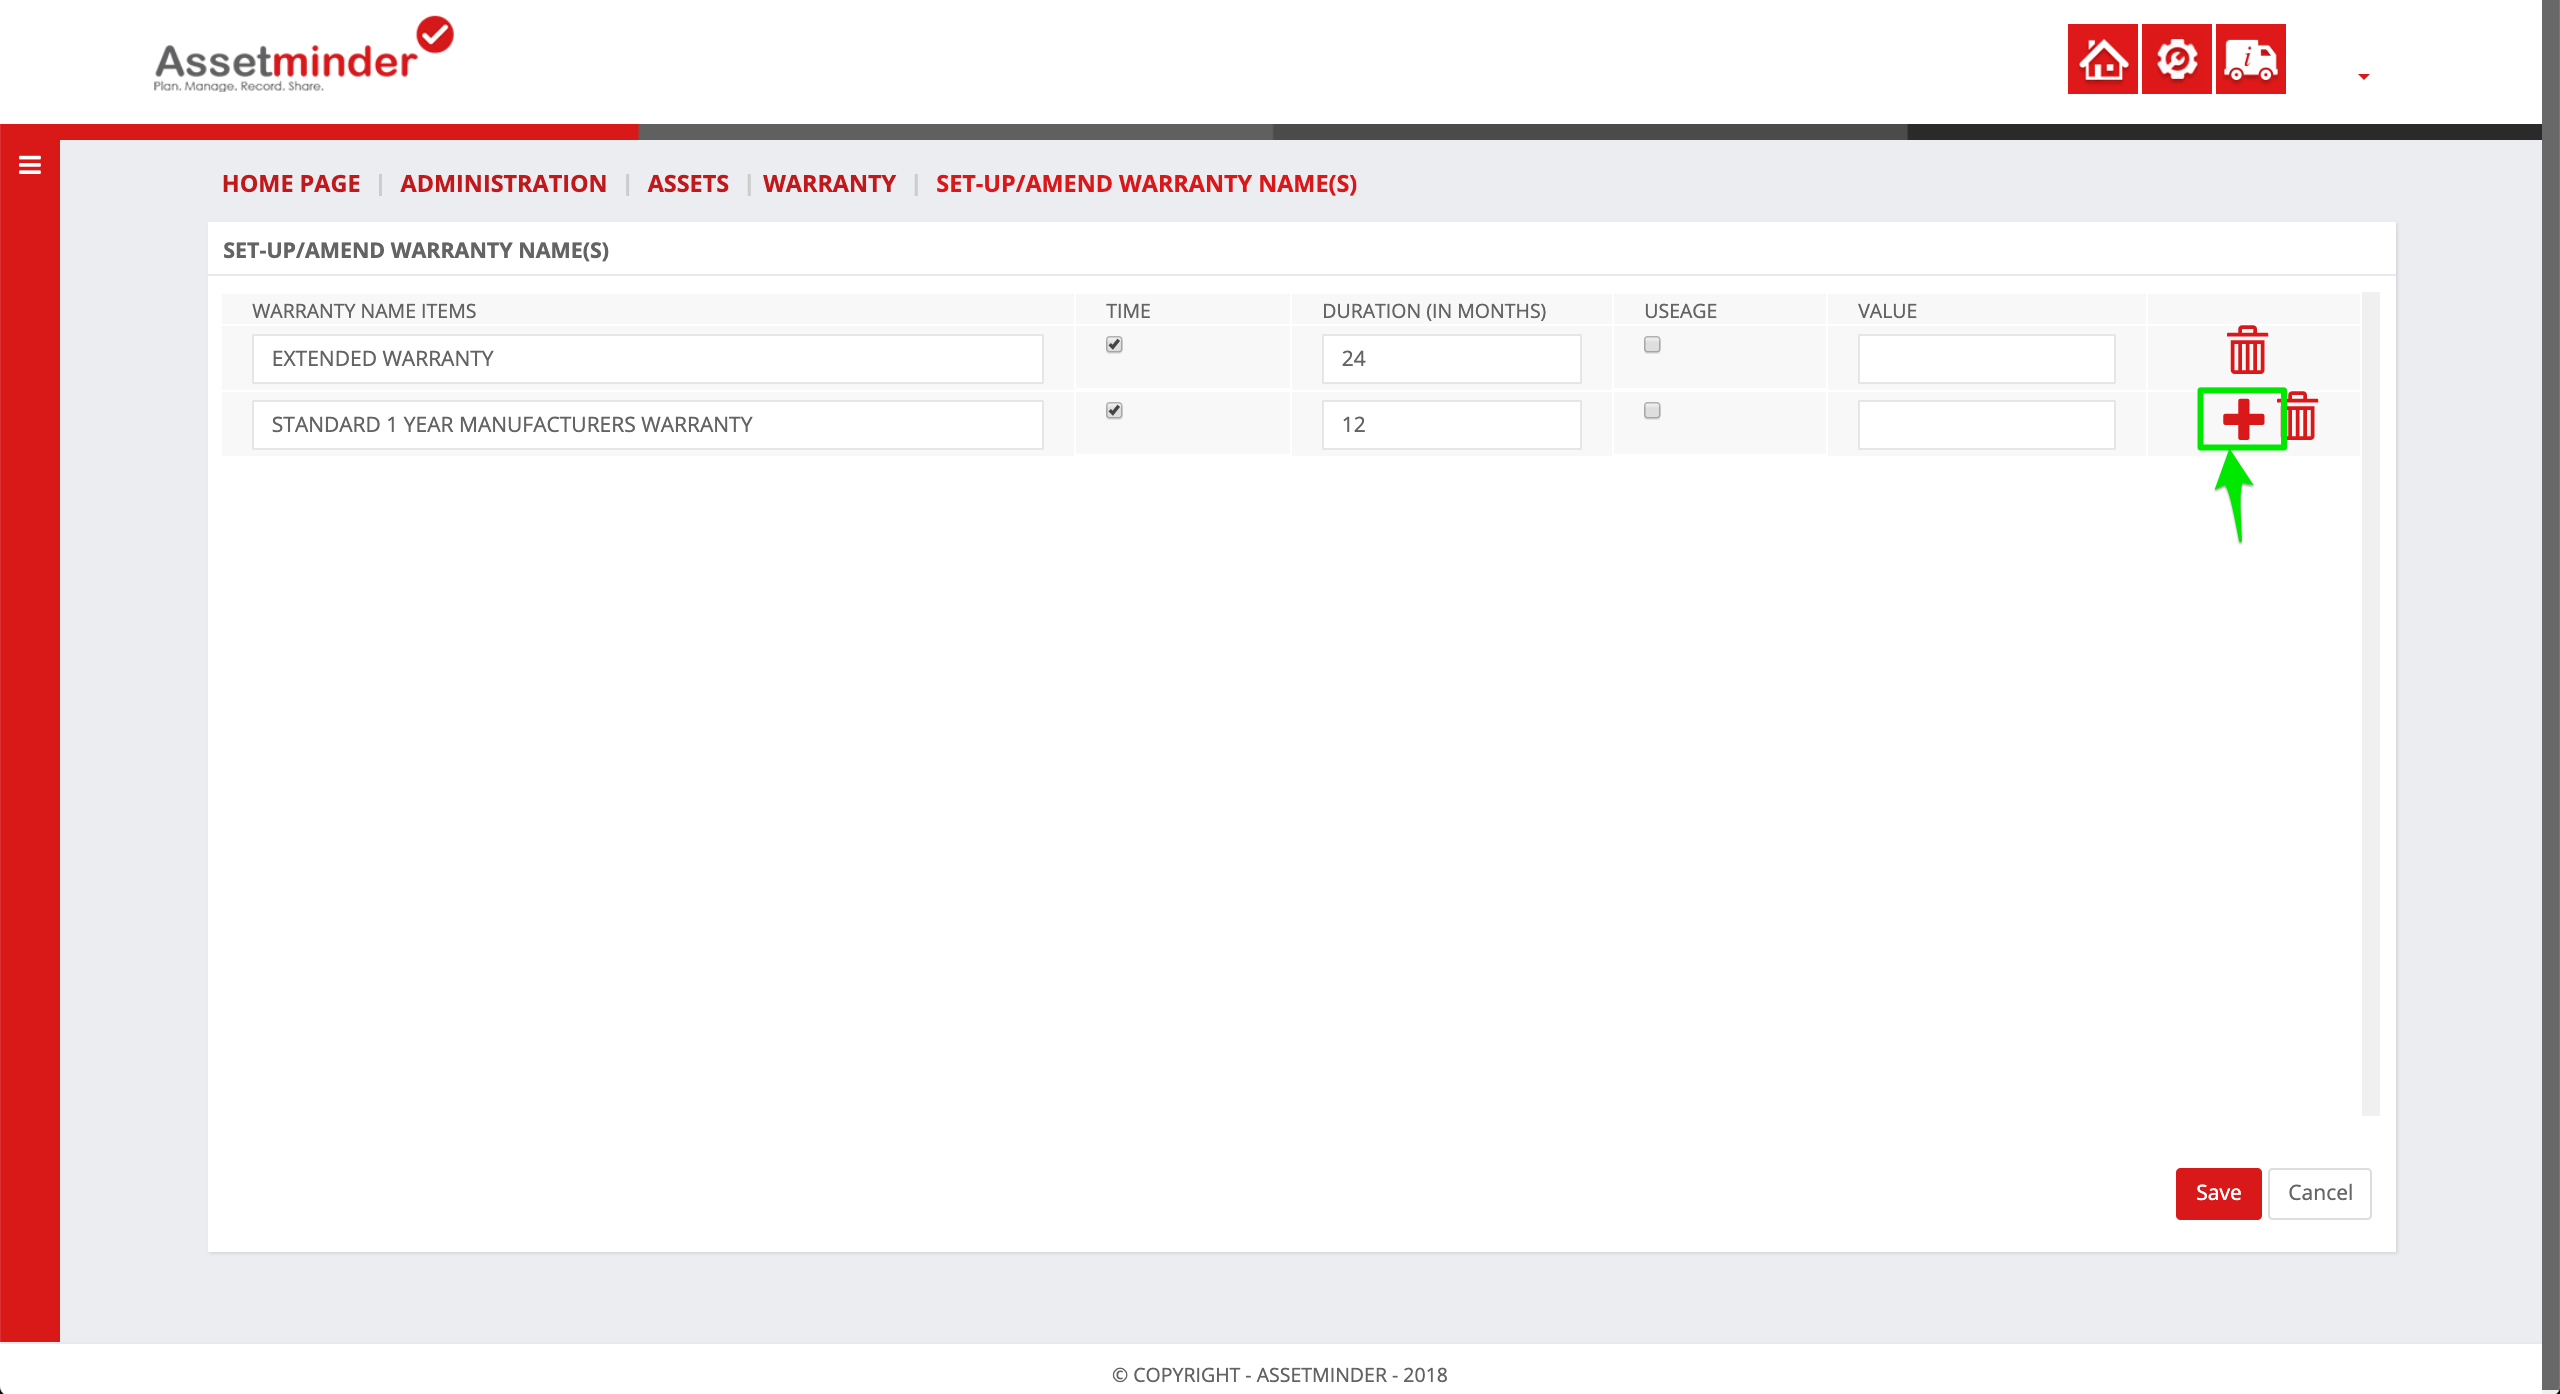
6. Fill in the details for the warranty type, specifying whether the warranty is based on time or usage
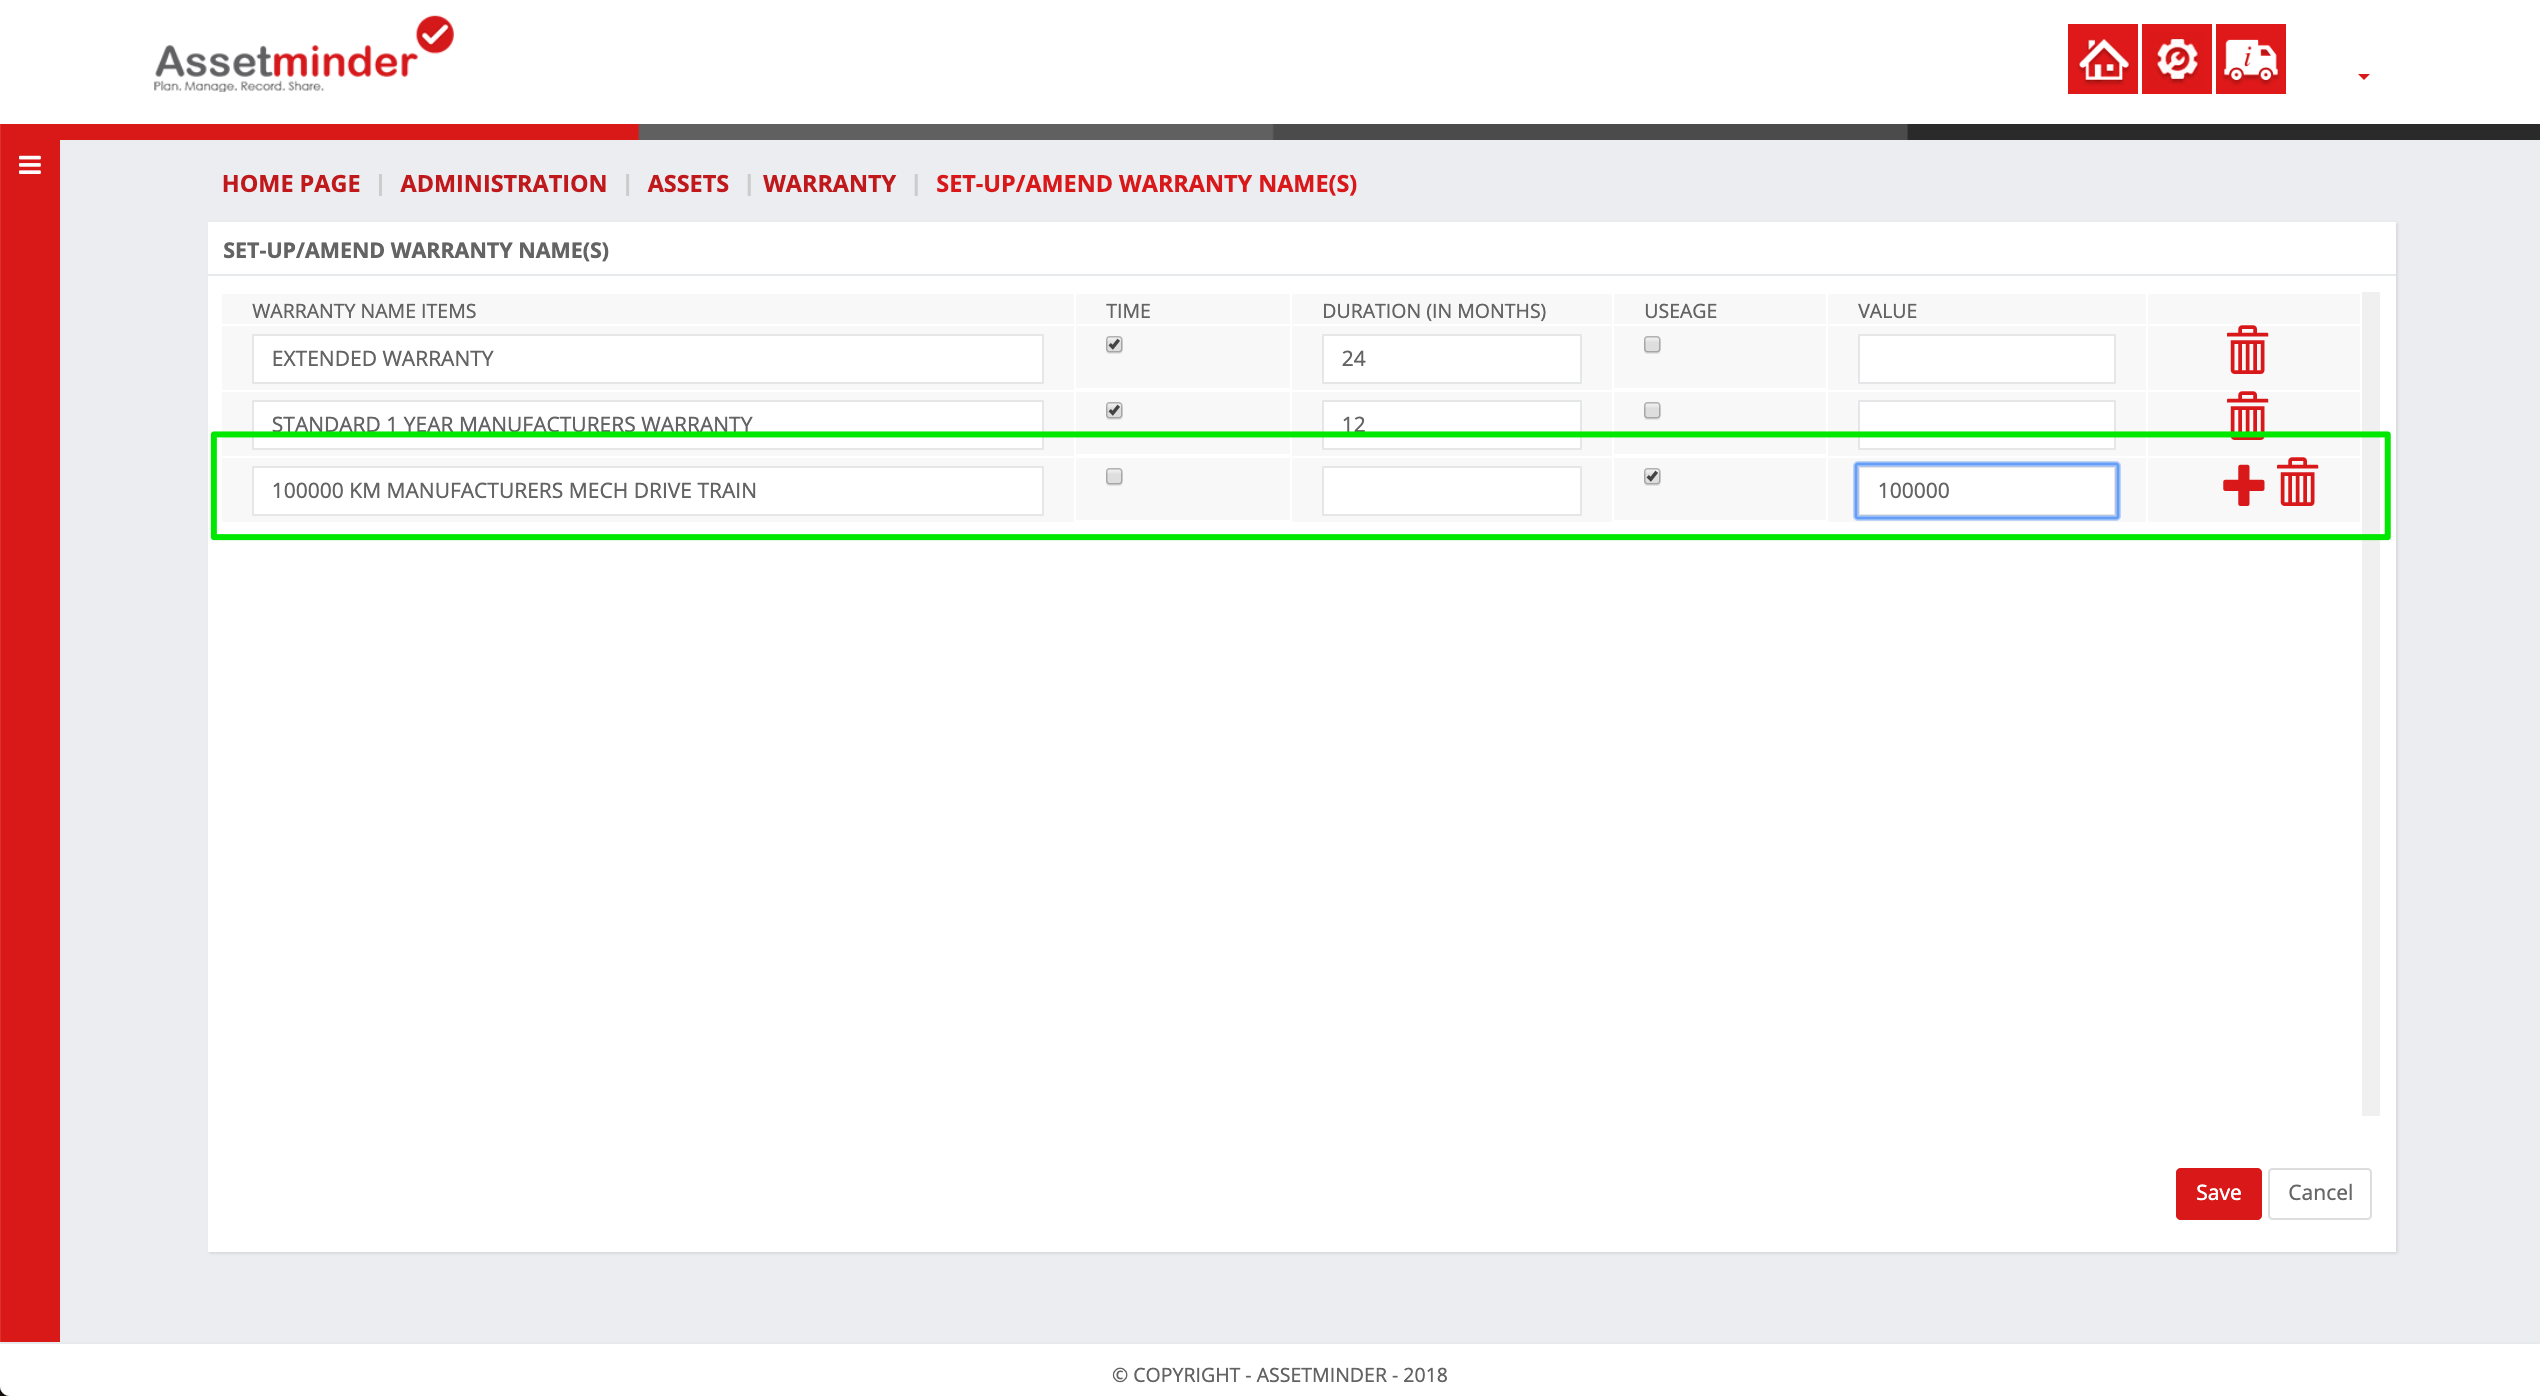
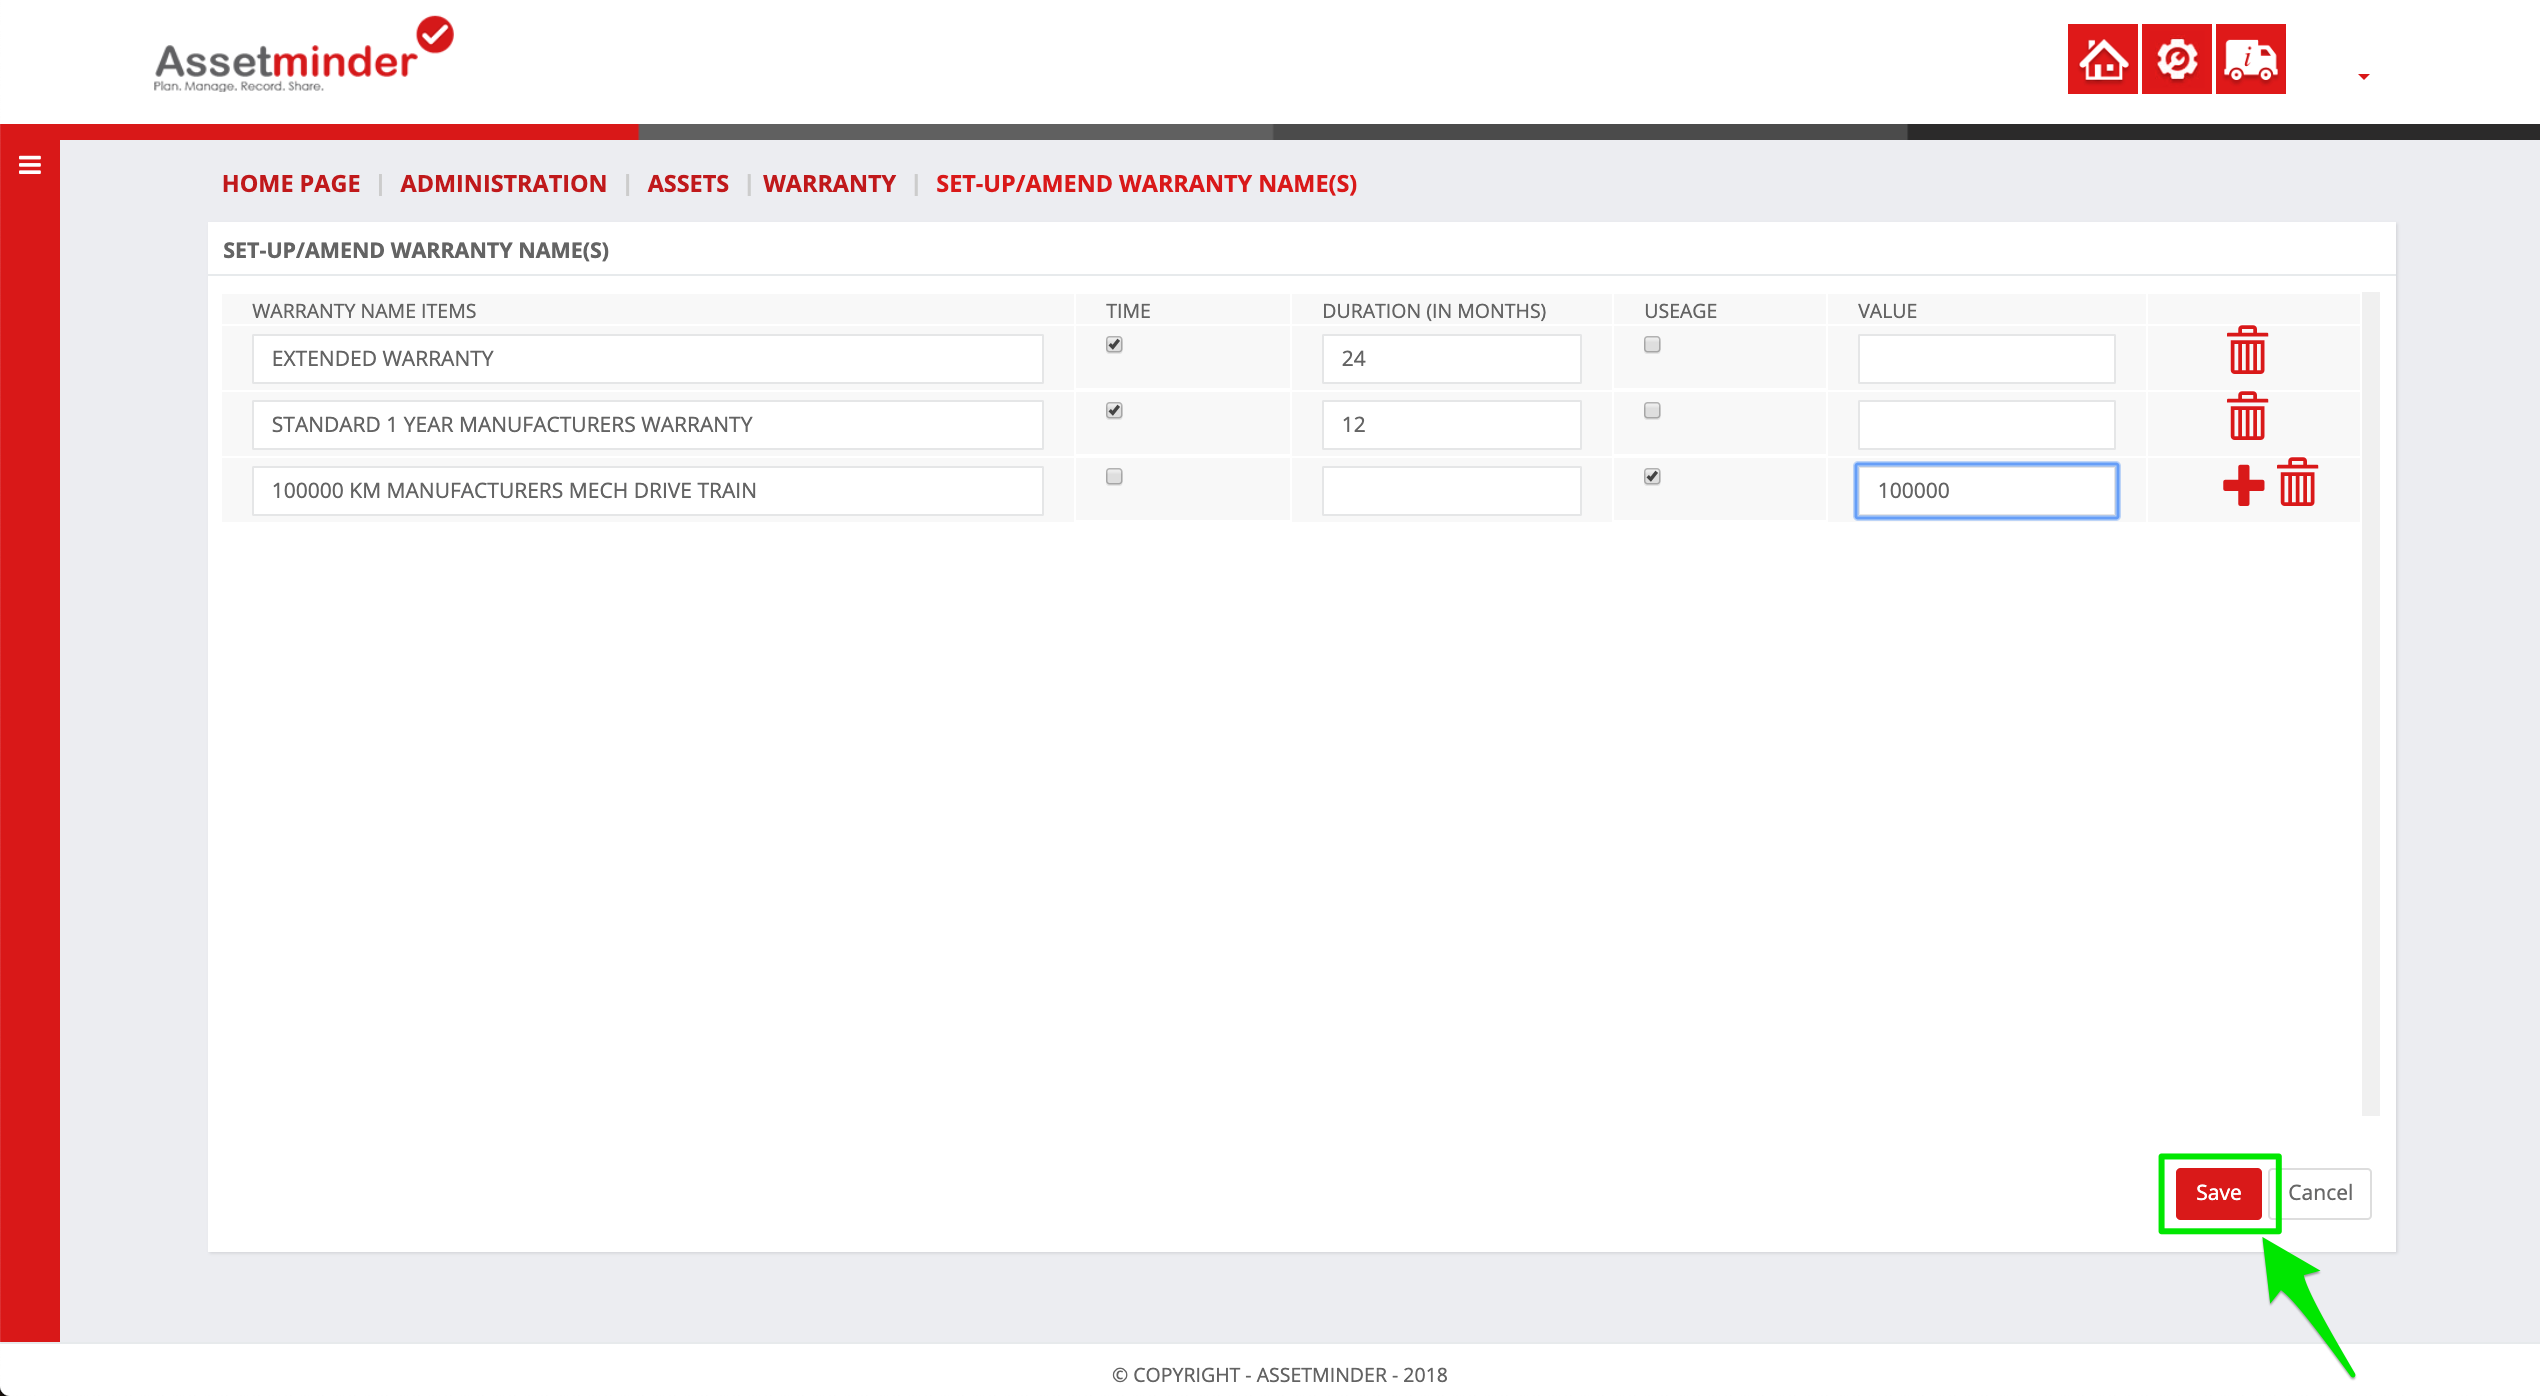
7. Repeat the process to add more warranty types. Click Save to activate
2. Assign the warranty type to the asset subtype
1. Navigate back to the Warranty page
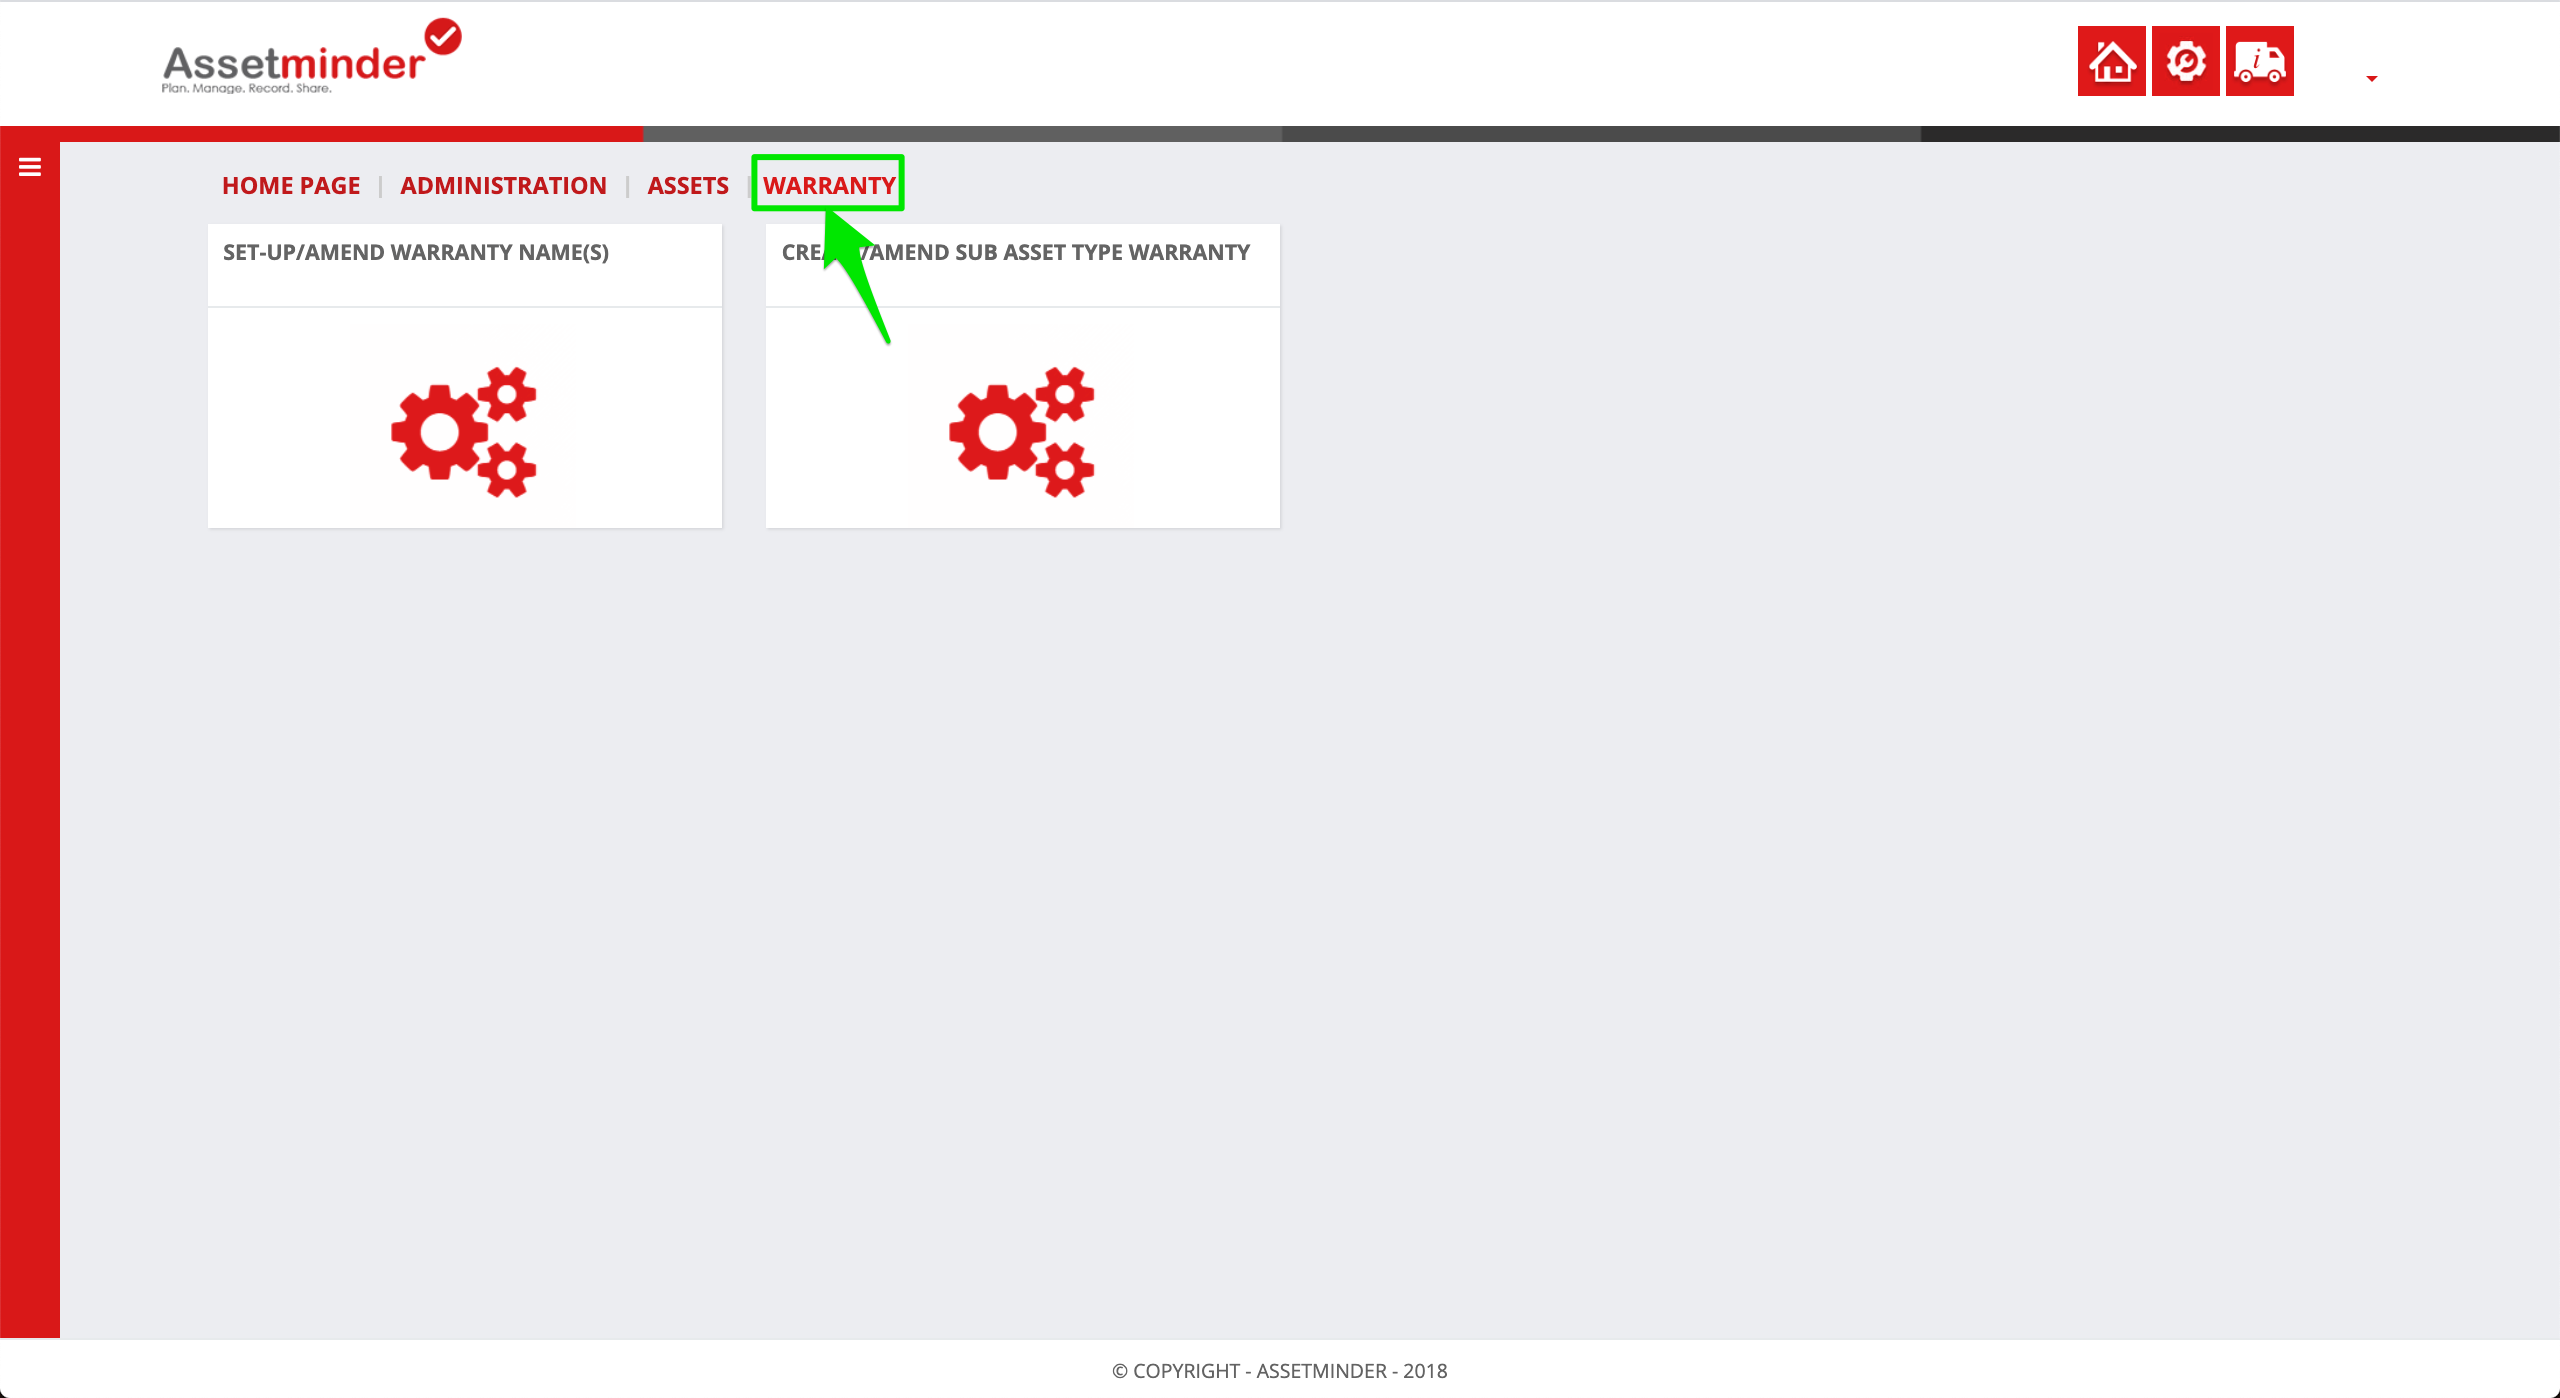
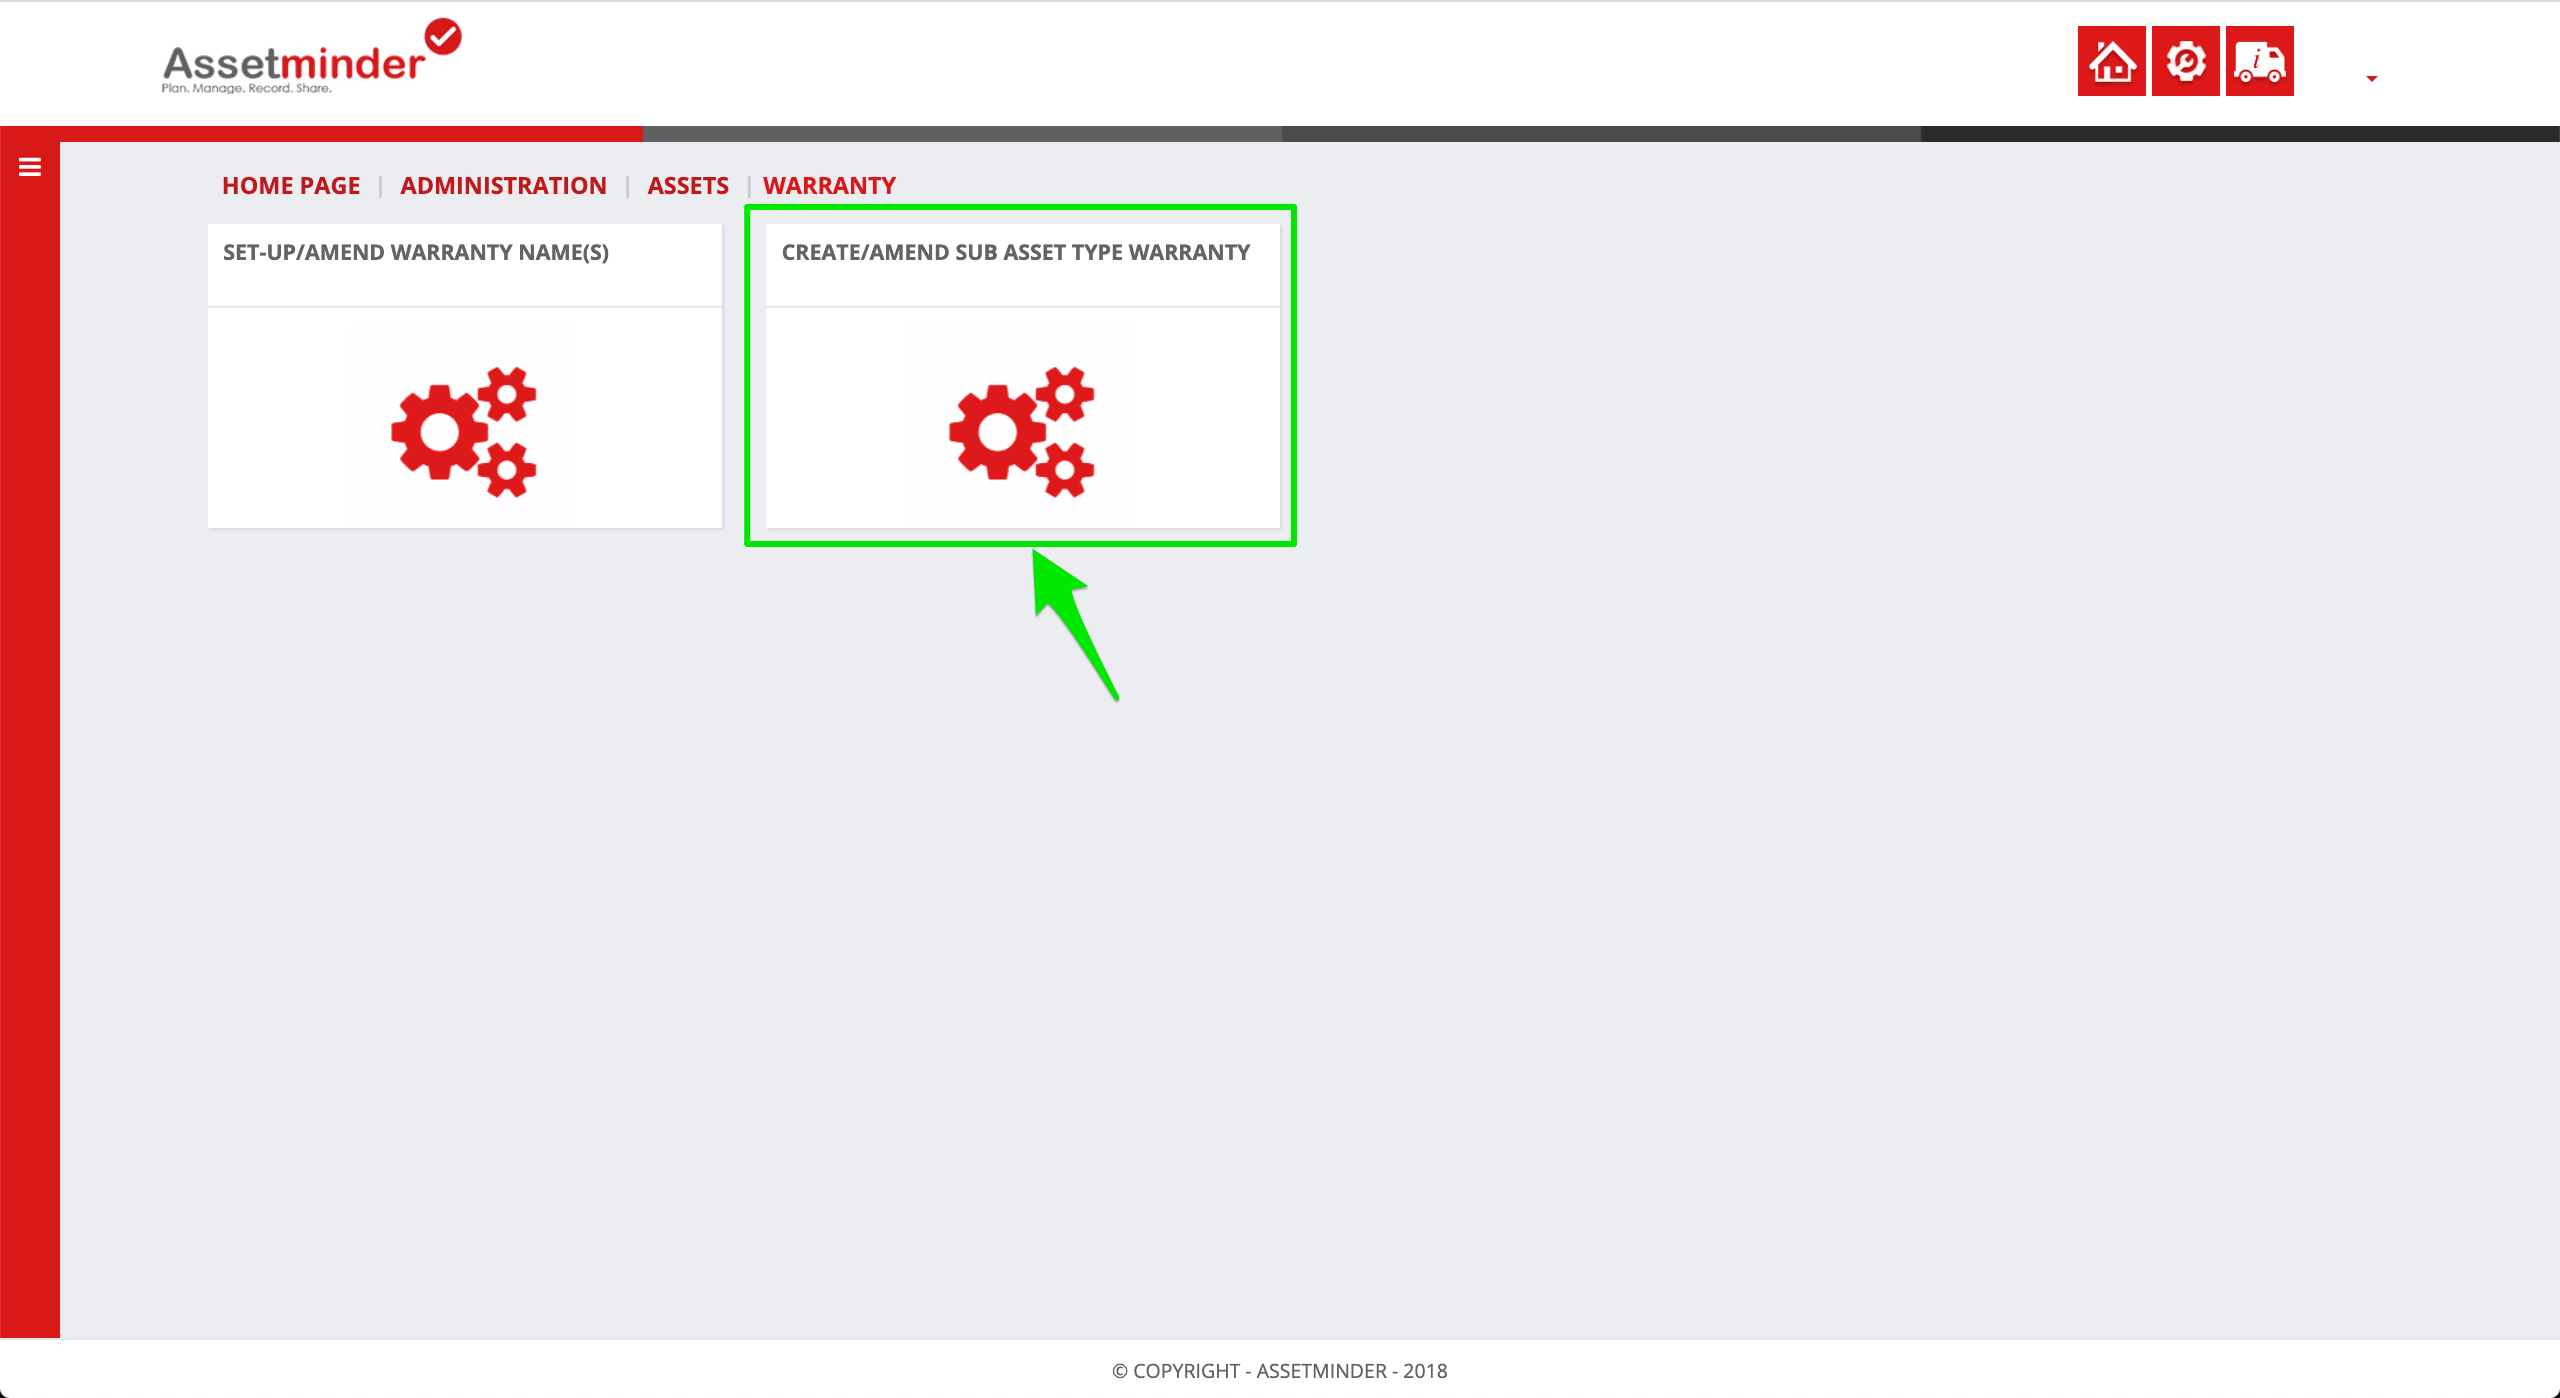
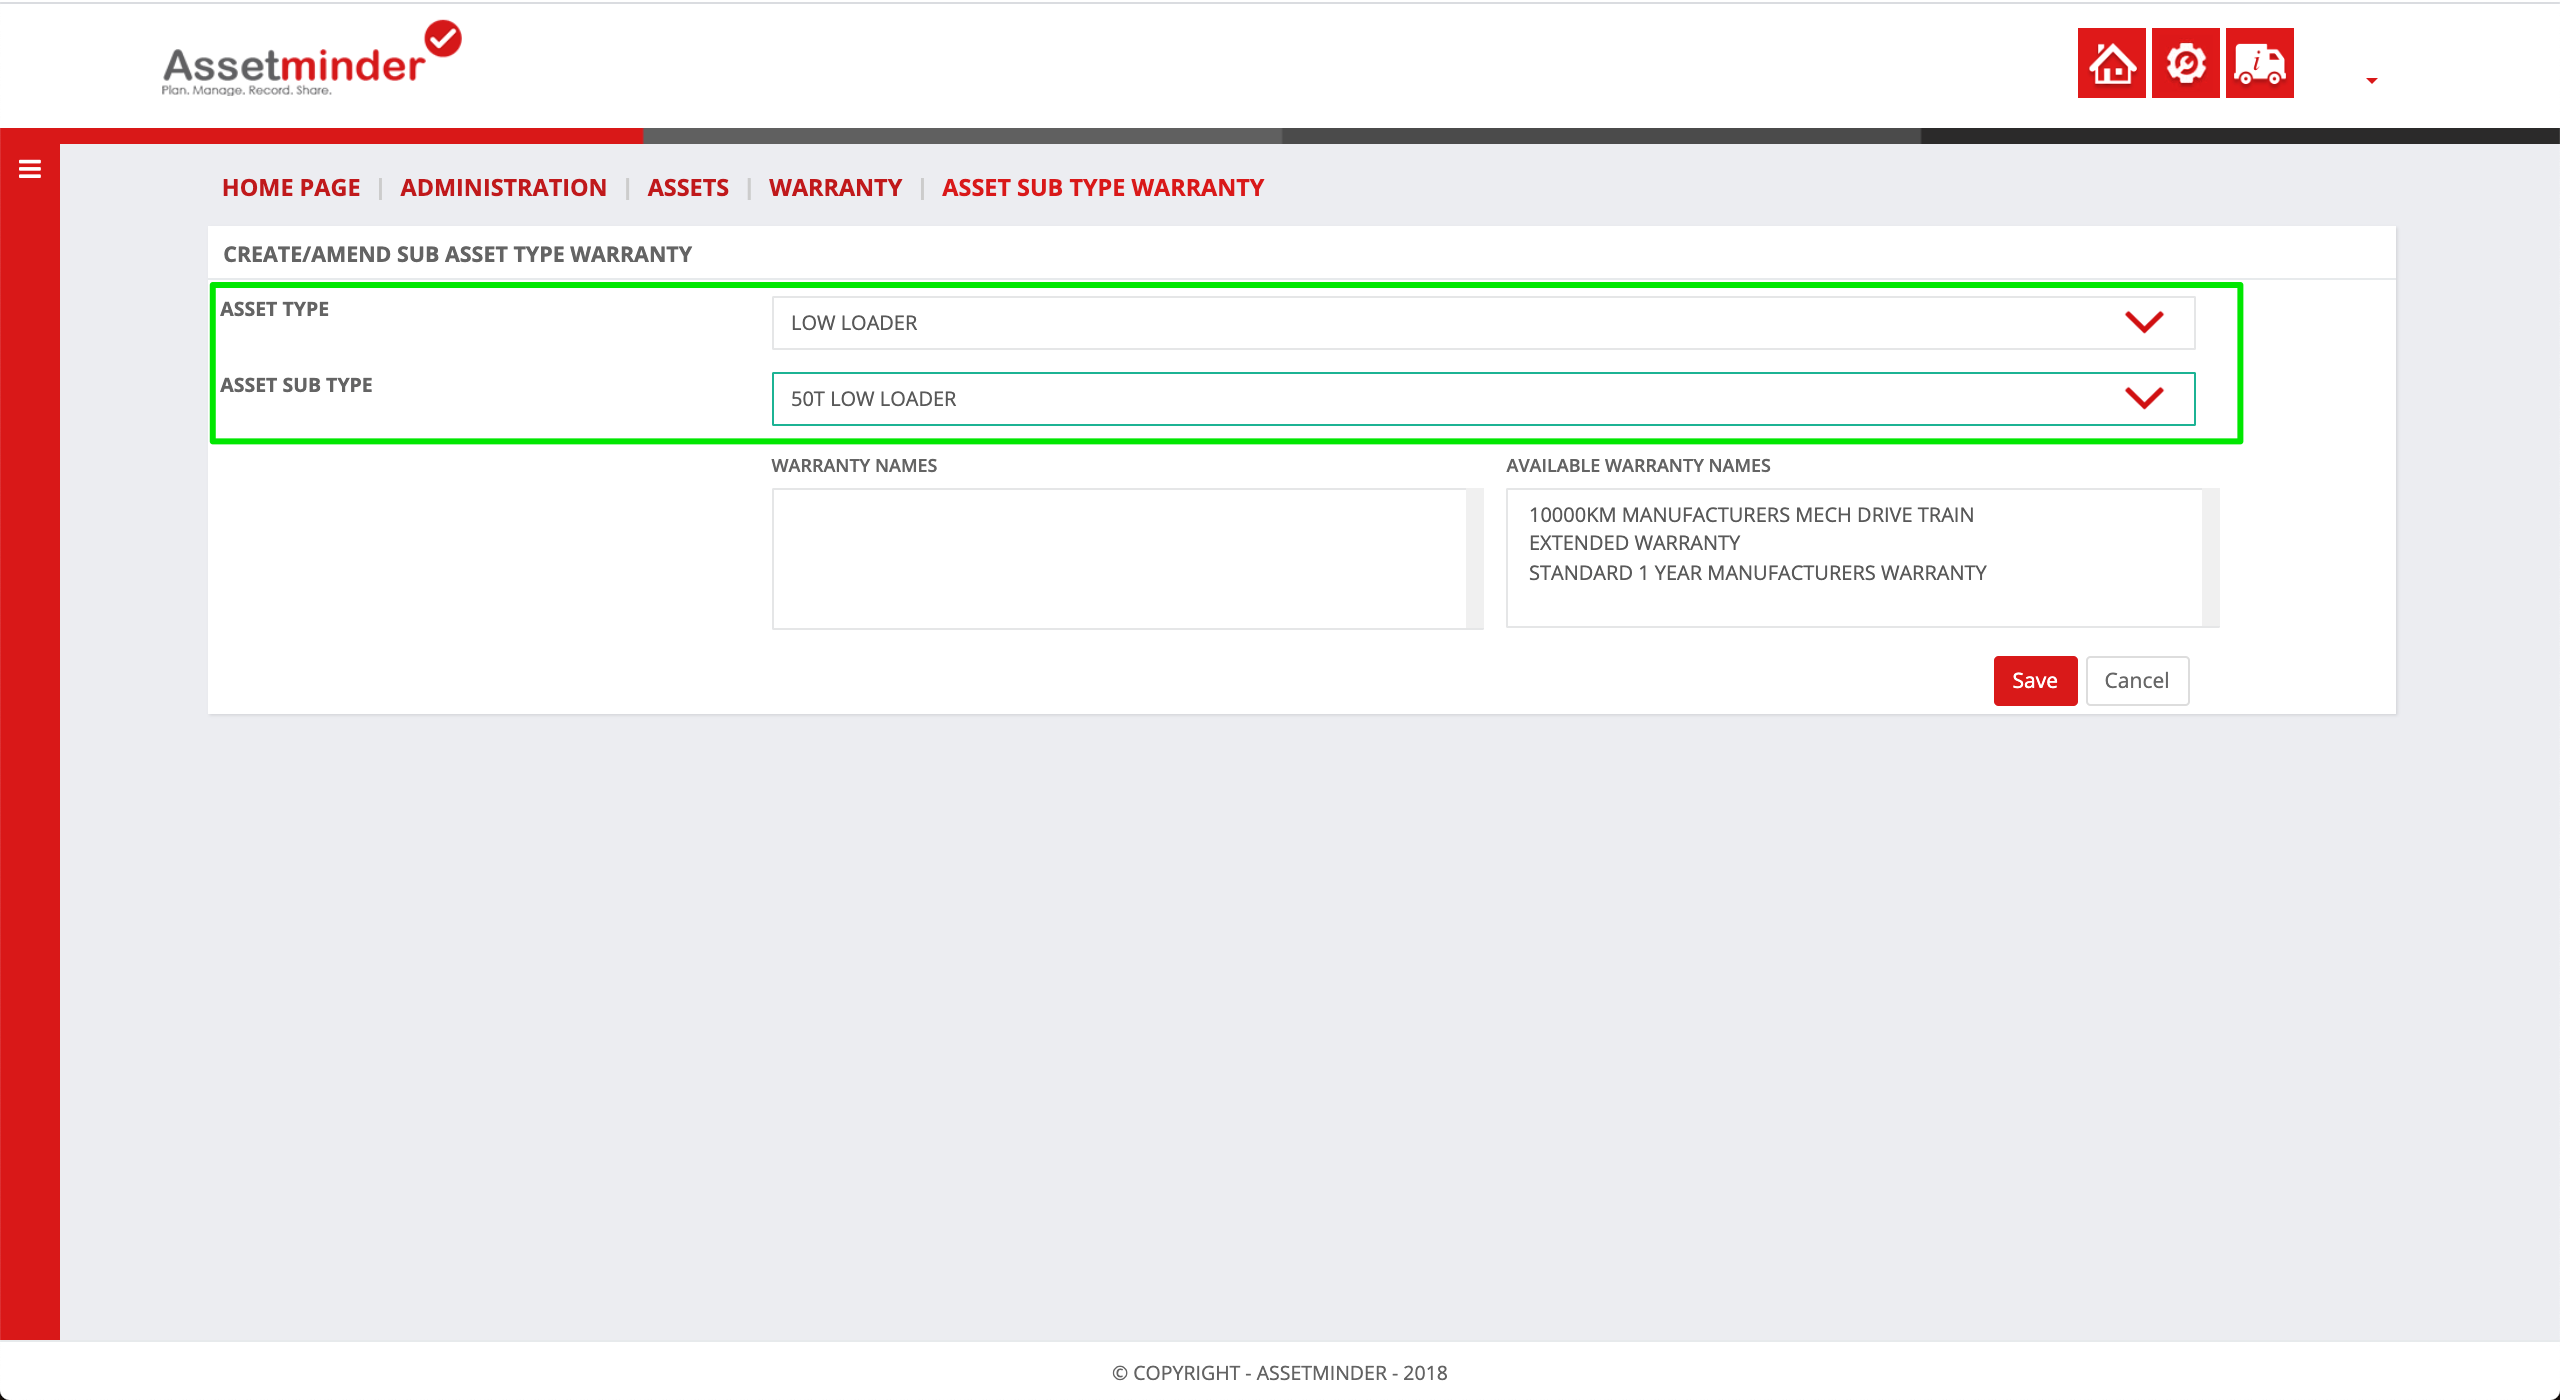
2. Select Create/Amend Sub Asset Type Warranty
3. Select the asset type and subtype from the dropdown lists
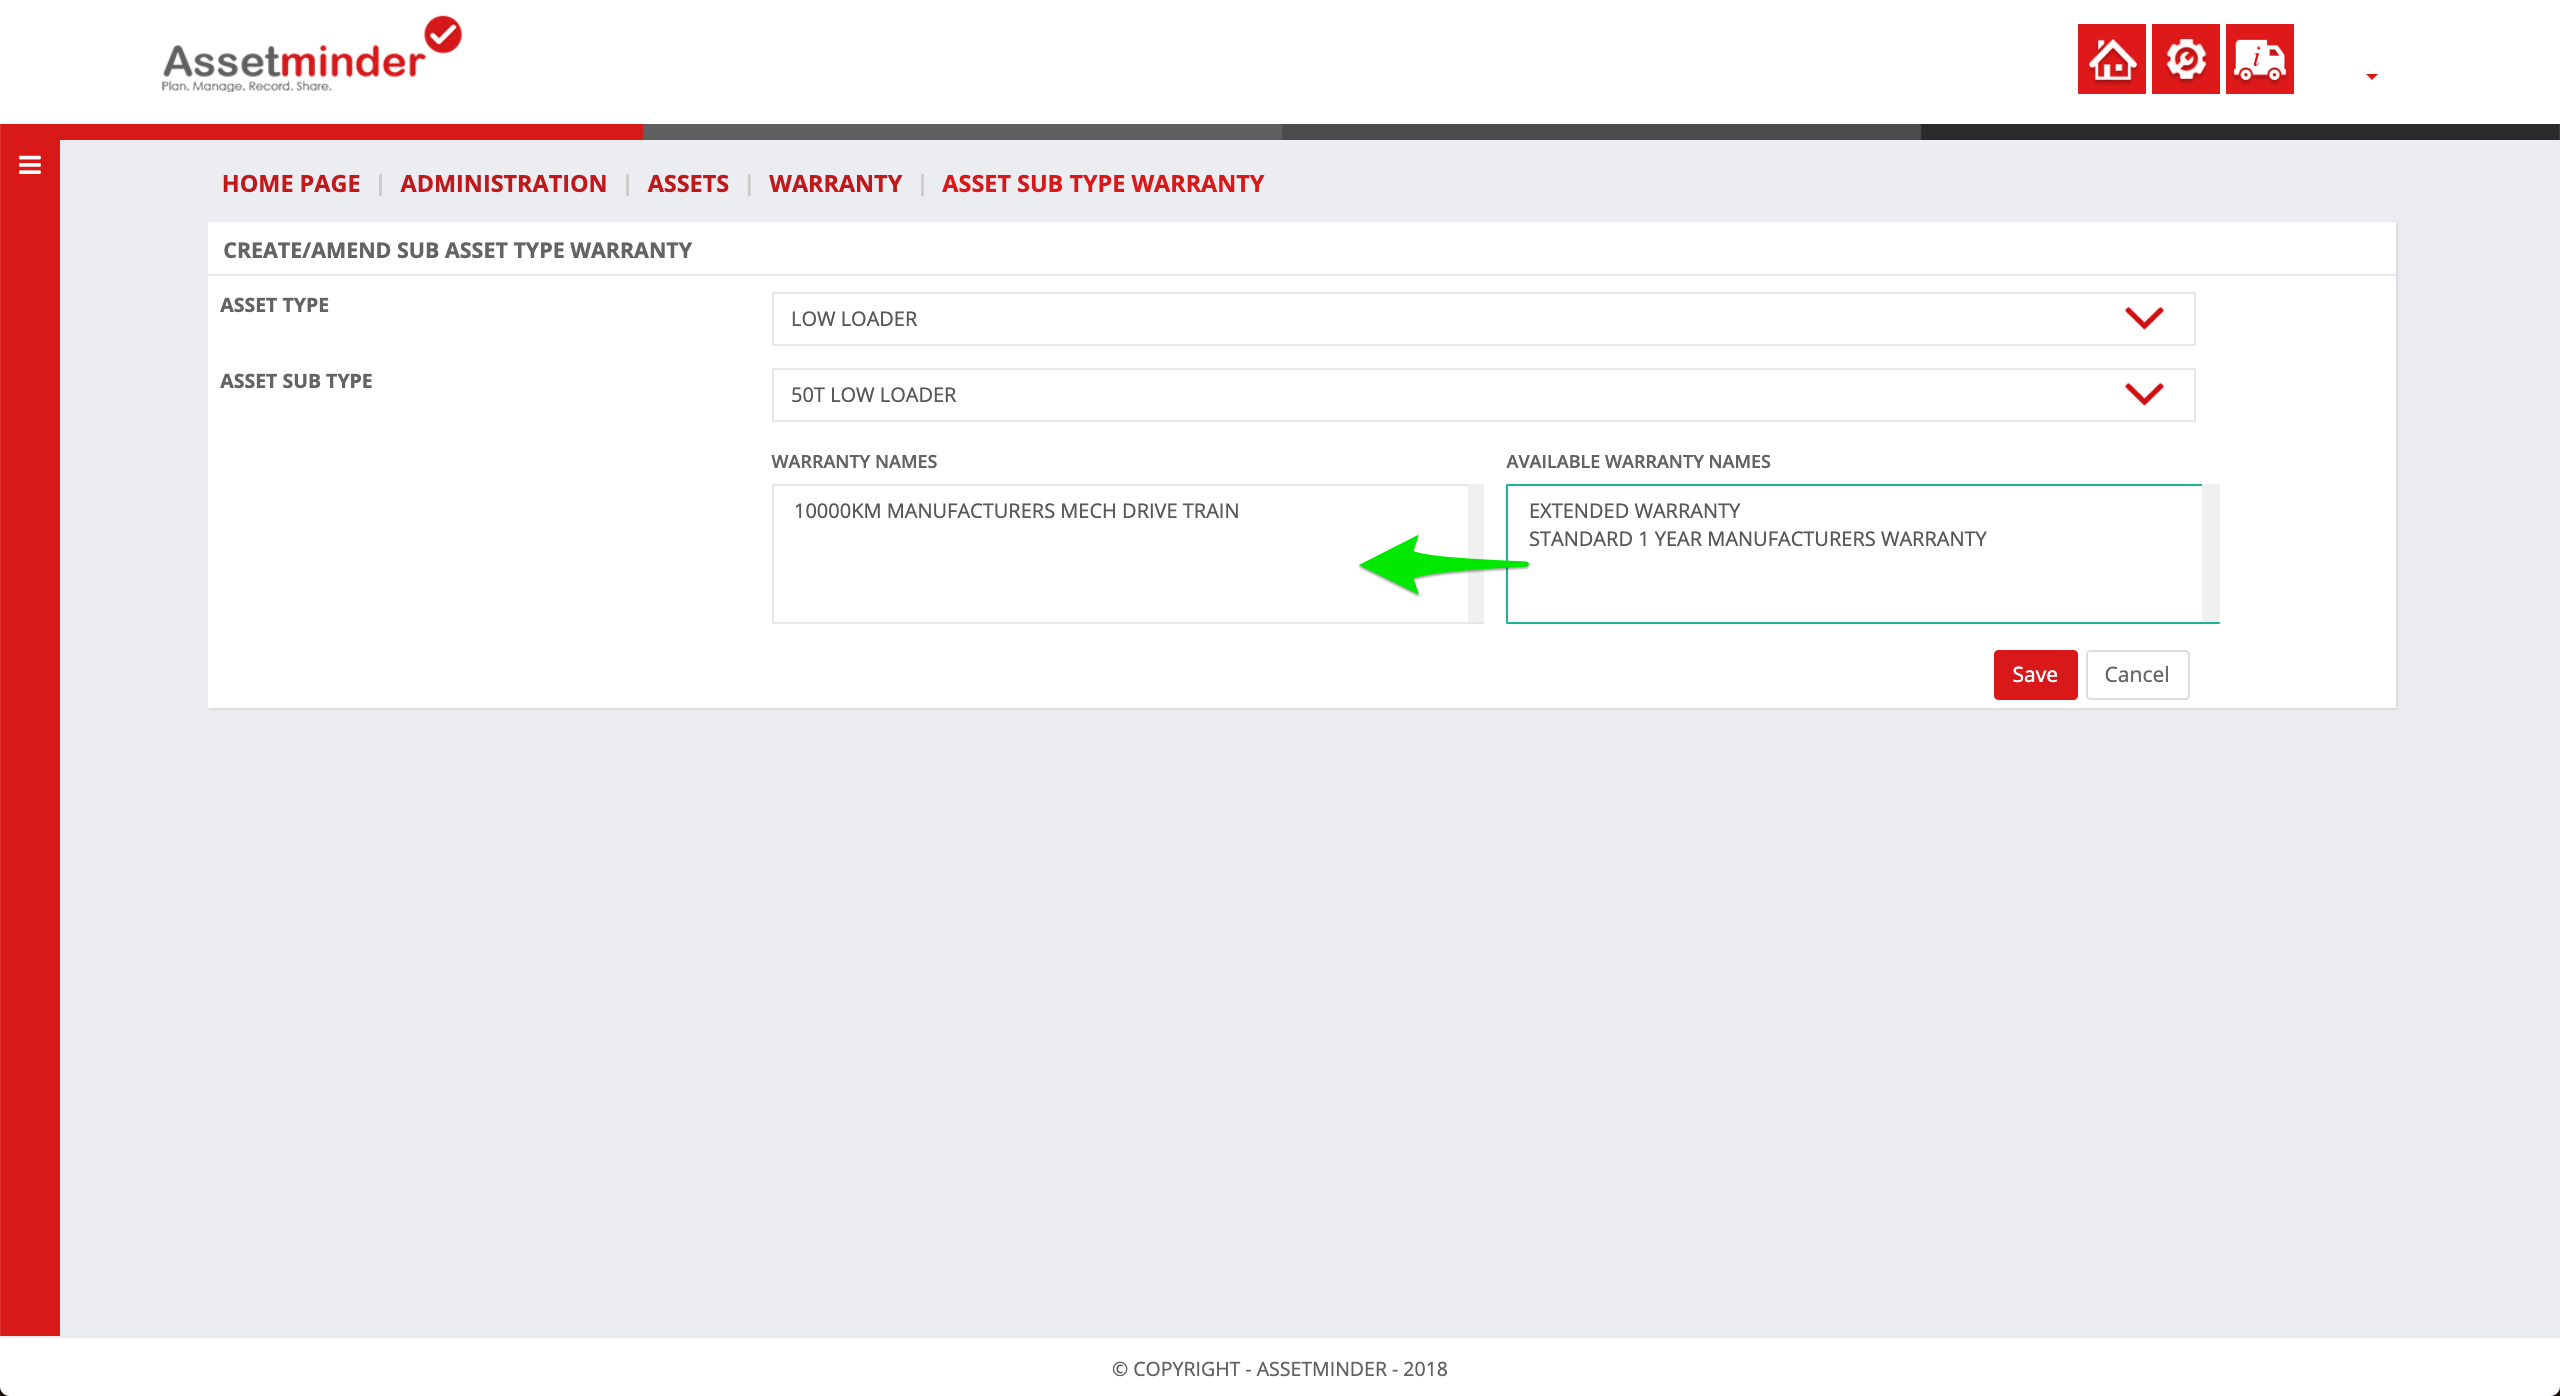
4. The list of available warranty types appears on the right hand side. Simply click the available warranty types to make them available for the asset subtype
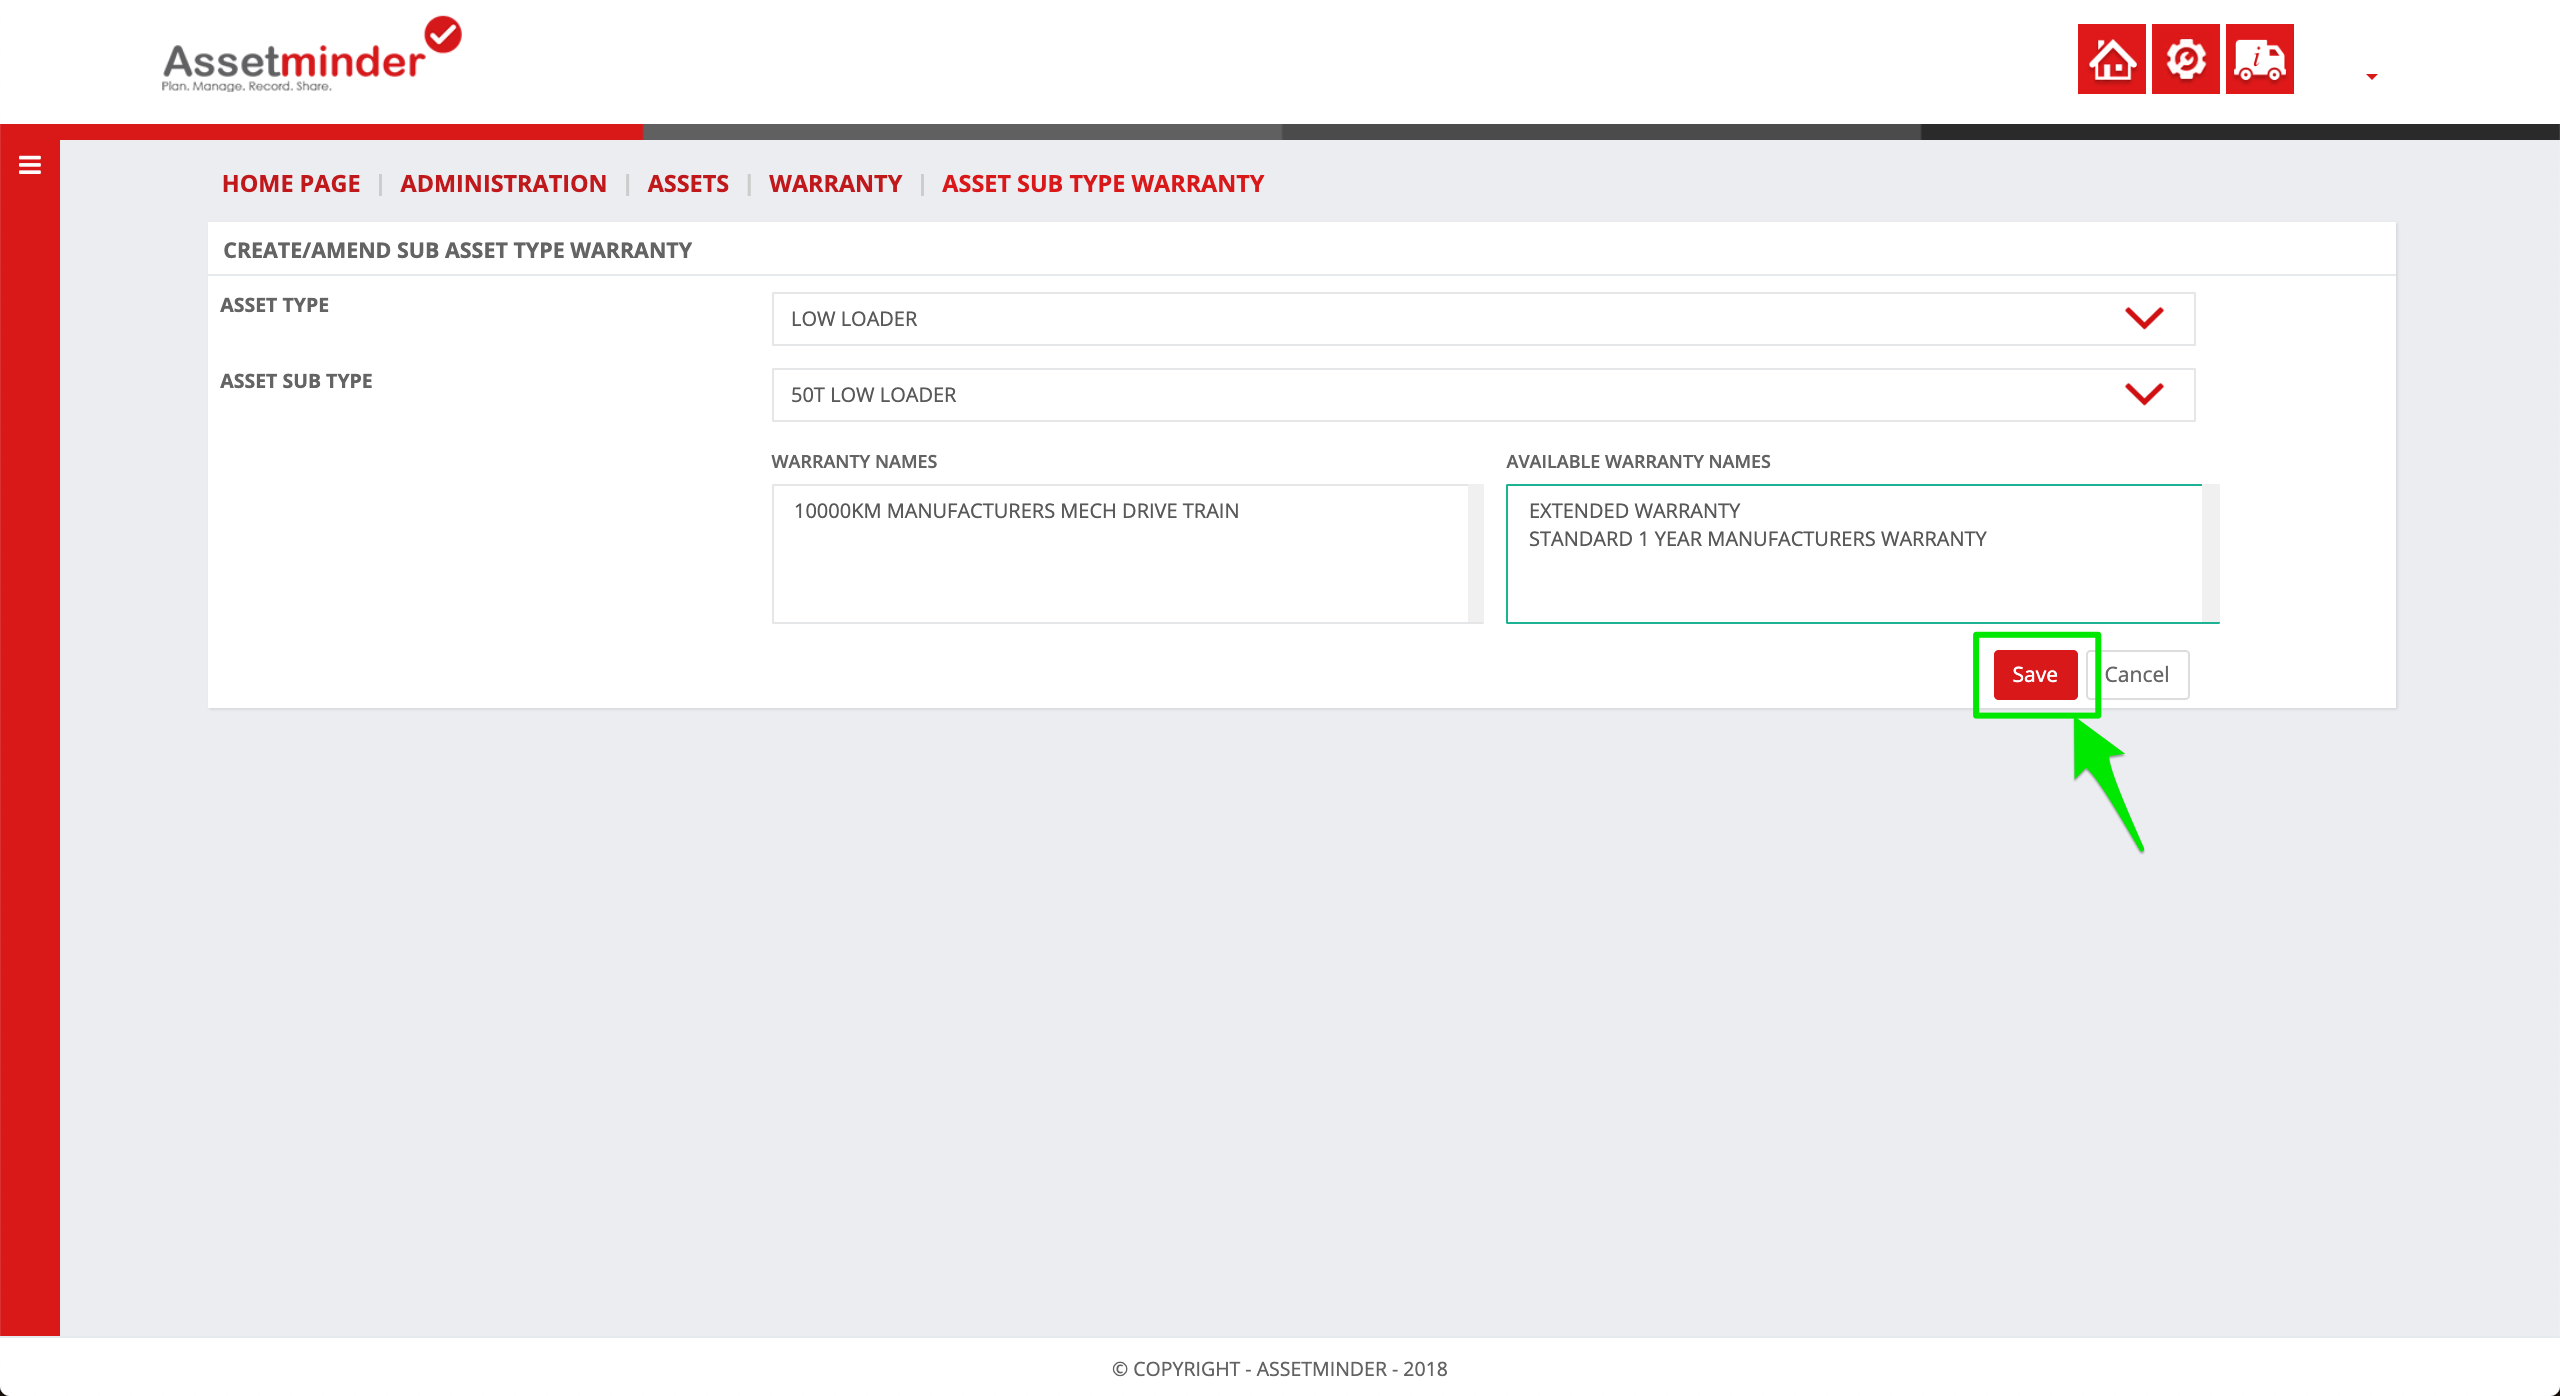
5. Click Save to lock in the changes.
6. Repeat the process for all other asset warranties and subtypes
Conor Gibson
Comments