PROCEDURE
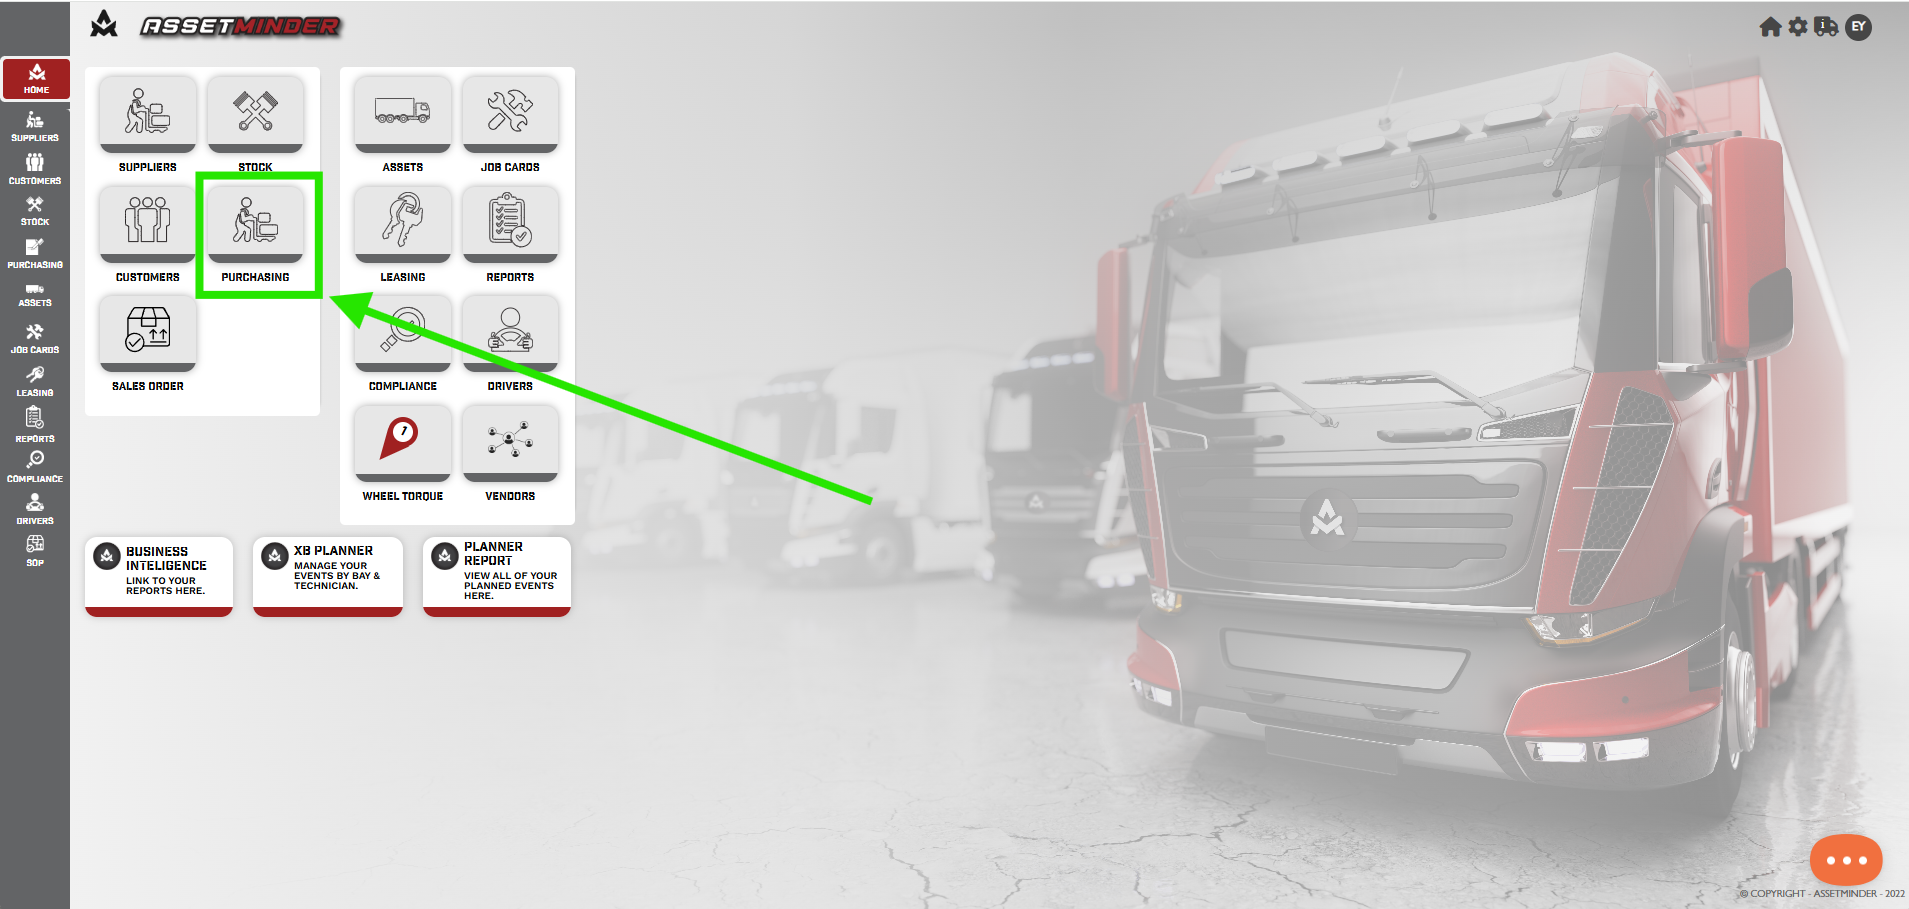
1. Click on the purchasing icon.
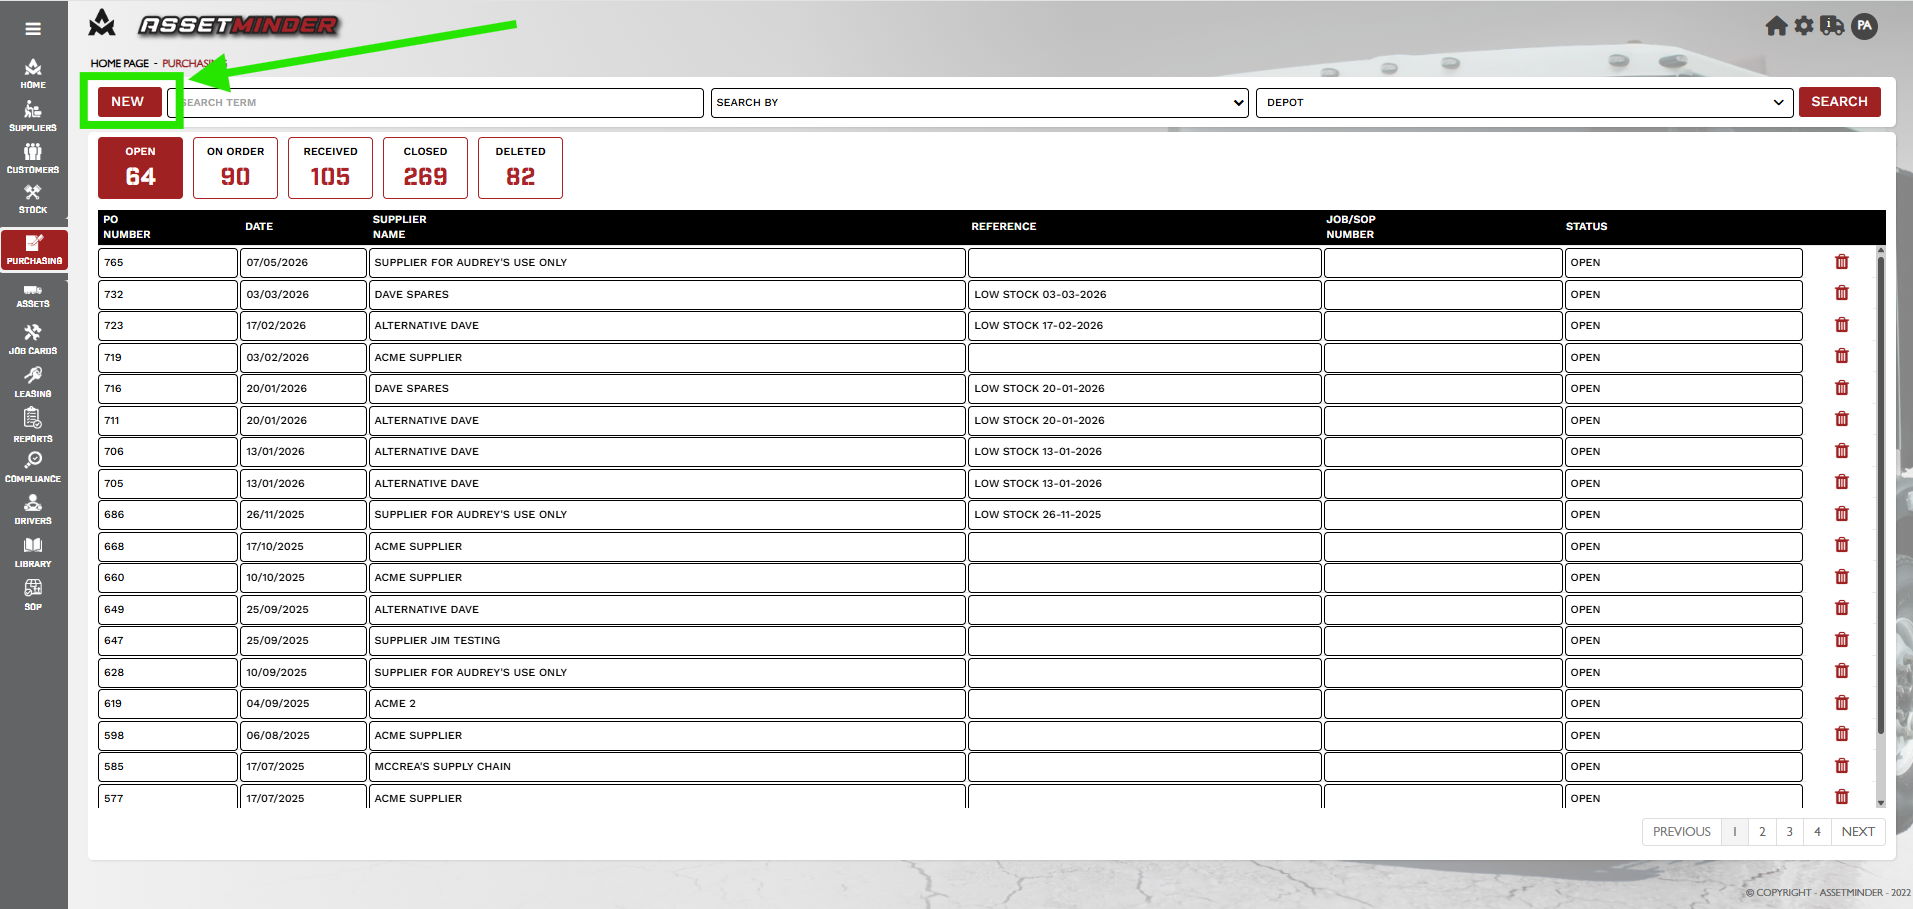
2. Click on New.
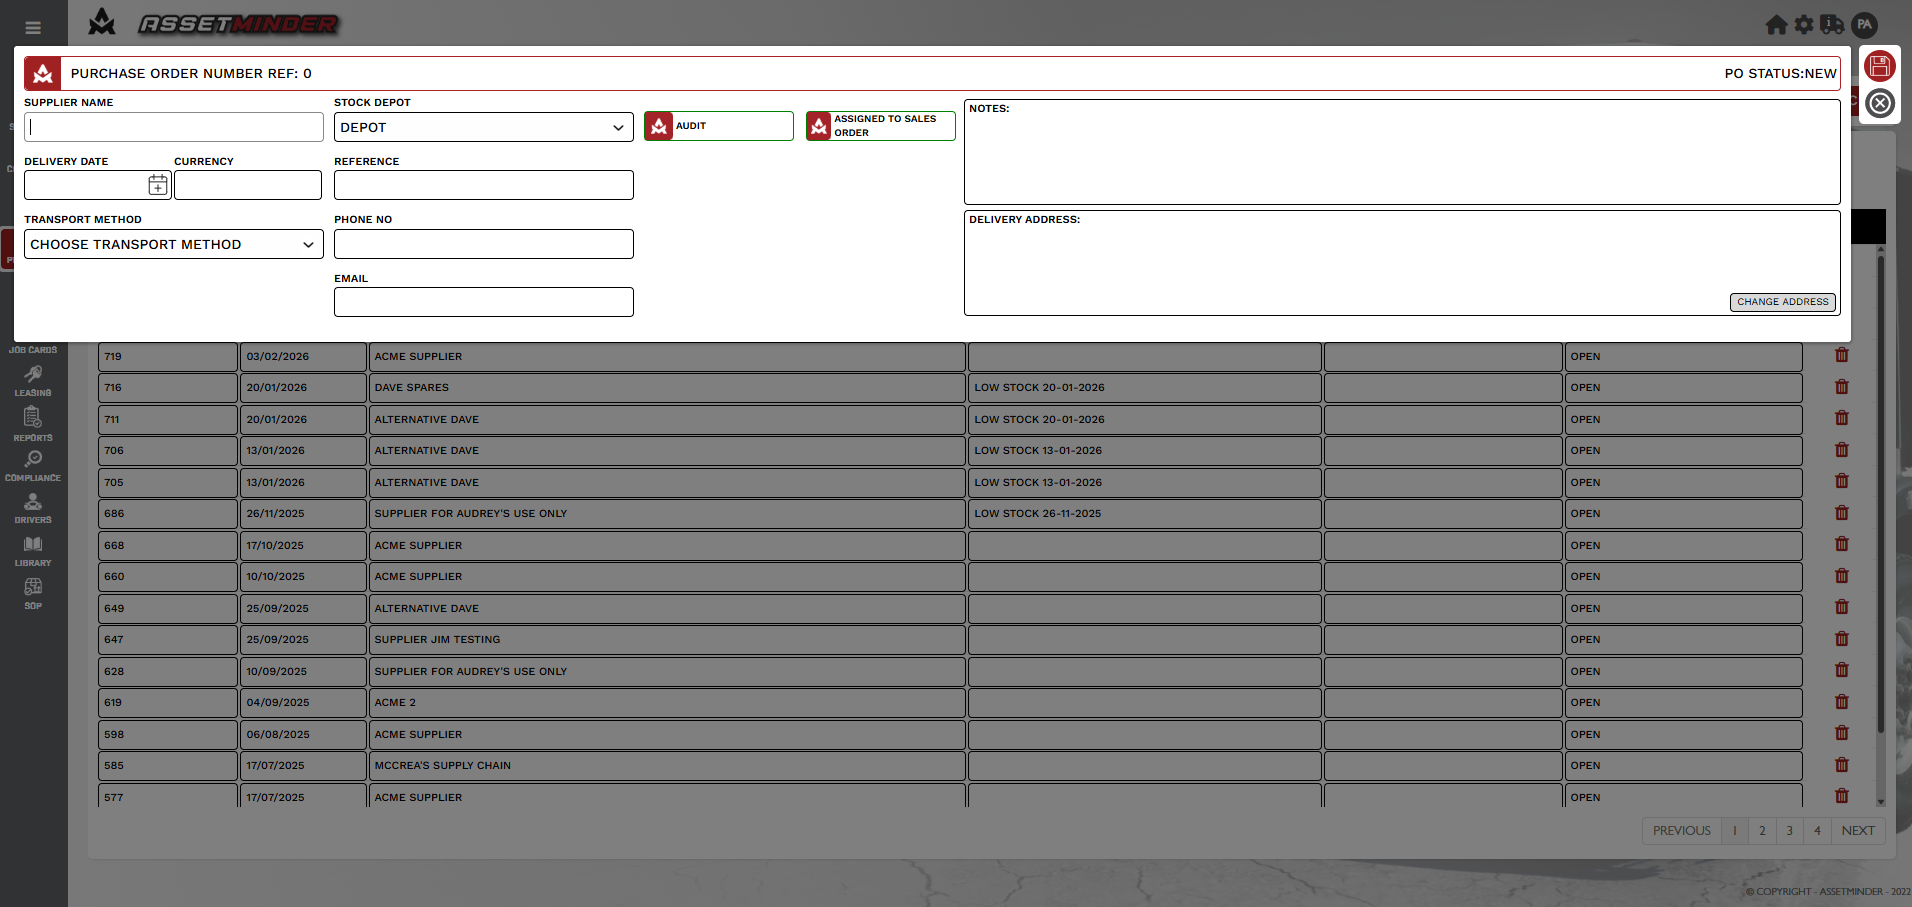
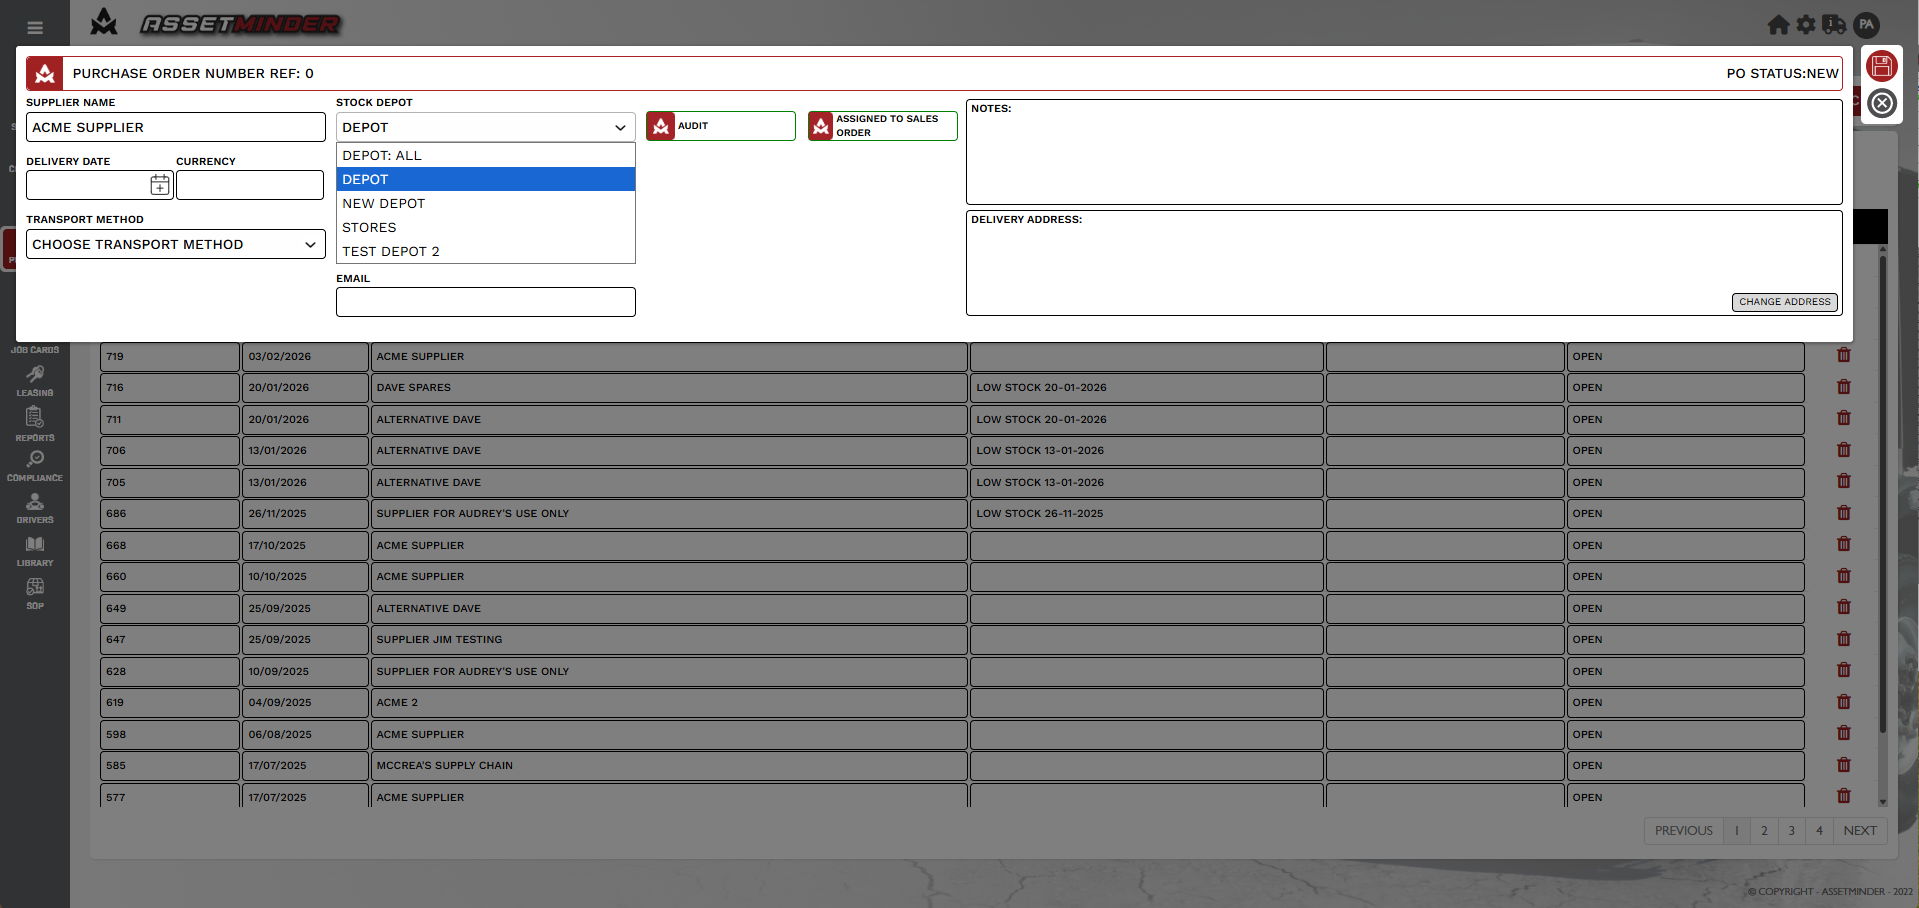
3. A dialogue box will open.
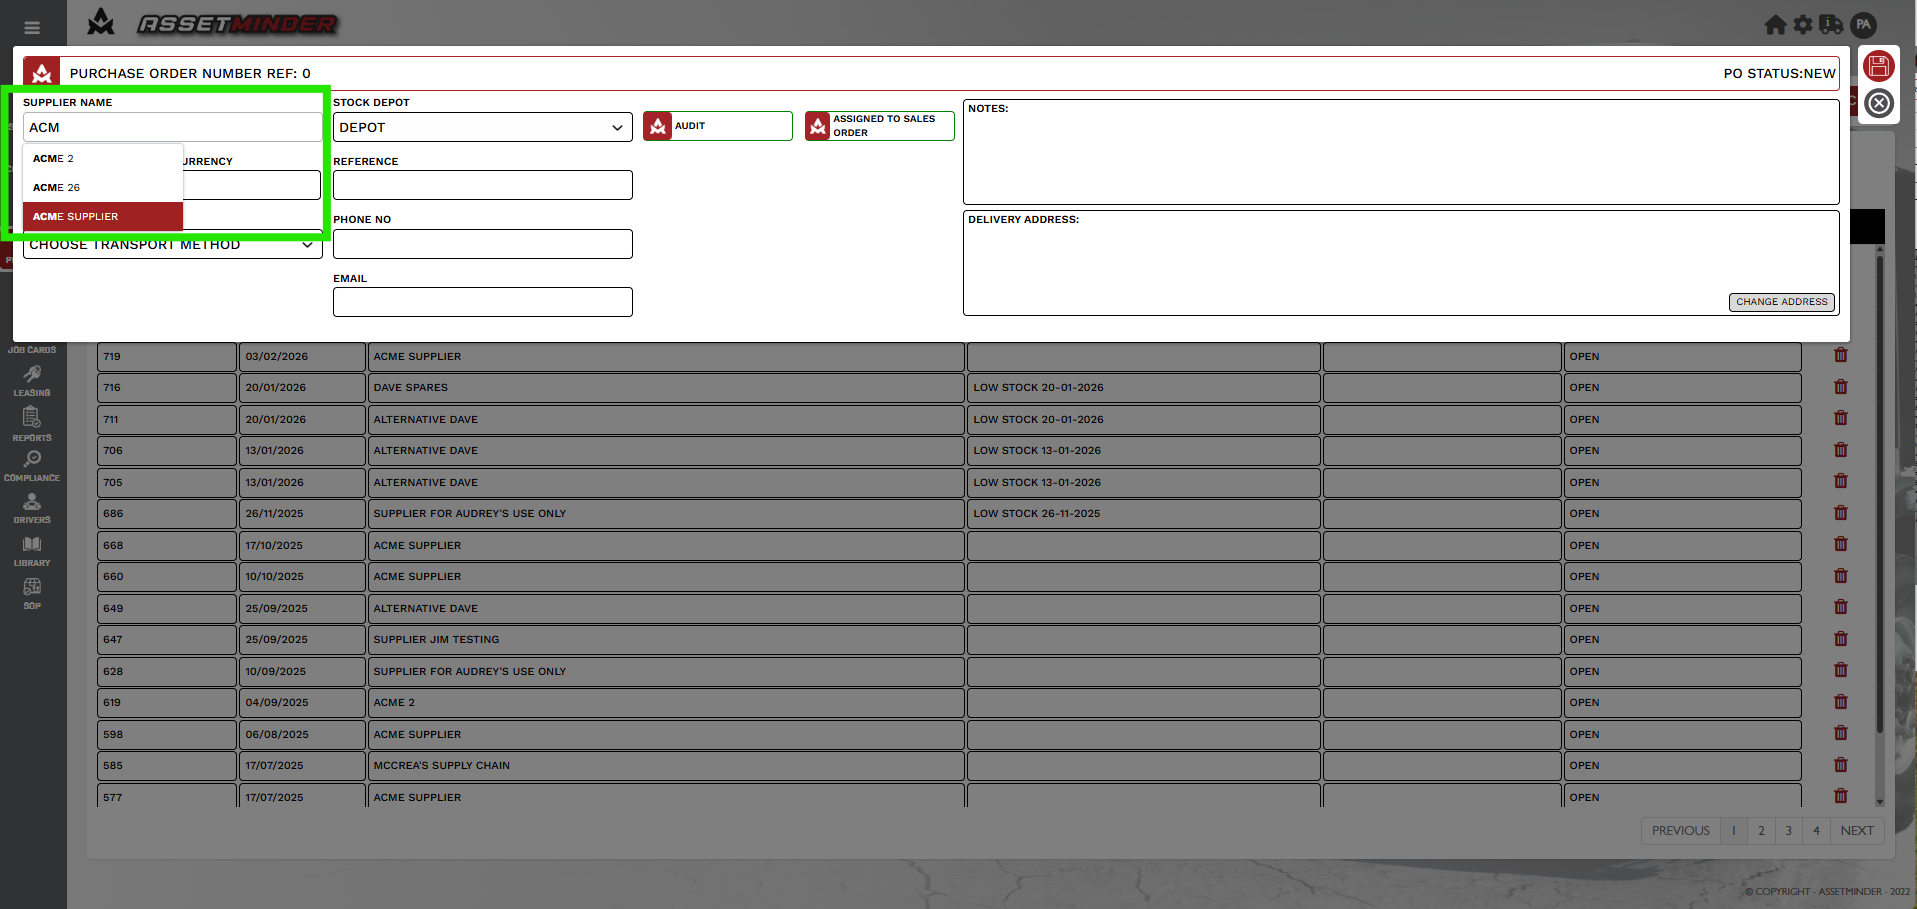
4. Enter the Supplier name and select the Supplier.
5. Select the depot.
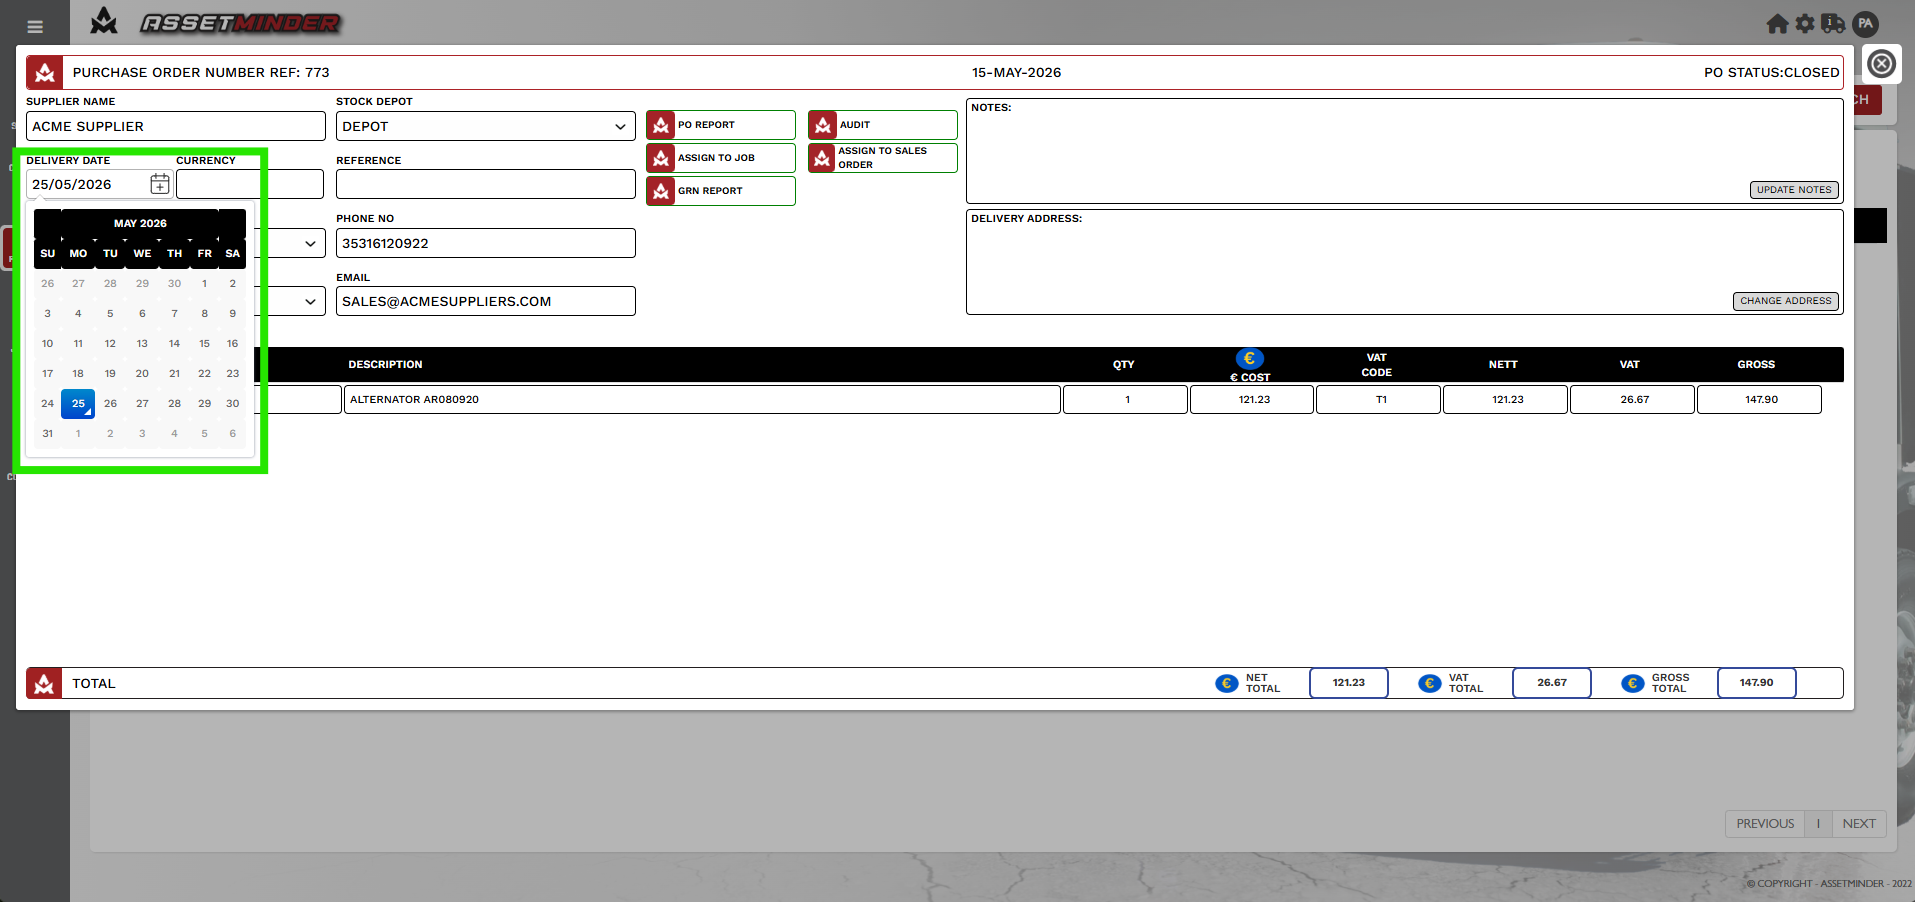
6. A Delivery Date can be selected.
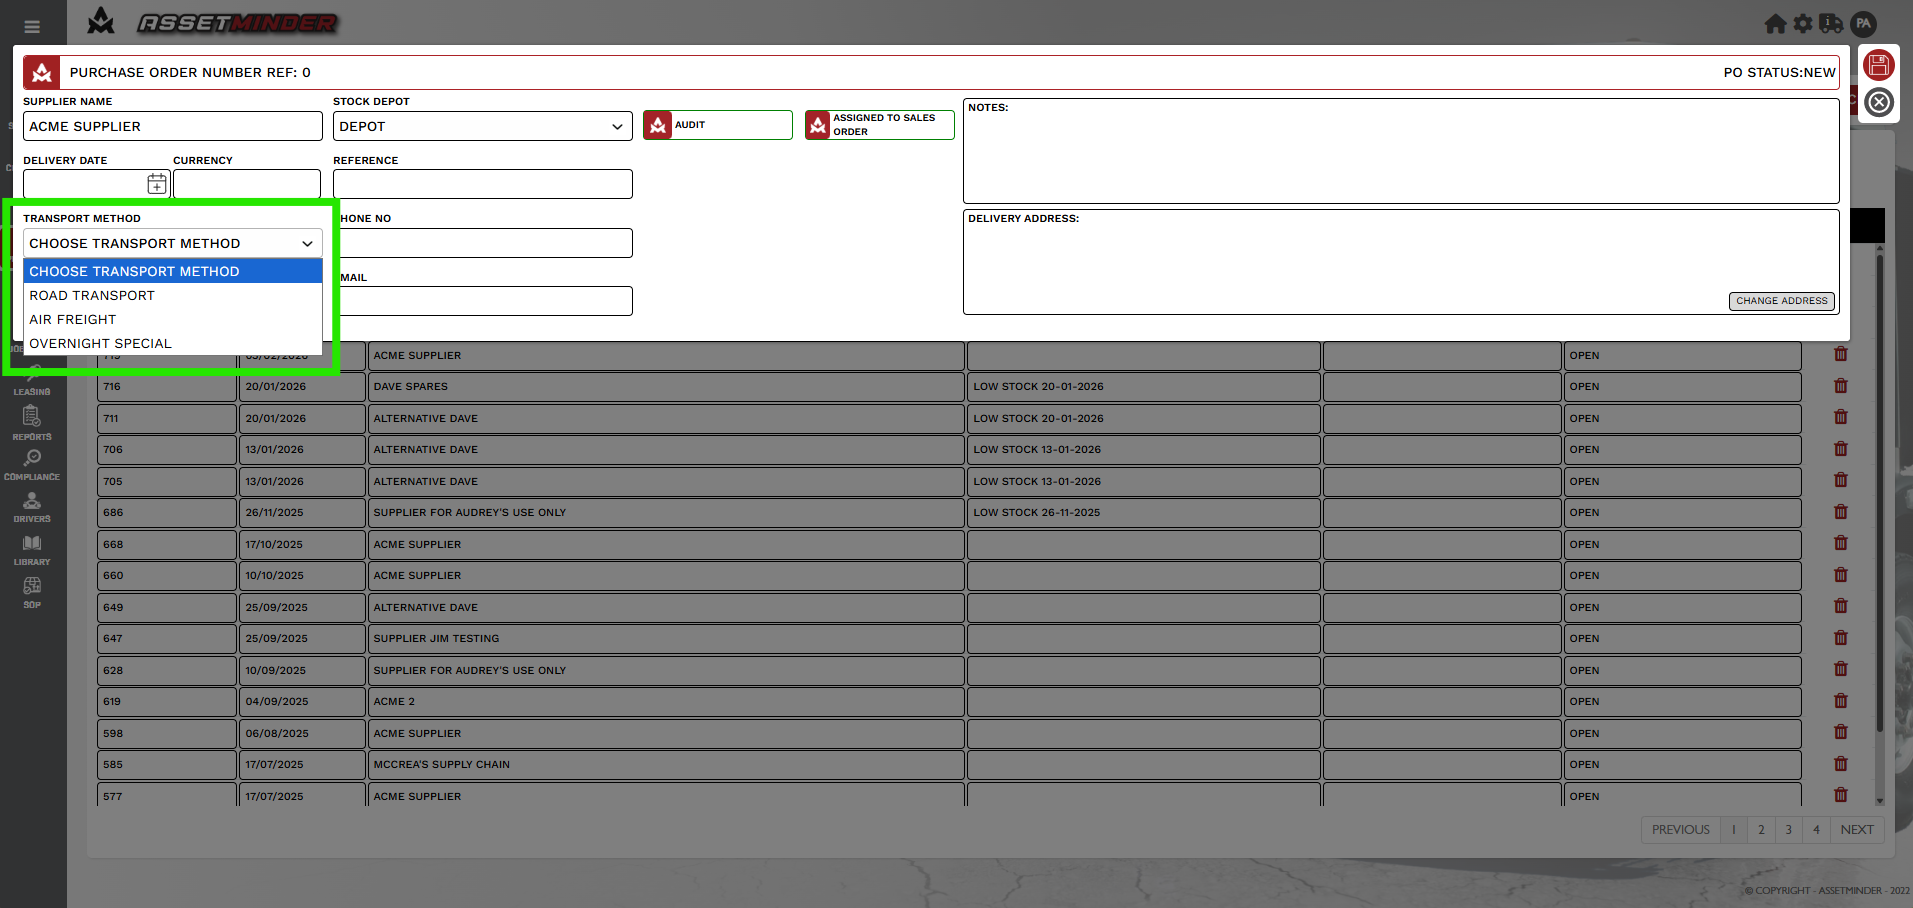
7. Choose transport method.
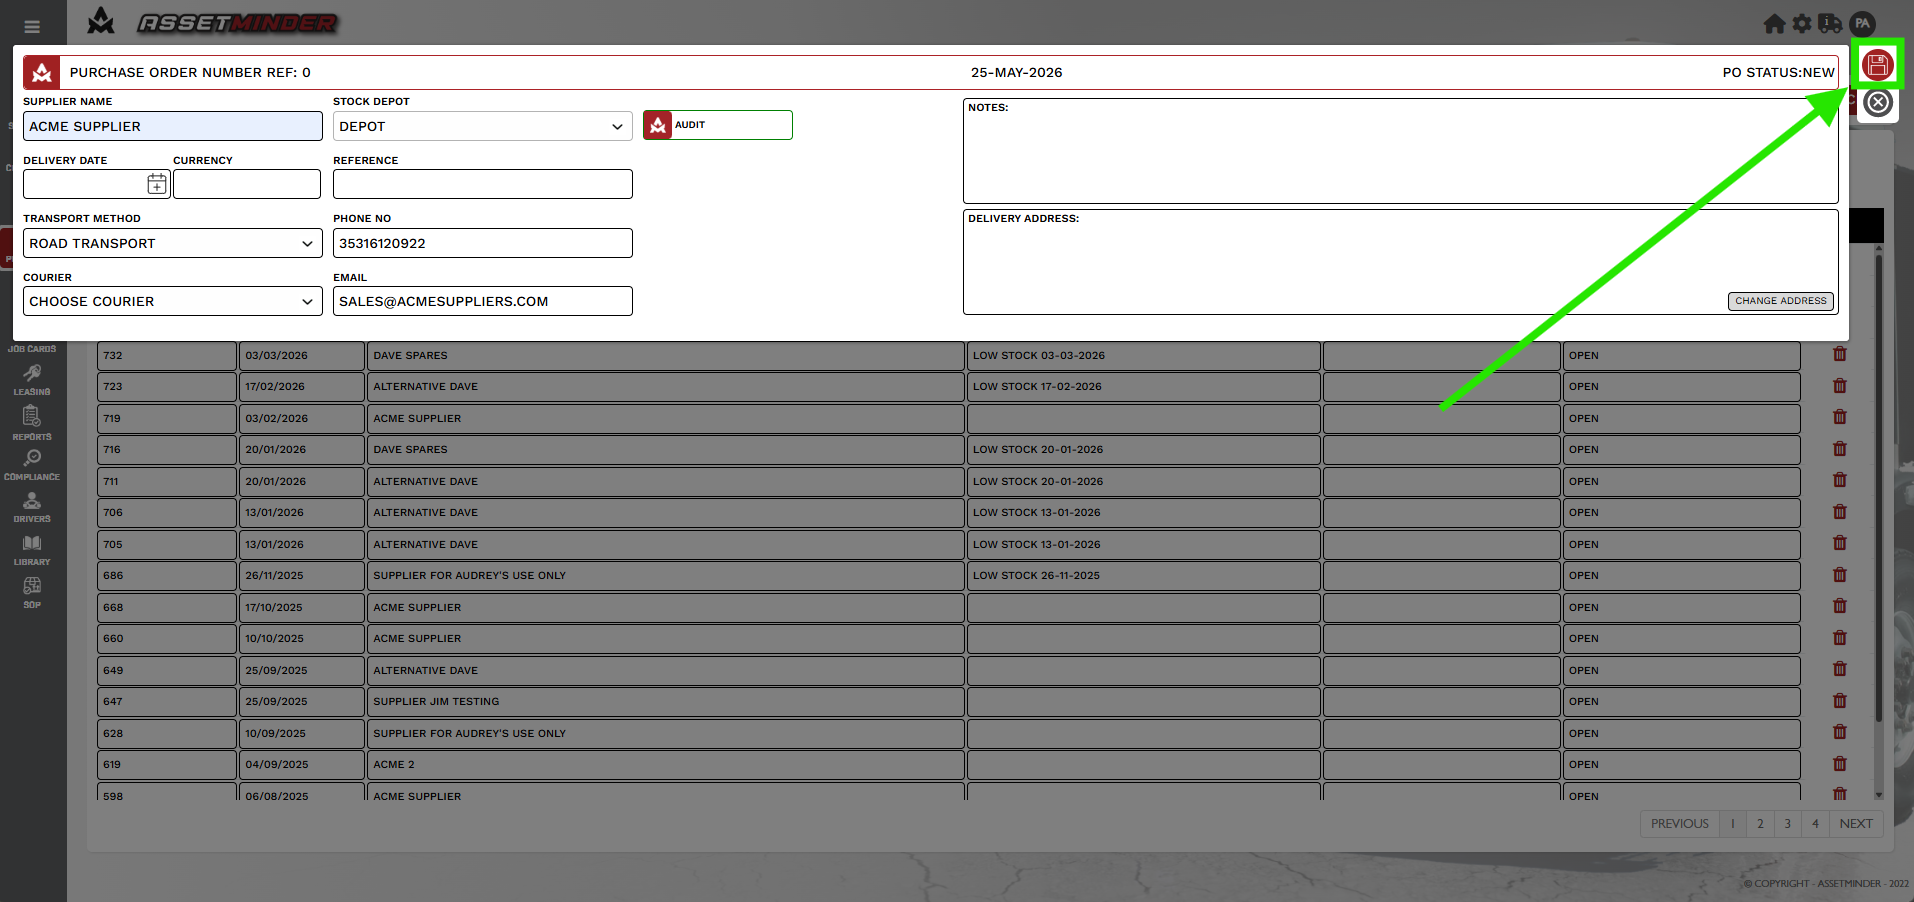
8. Click Save.
9. Select ADD PART
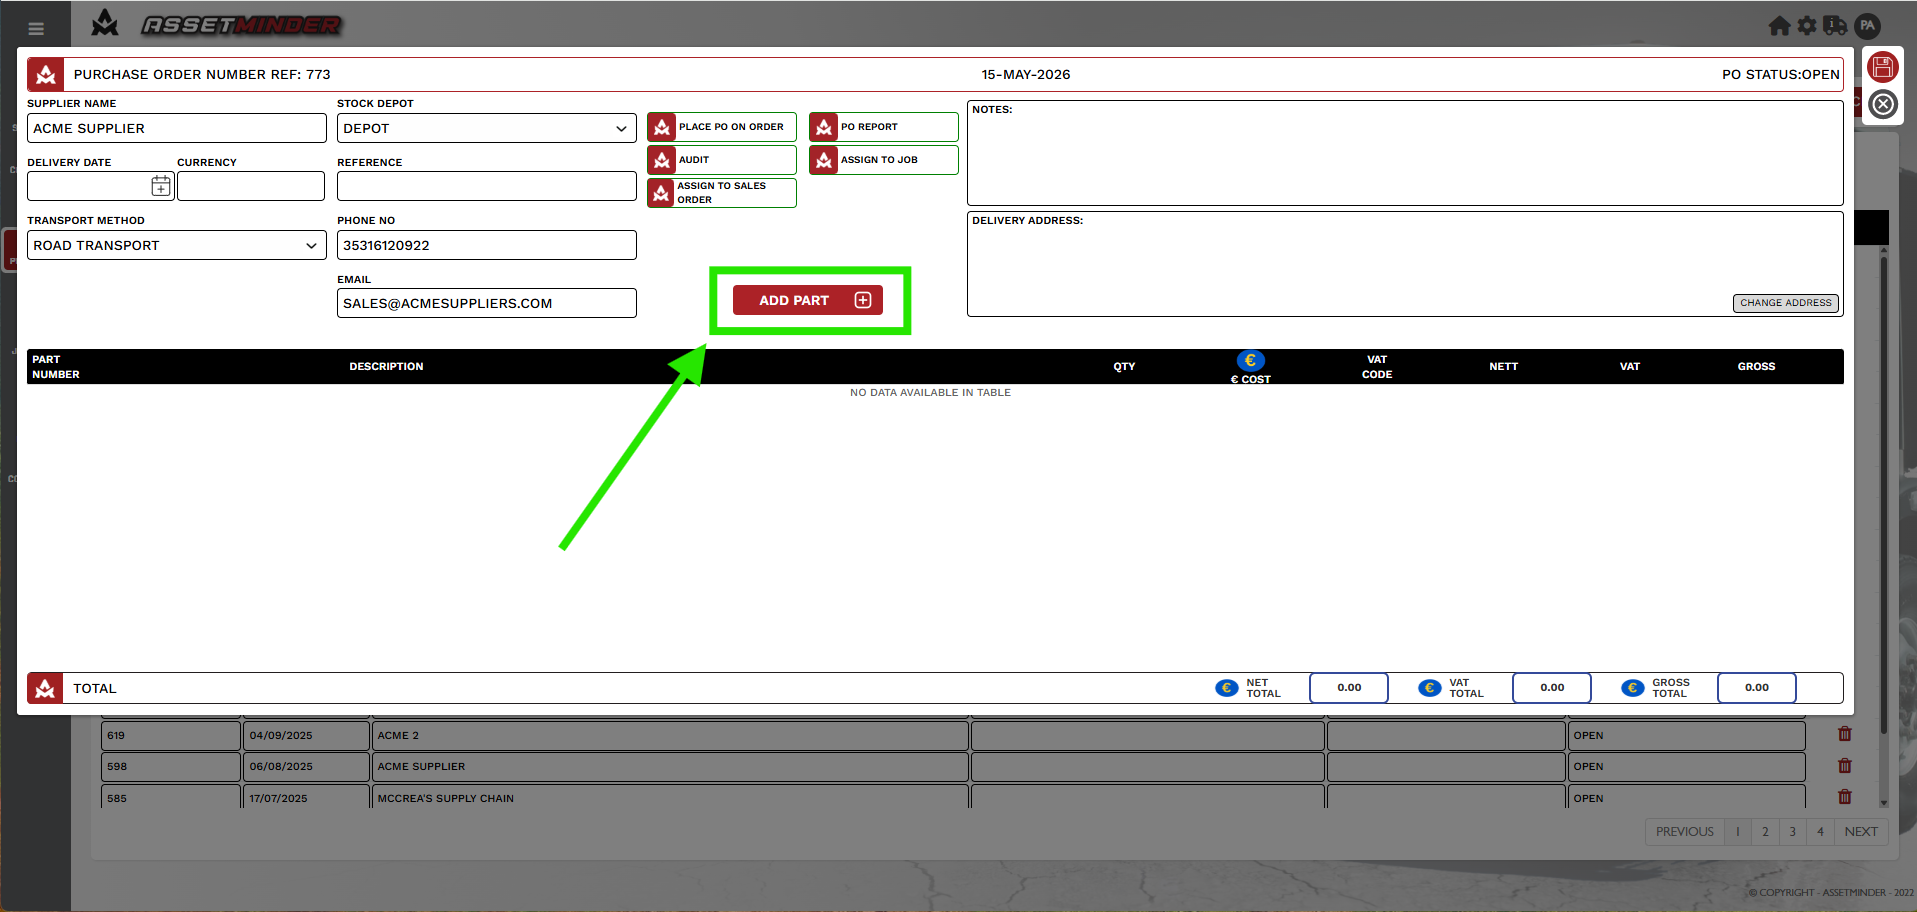
10. A dialogue box will appear.
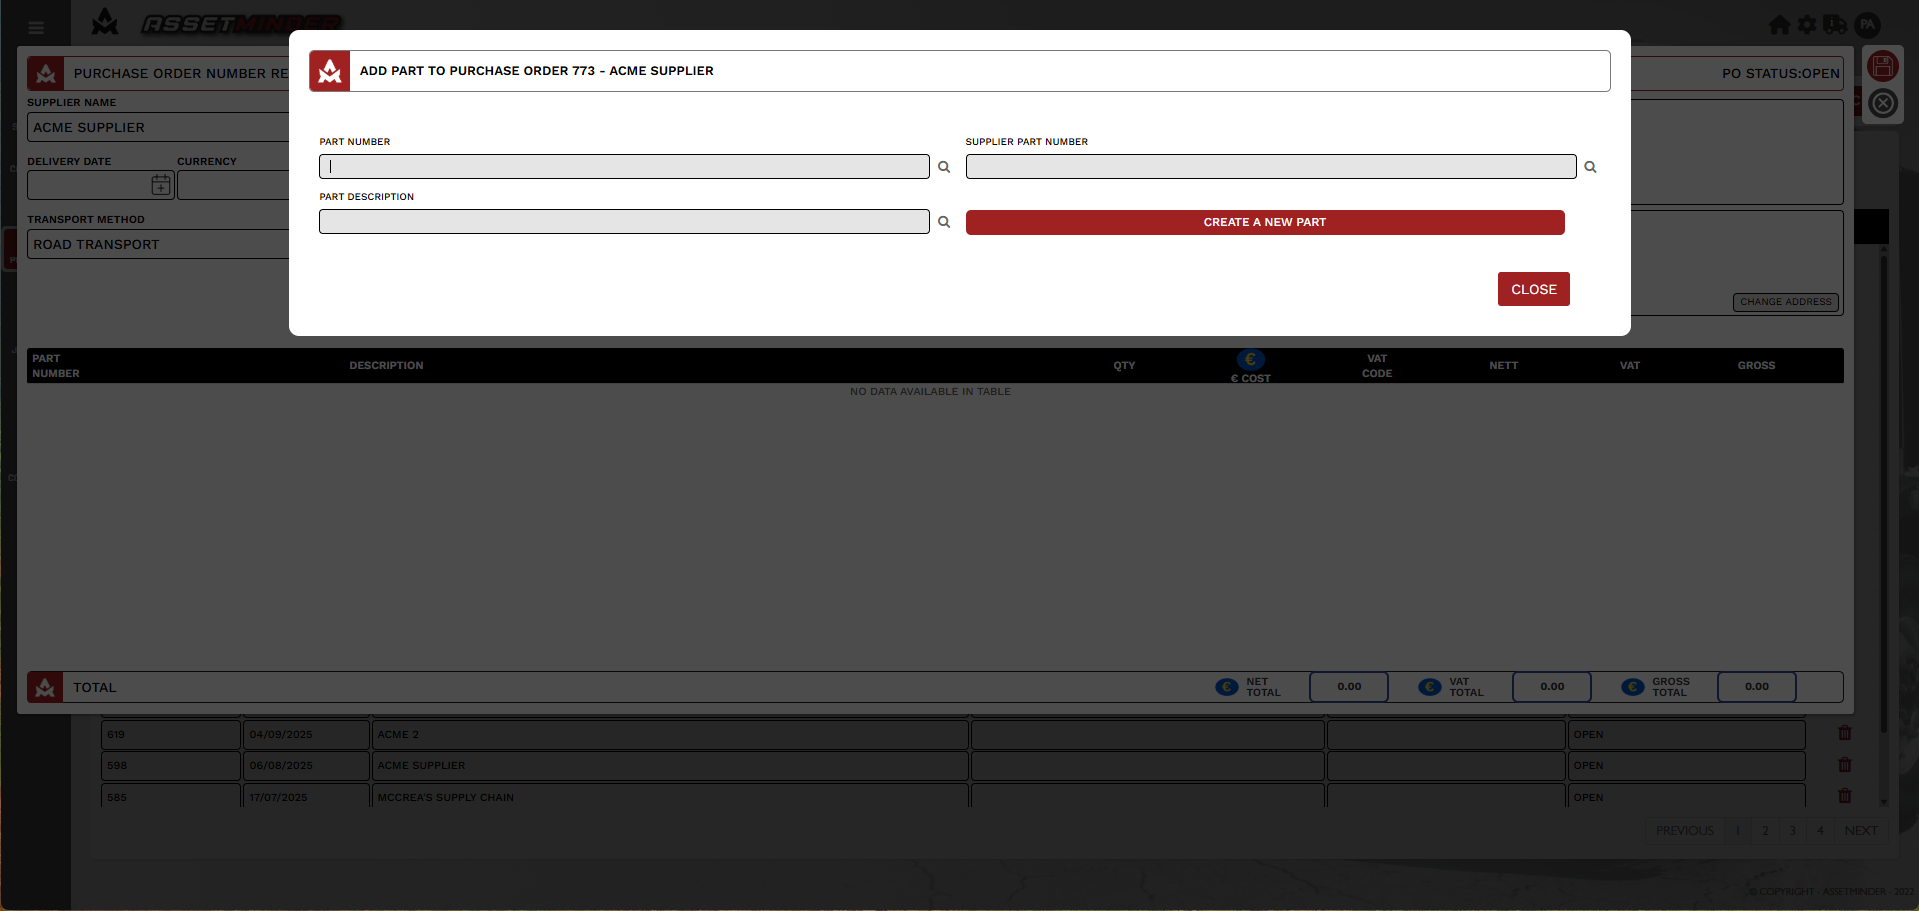
The user can find the part information by either entering:
PART NUMBER or a partial PART NUMBER.
For example, if the part number is '33123' and the user enters, '123' the part number and any other parts from this supplier will be shown.
SUPPLIER PART NUMBER or partial SUPPLIER PART NUMBER.
If the user organisation PART NUMBER is different to the number used by the supplier, and this is known to the user, then this number can be used in the search.
PART DESCRIPTION.
If neither the PART NUMBER or the SUPPLIER PART NUMBER are not known, the user can enter a full or partial PART DESCRIPTION and use this term to locate the part.
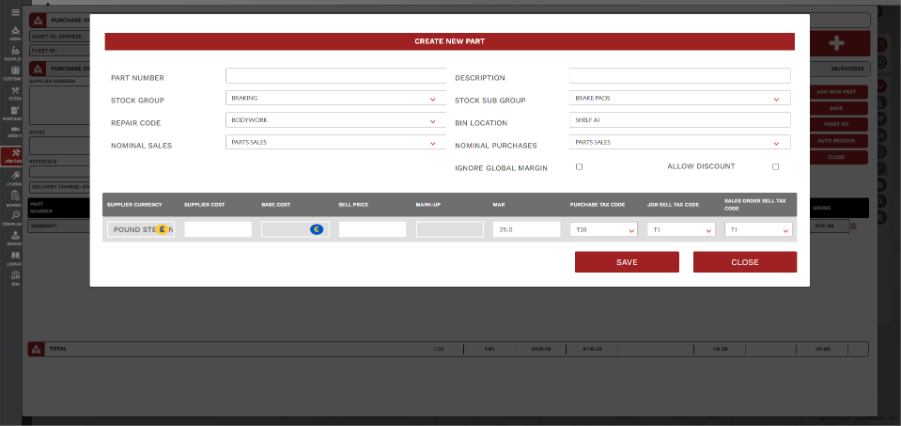
CREATE A NEW PART
If the part is not in the system a new part be created. Click Create a new part and a dialogue box will open. Enter the details of the new part, e.g part number, description, stock group, sub stock group, Bin location, Supplier Cost, Sell price and tax code.
11. Enter the search term and click on the search icon (the magnifying glass icon) to the right of the search term line.
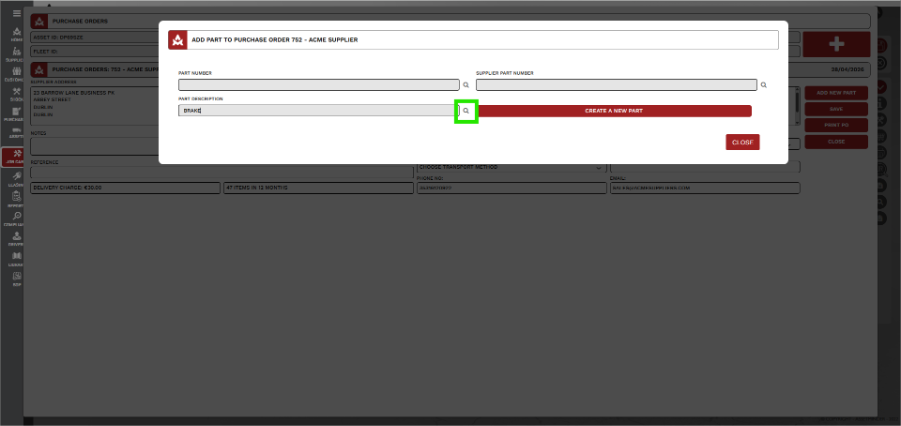
12. In the example below, the search term entered was "BRAKE" and the search returned all matching parts from the nominated supplier.
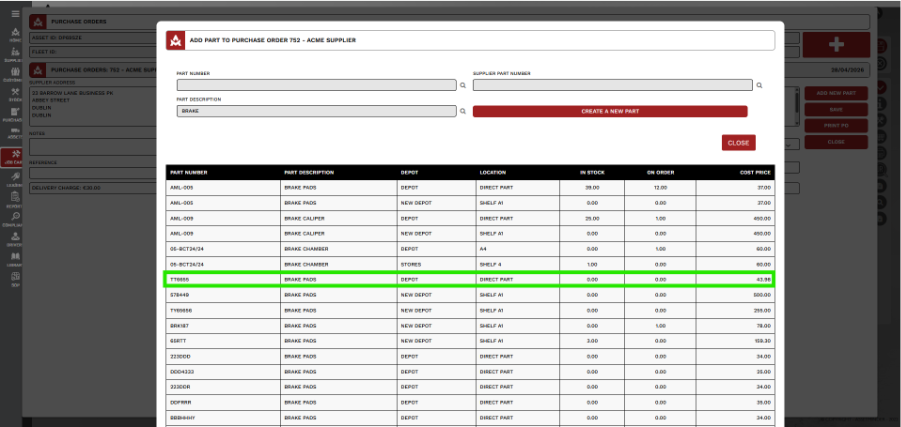
13. Select the part required by clicking on the line. The next dialogue box to be shown will be as follows.
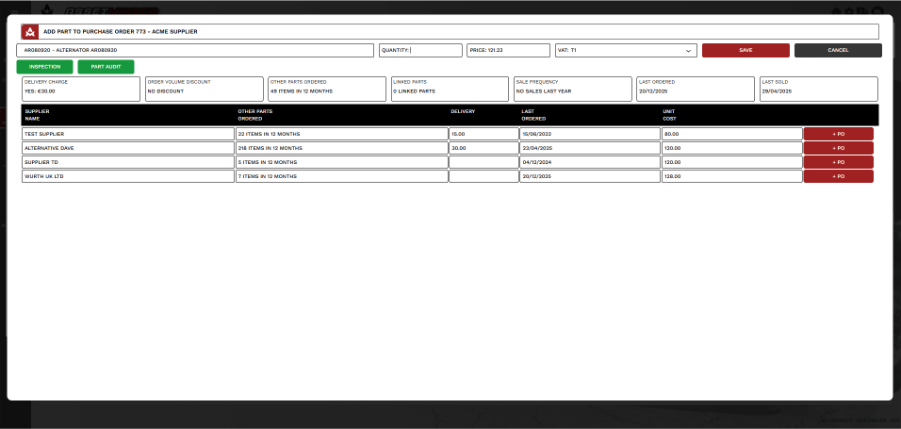
14. The part description detail is shown. In the QUANTITY box, enter the quantity required. The price box will shown the price when last purchased. This can be left as is, or a different price entered. Click Save.

15. Parts may have linked parts when ordering. These can be added to the order or click CLOSE to continue without adding linked parts.
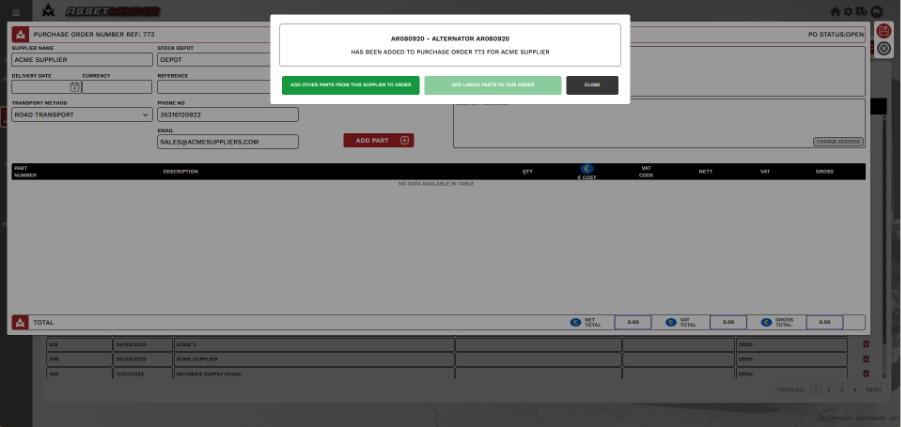
16. Clicks on SAVE.
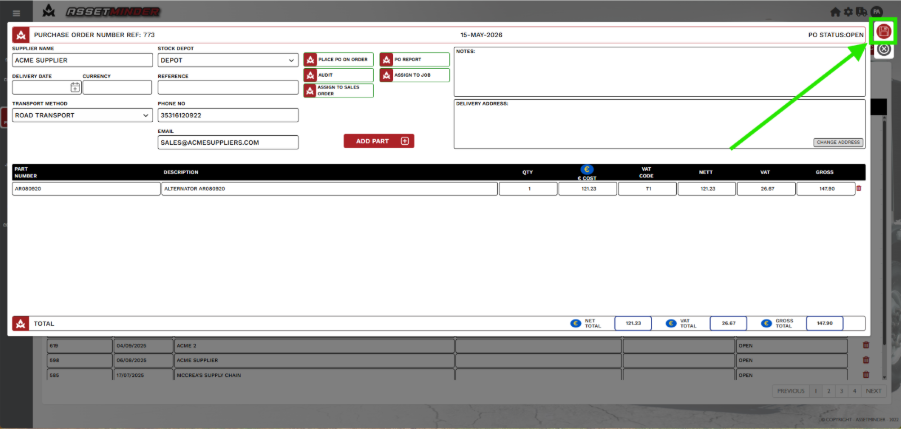
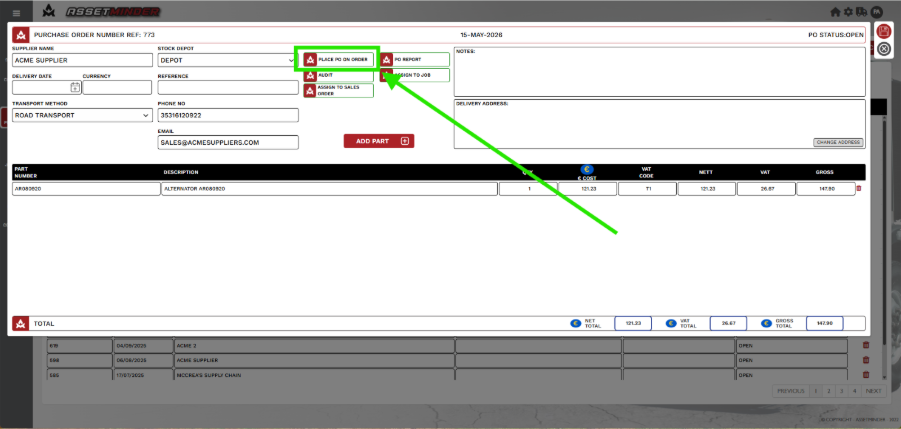
17. Click on PLACE PO ON ORDER. This will initiate the order with the supplier.
Paul Murray
Comments