Background
This procedure outlines the steps necessary to create a planned event template. Planned events are time or meter-based events such as 8-week inspections, annual services, or 100KM timing belt changes. The planned event template is created once and used many times in Assetminder. There are two types of triggers:
- Time-based (e.g. every 6 months)
- Meter reading-based (eg. every 10,000KM)
This procedure focuses on time-based events.
Procedure
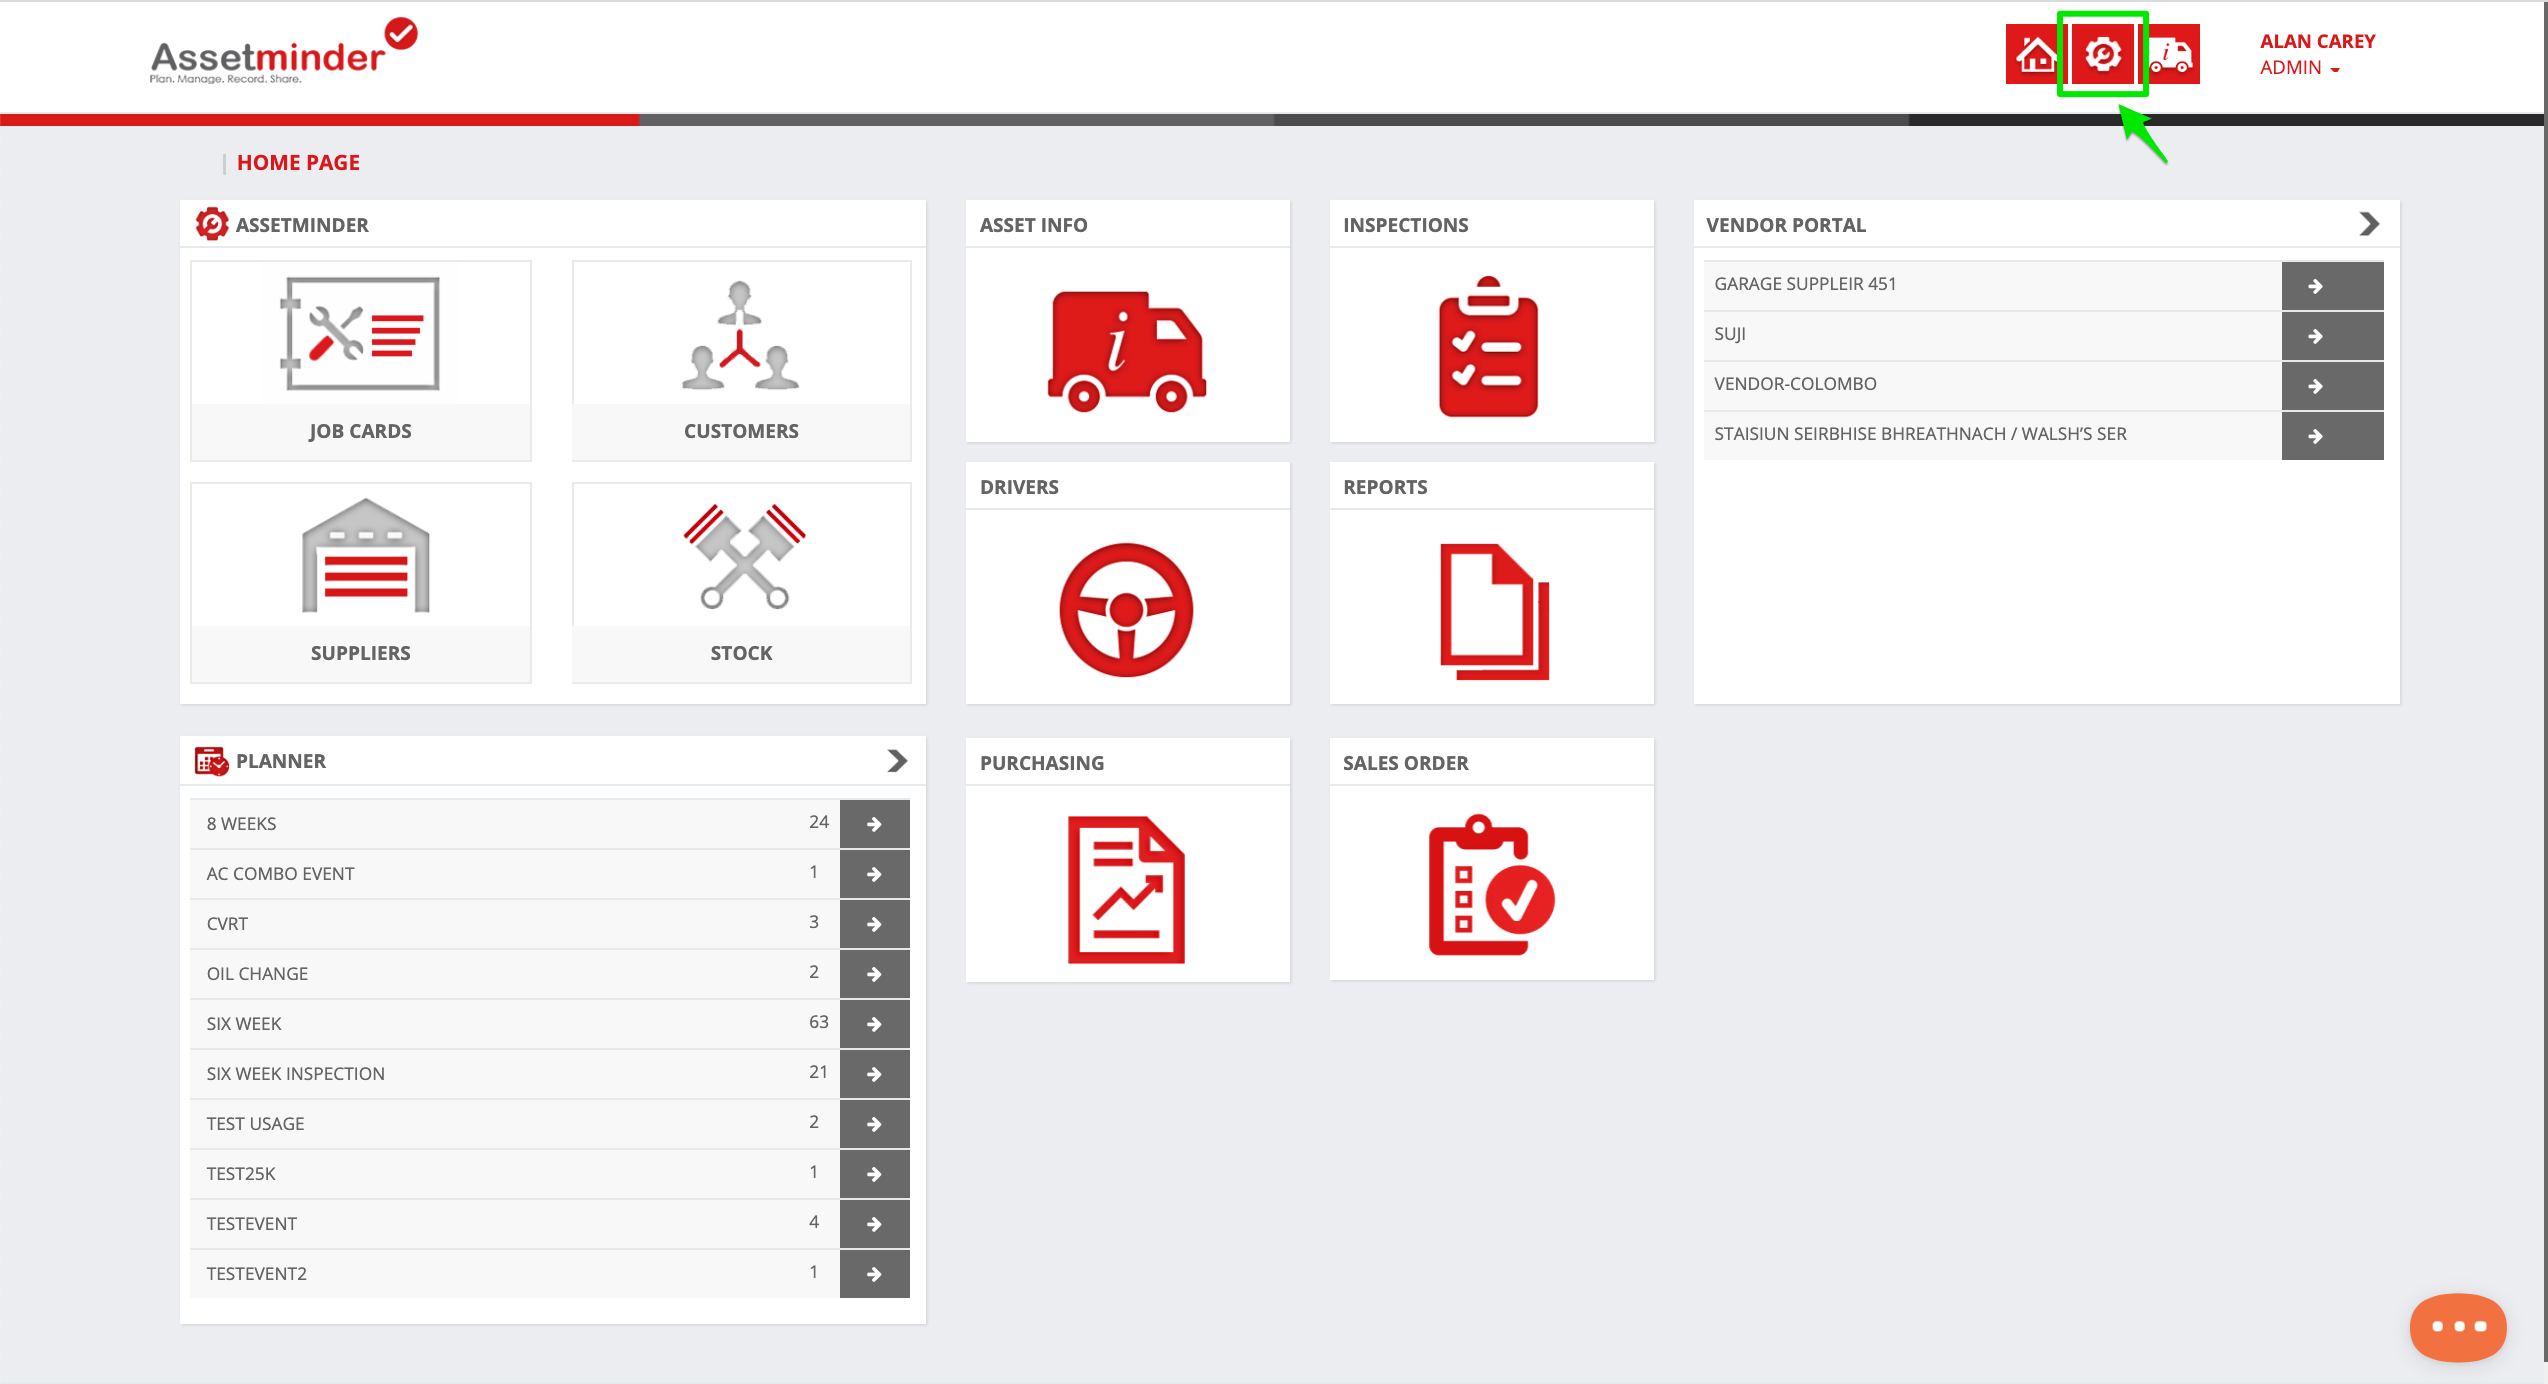
1. To add a new planned event, click the Administrator Settings icon on the home screen
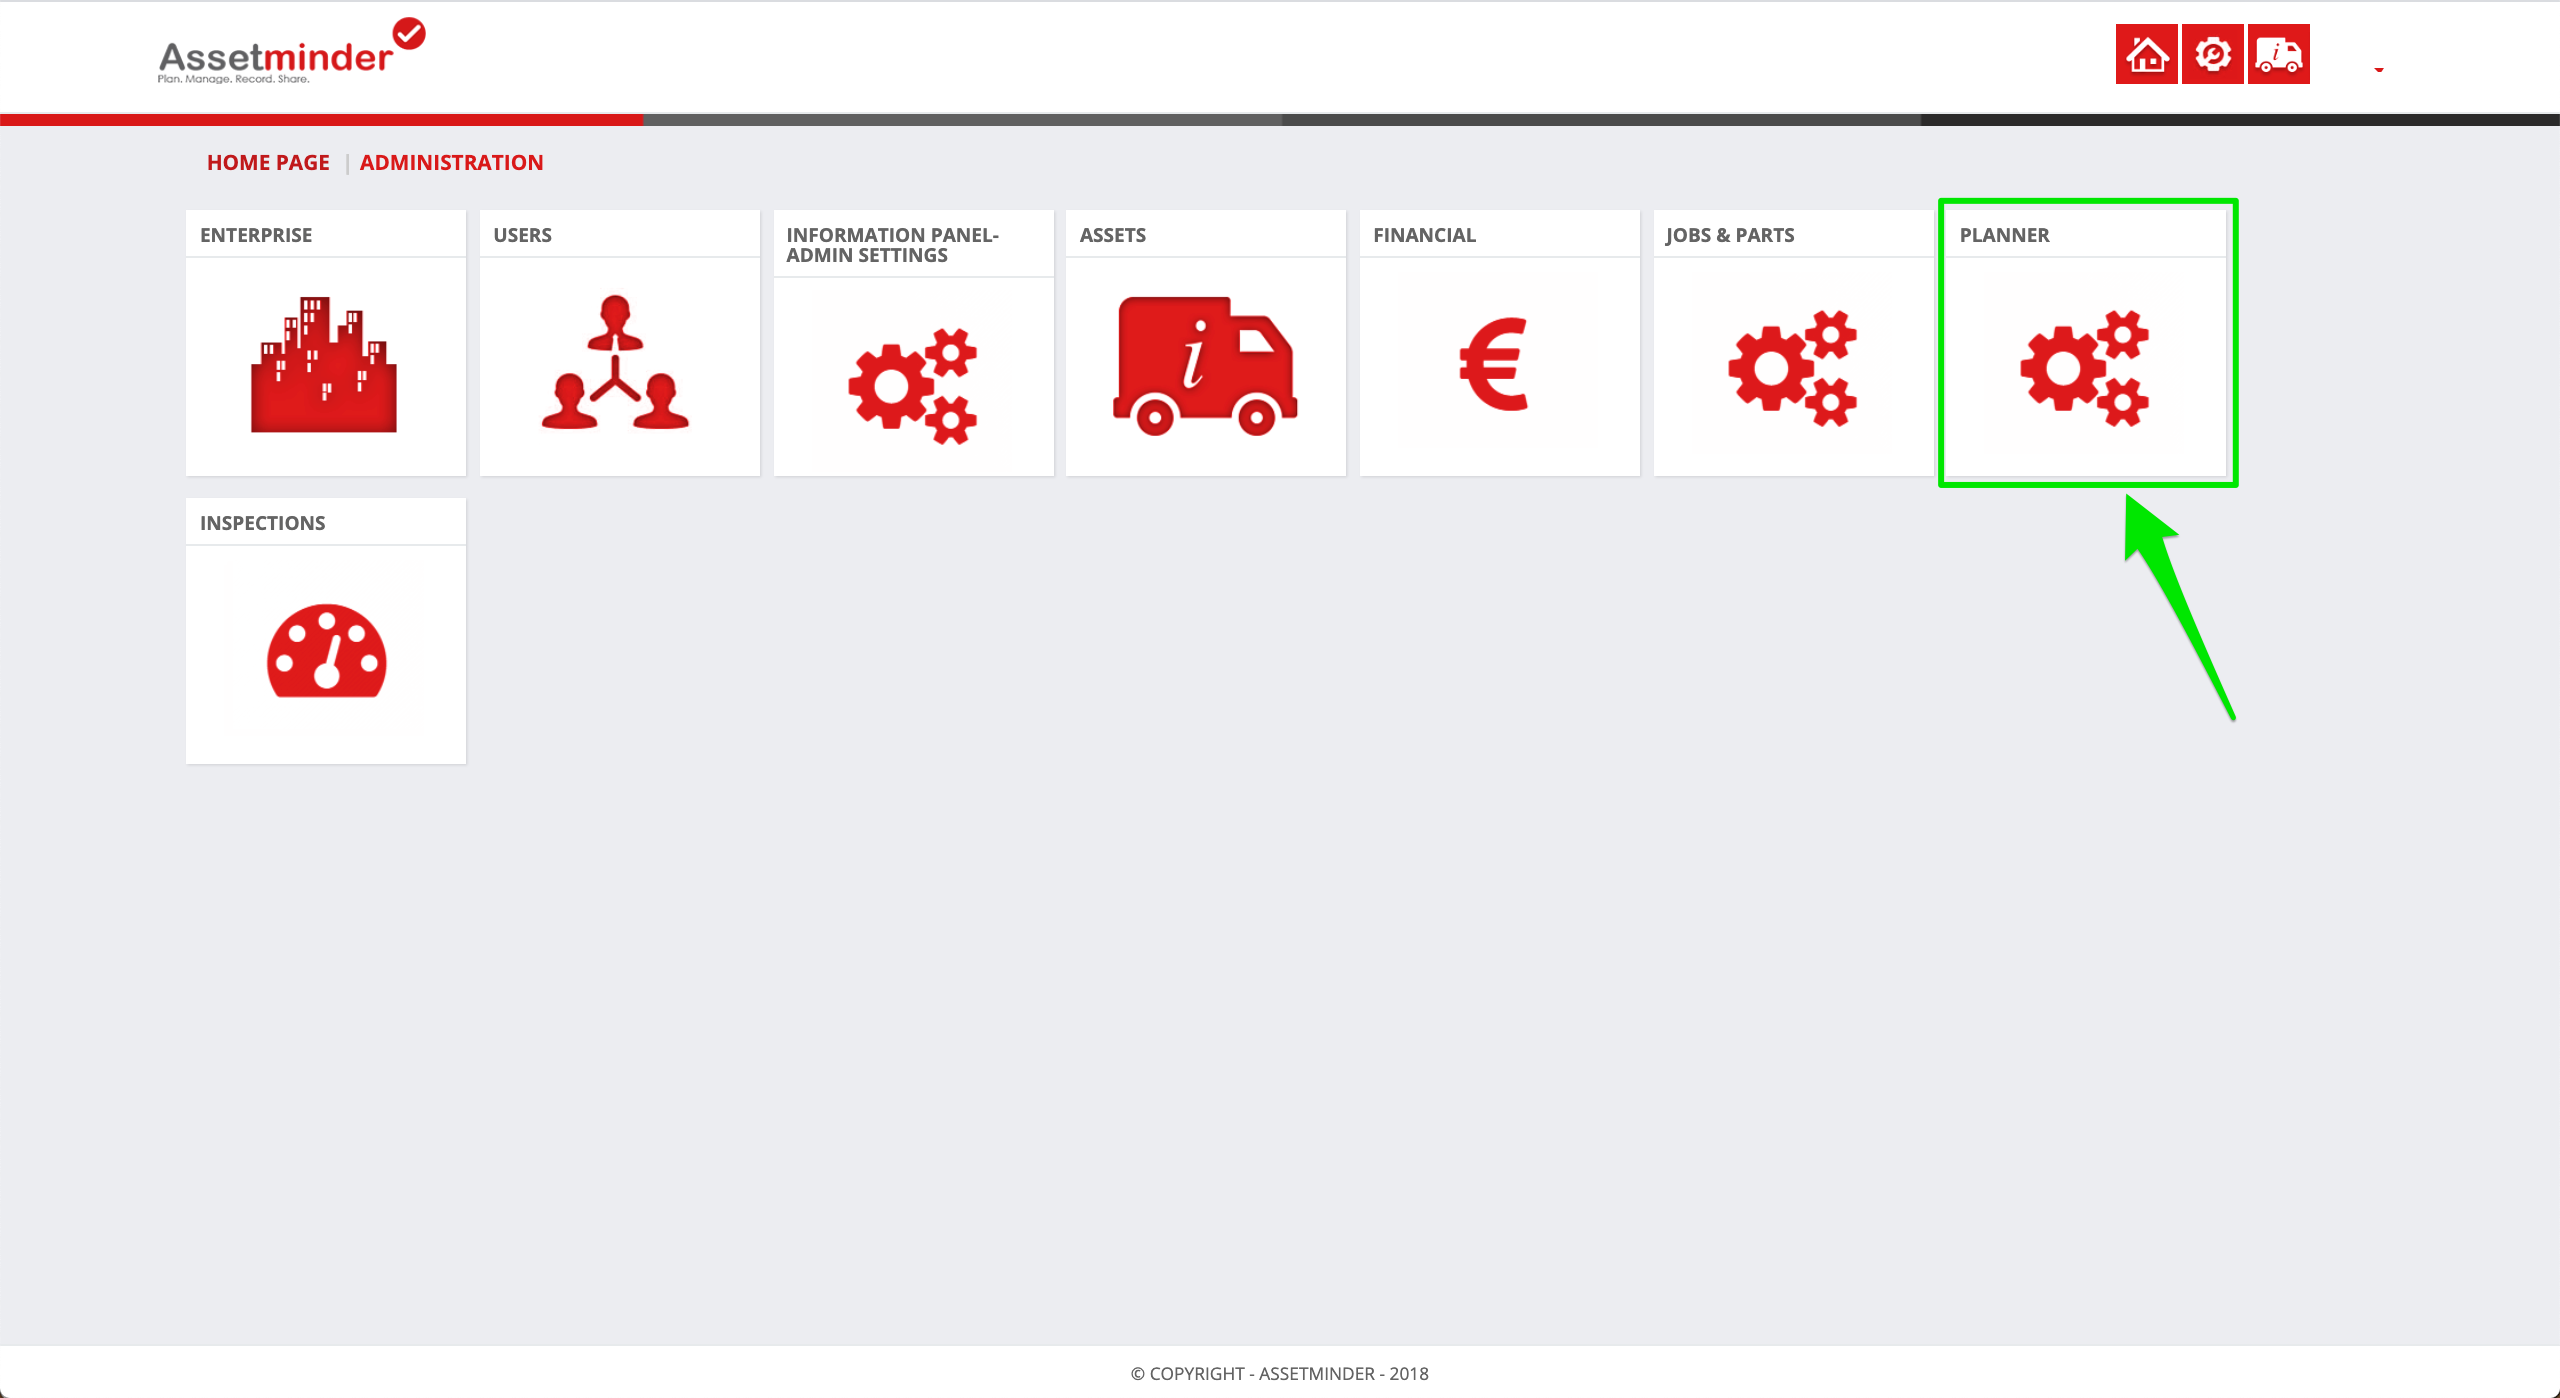
2. Click Planner
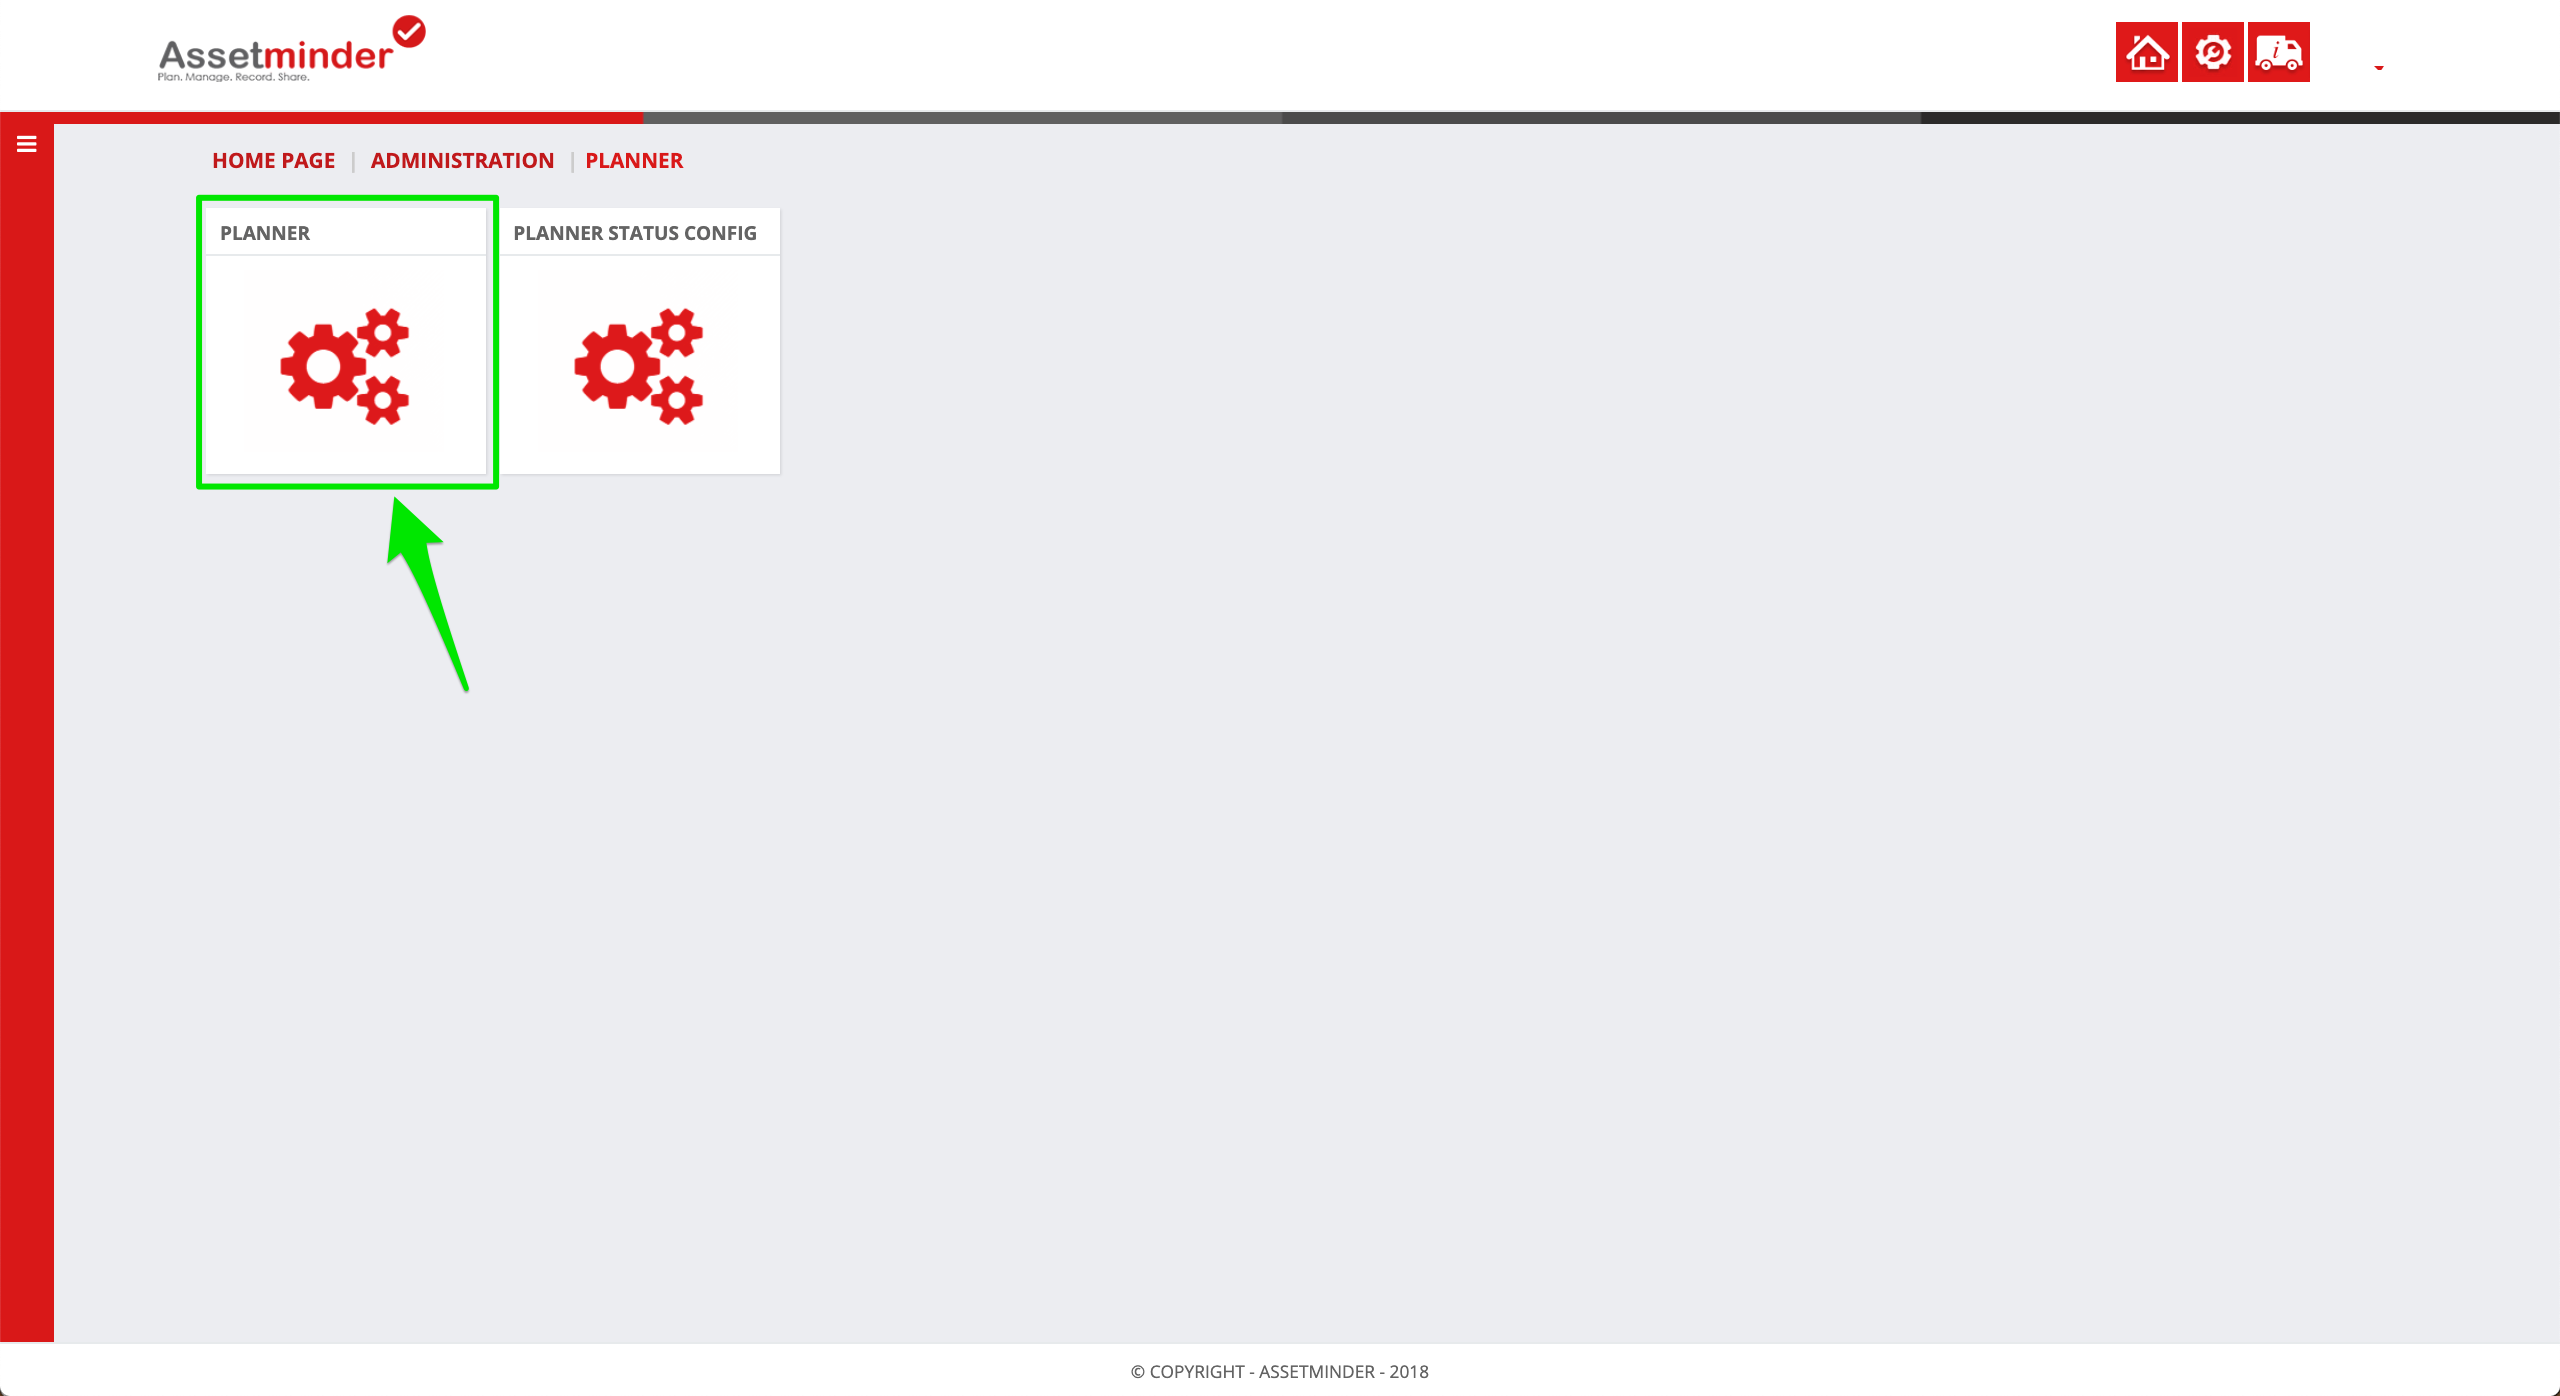
3. Click Planner again
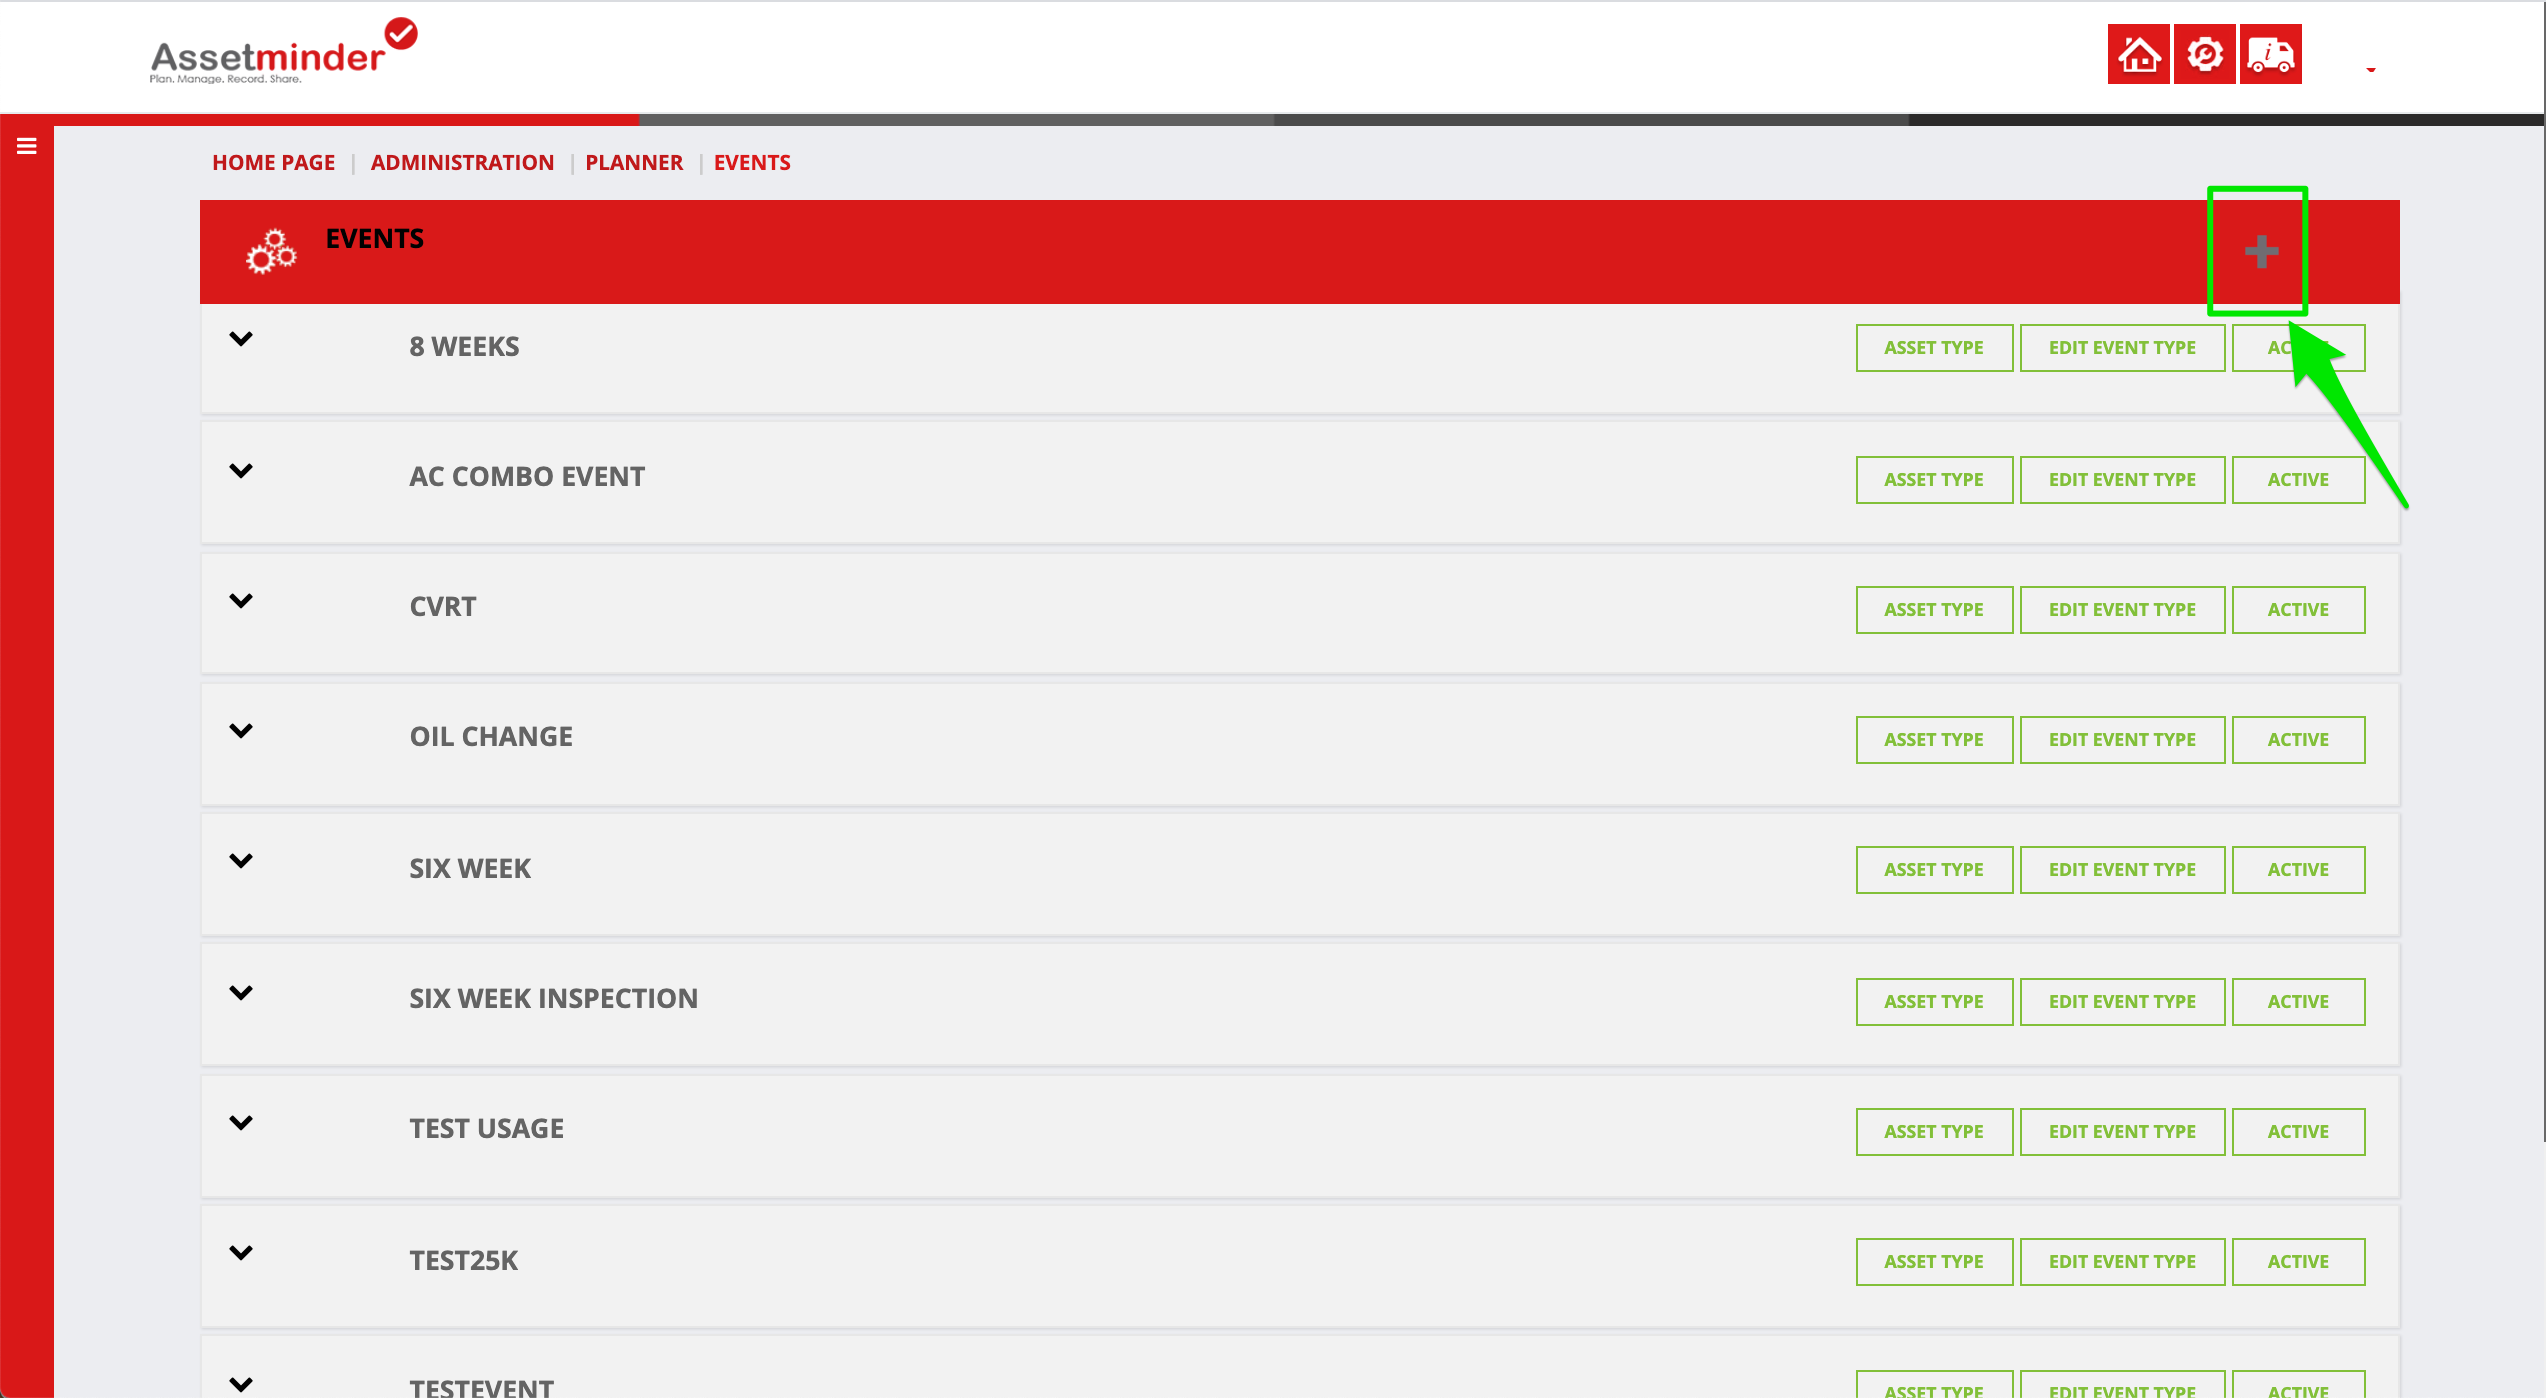
4. On the planned events screen, click the add new icon on the top right-hand side of the screen
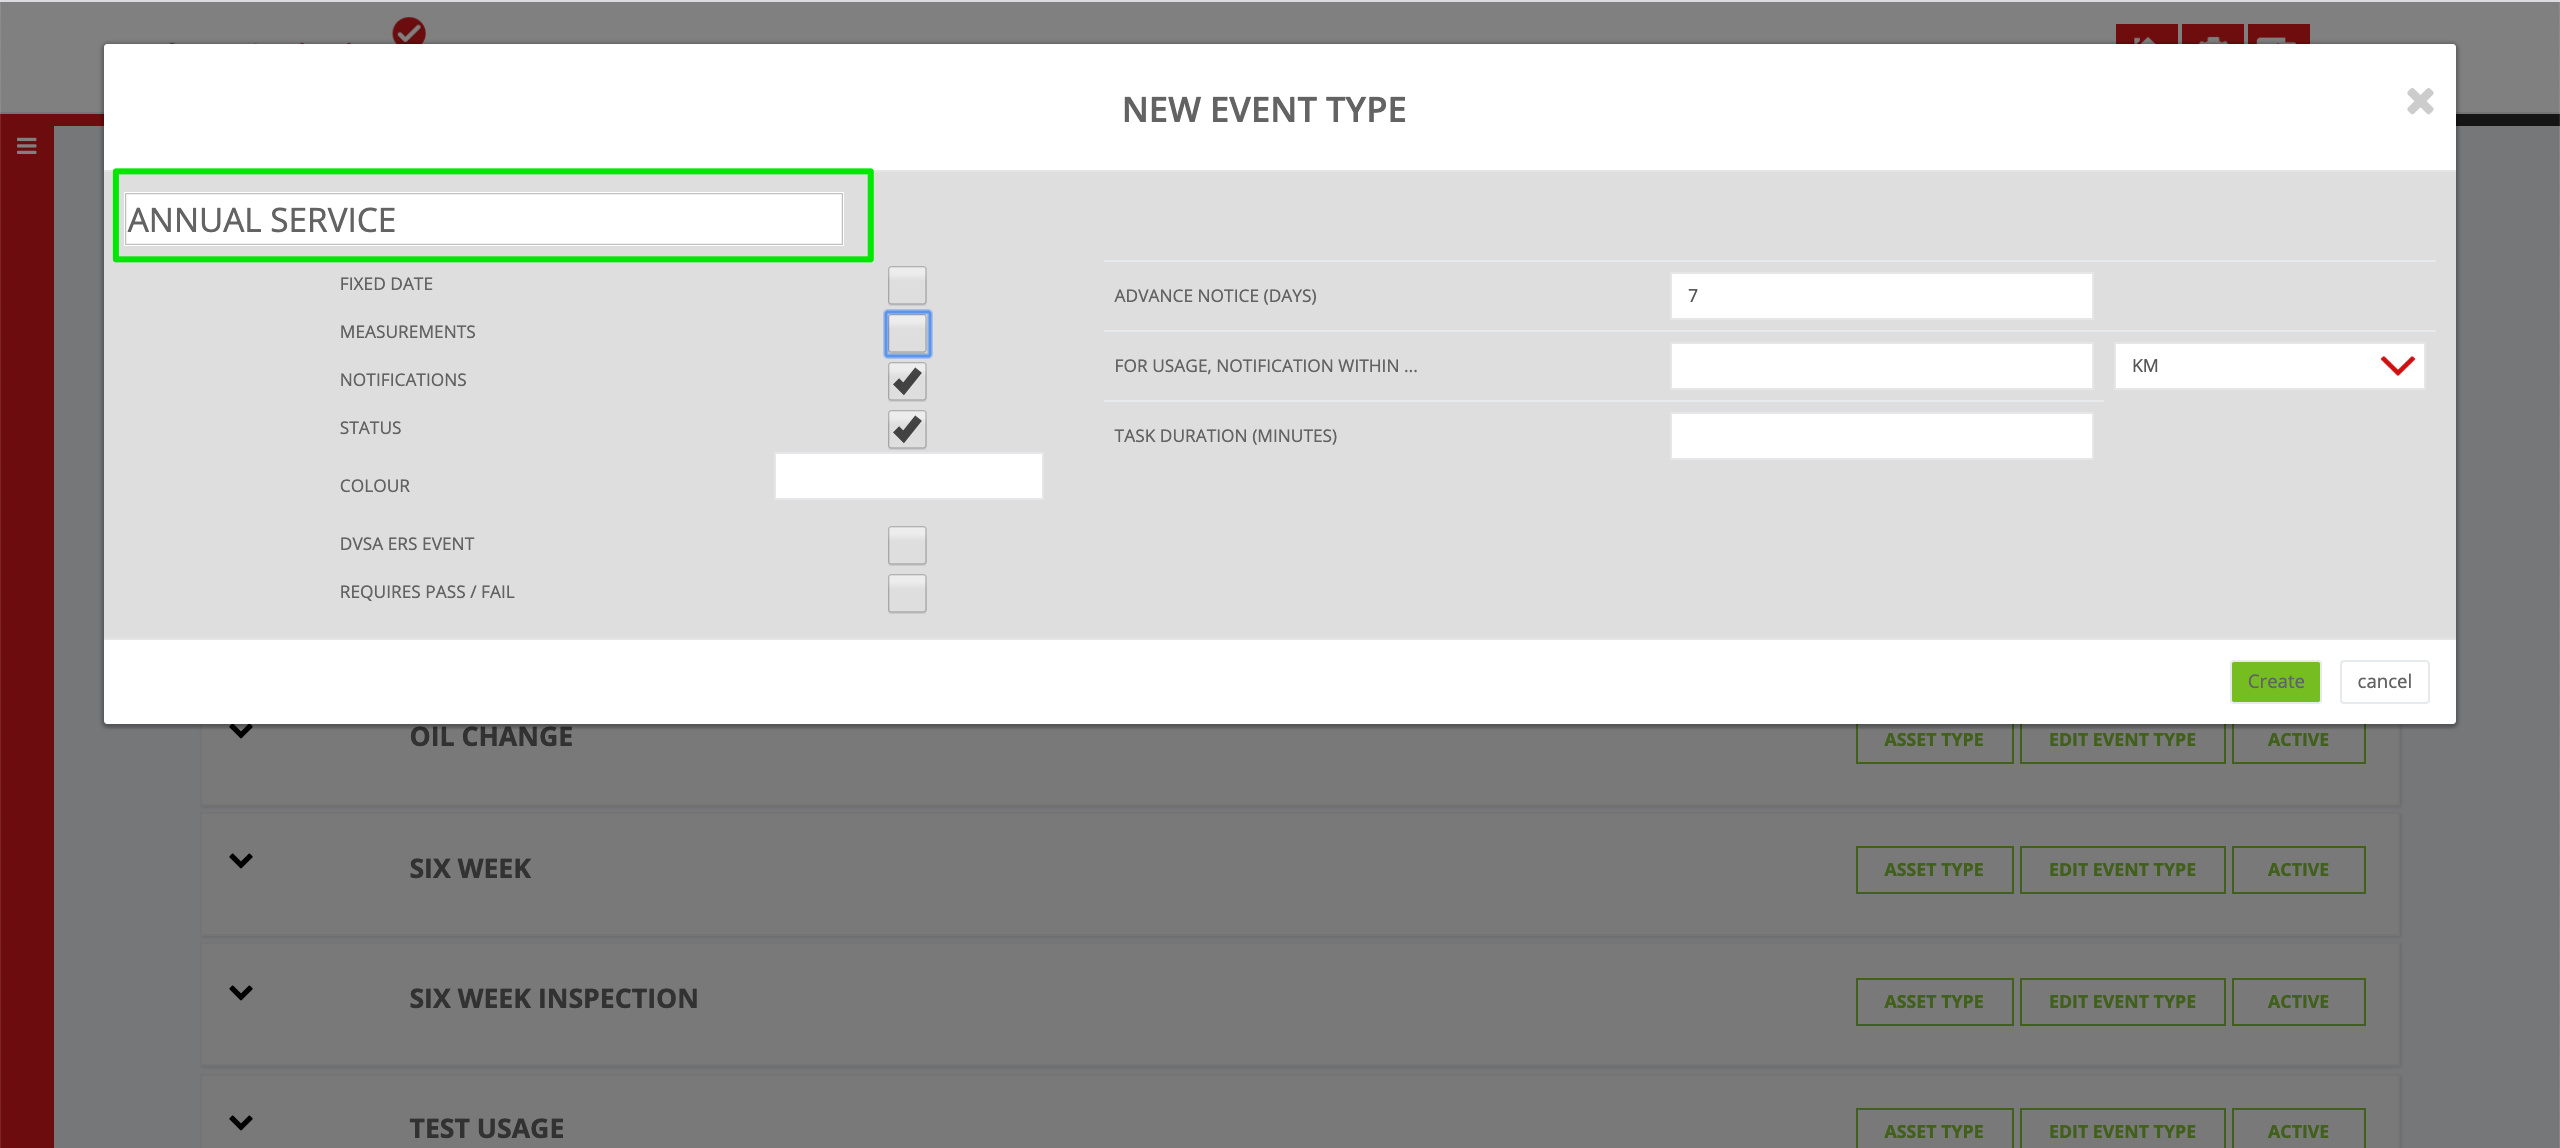
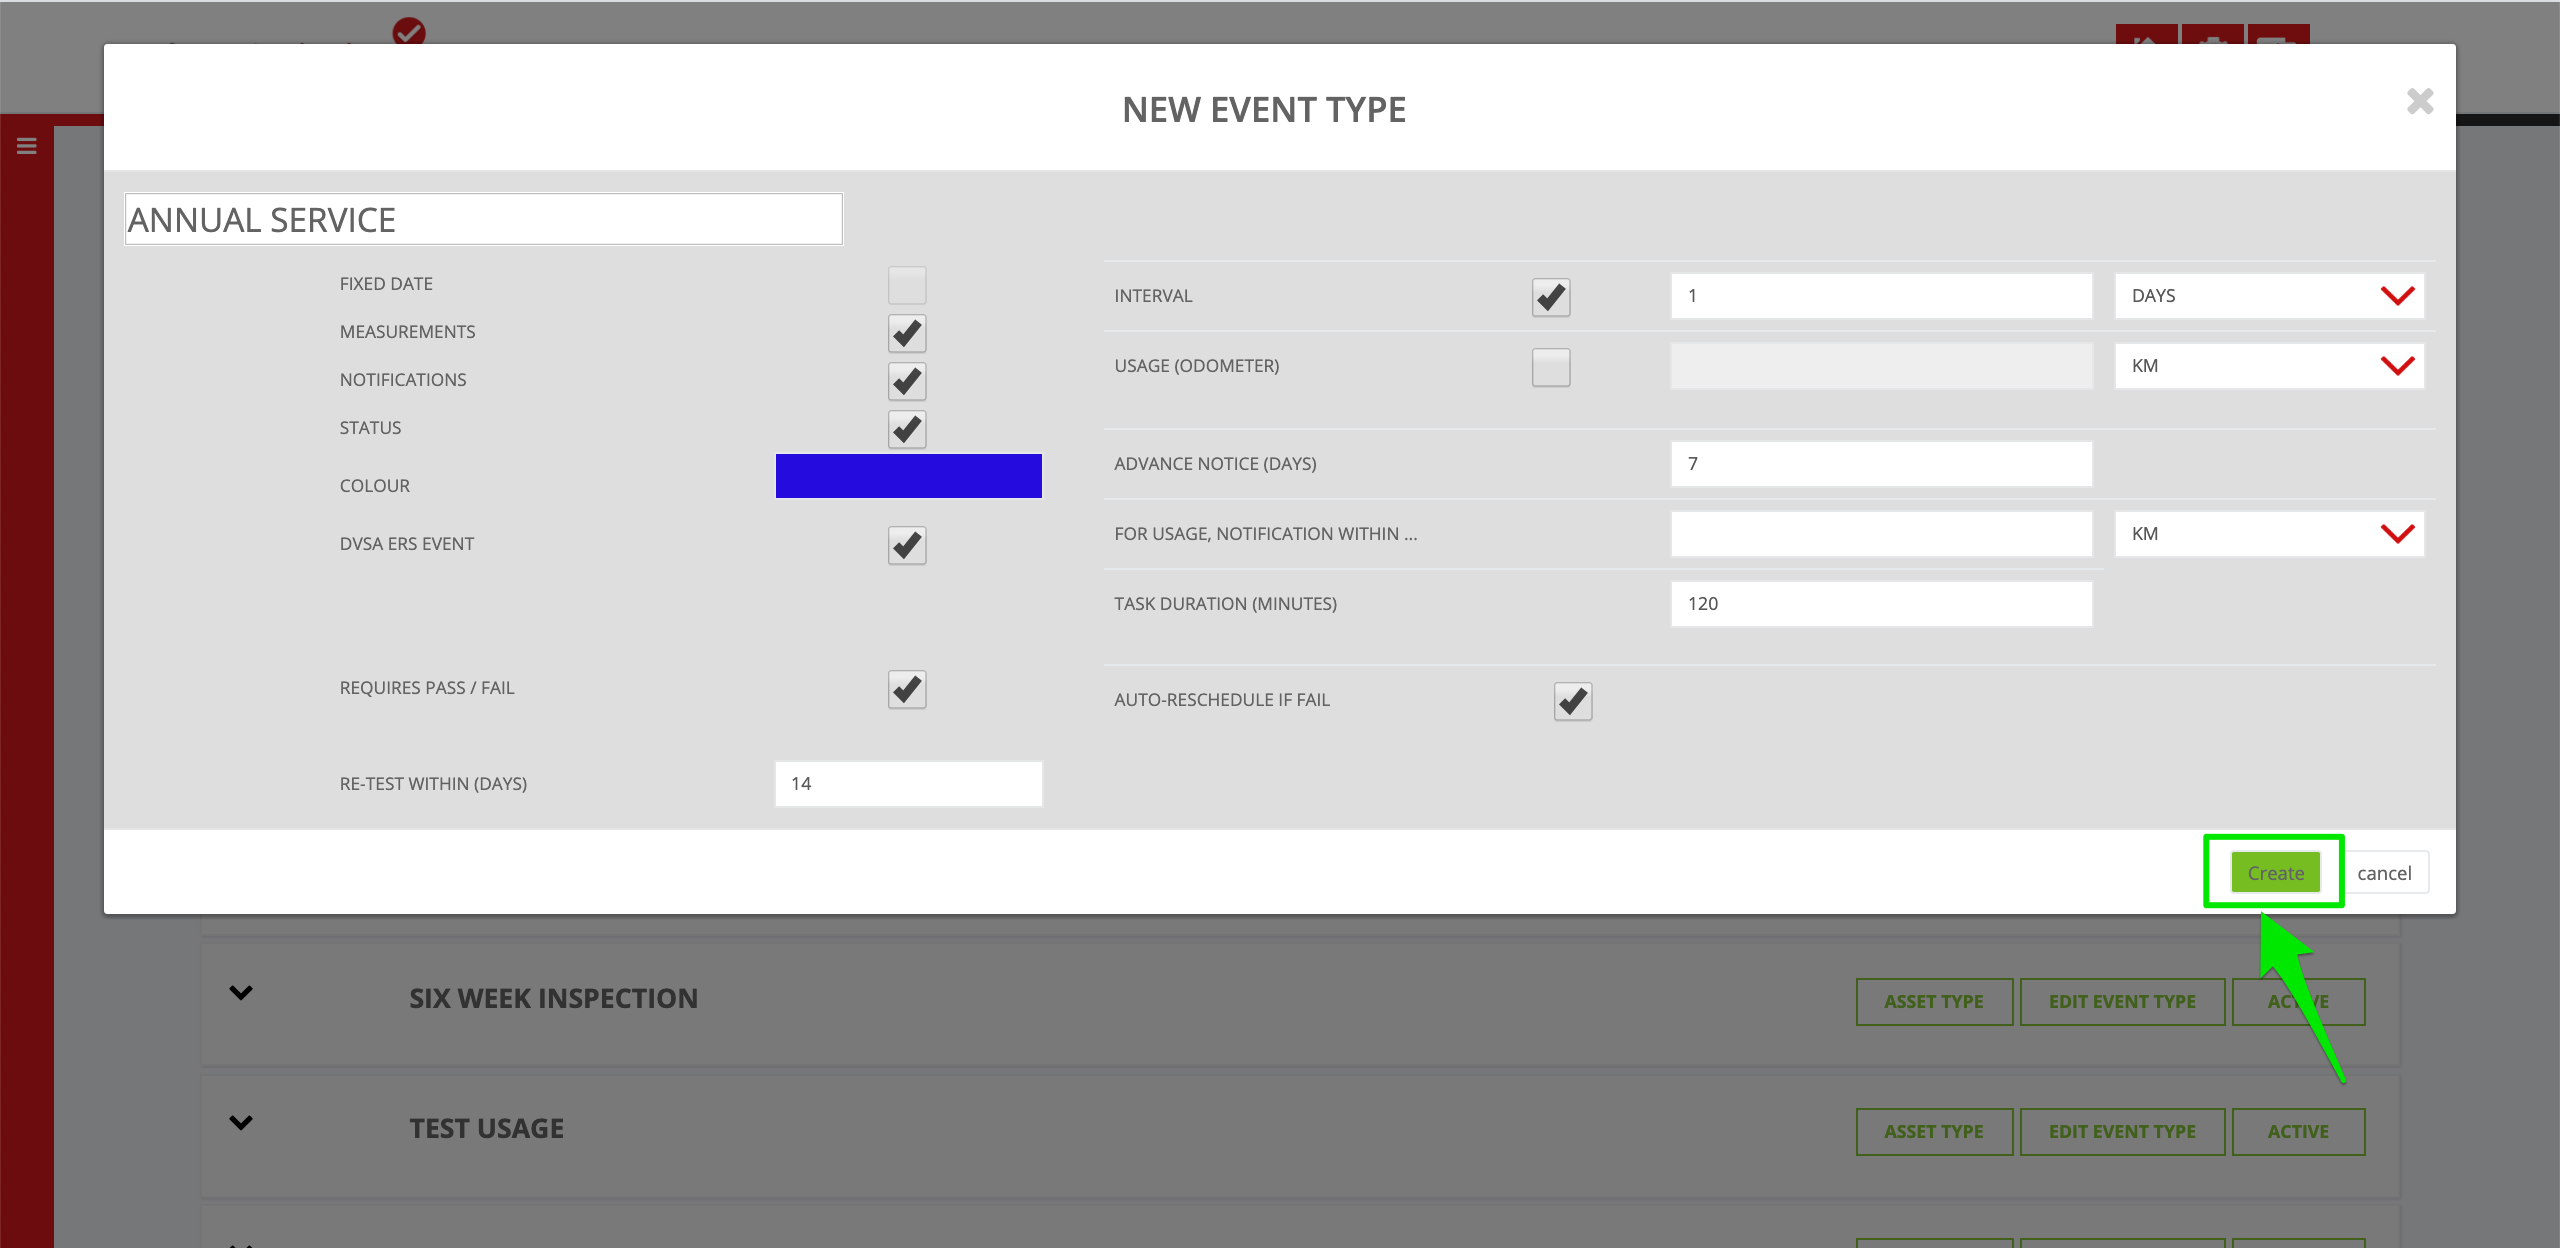
5. Fill in the event type field at the top. In this case, it's an annual service.
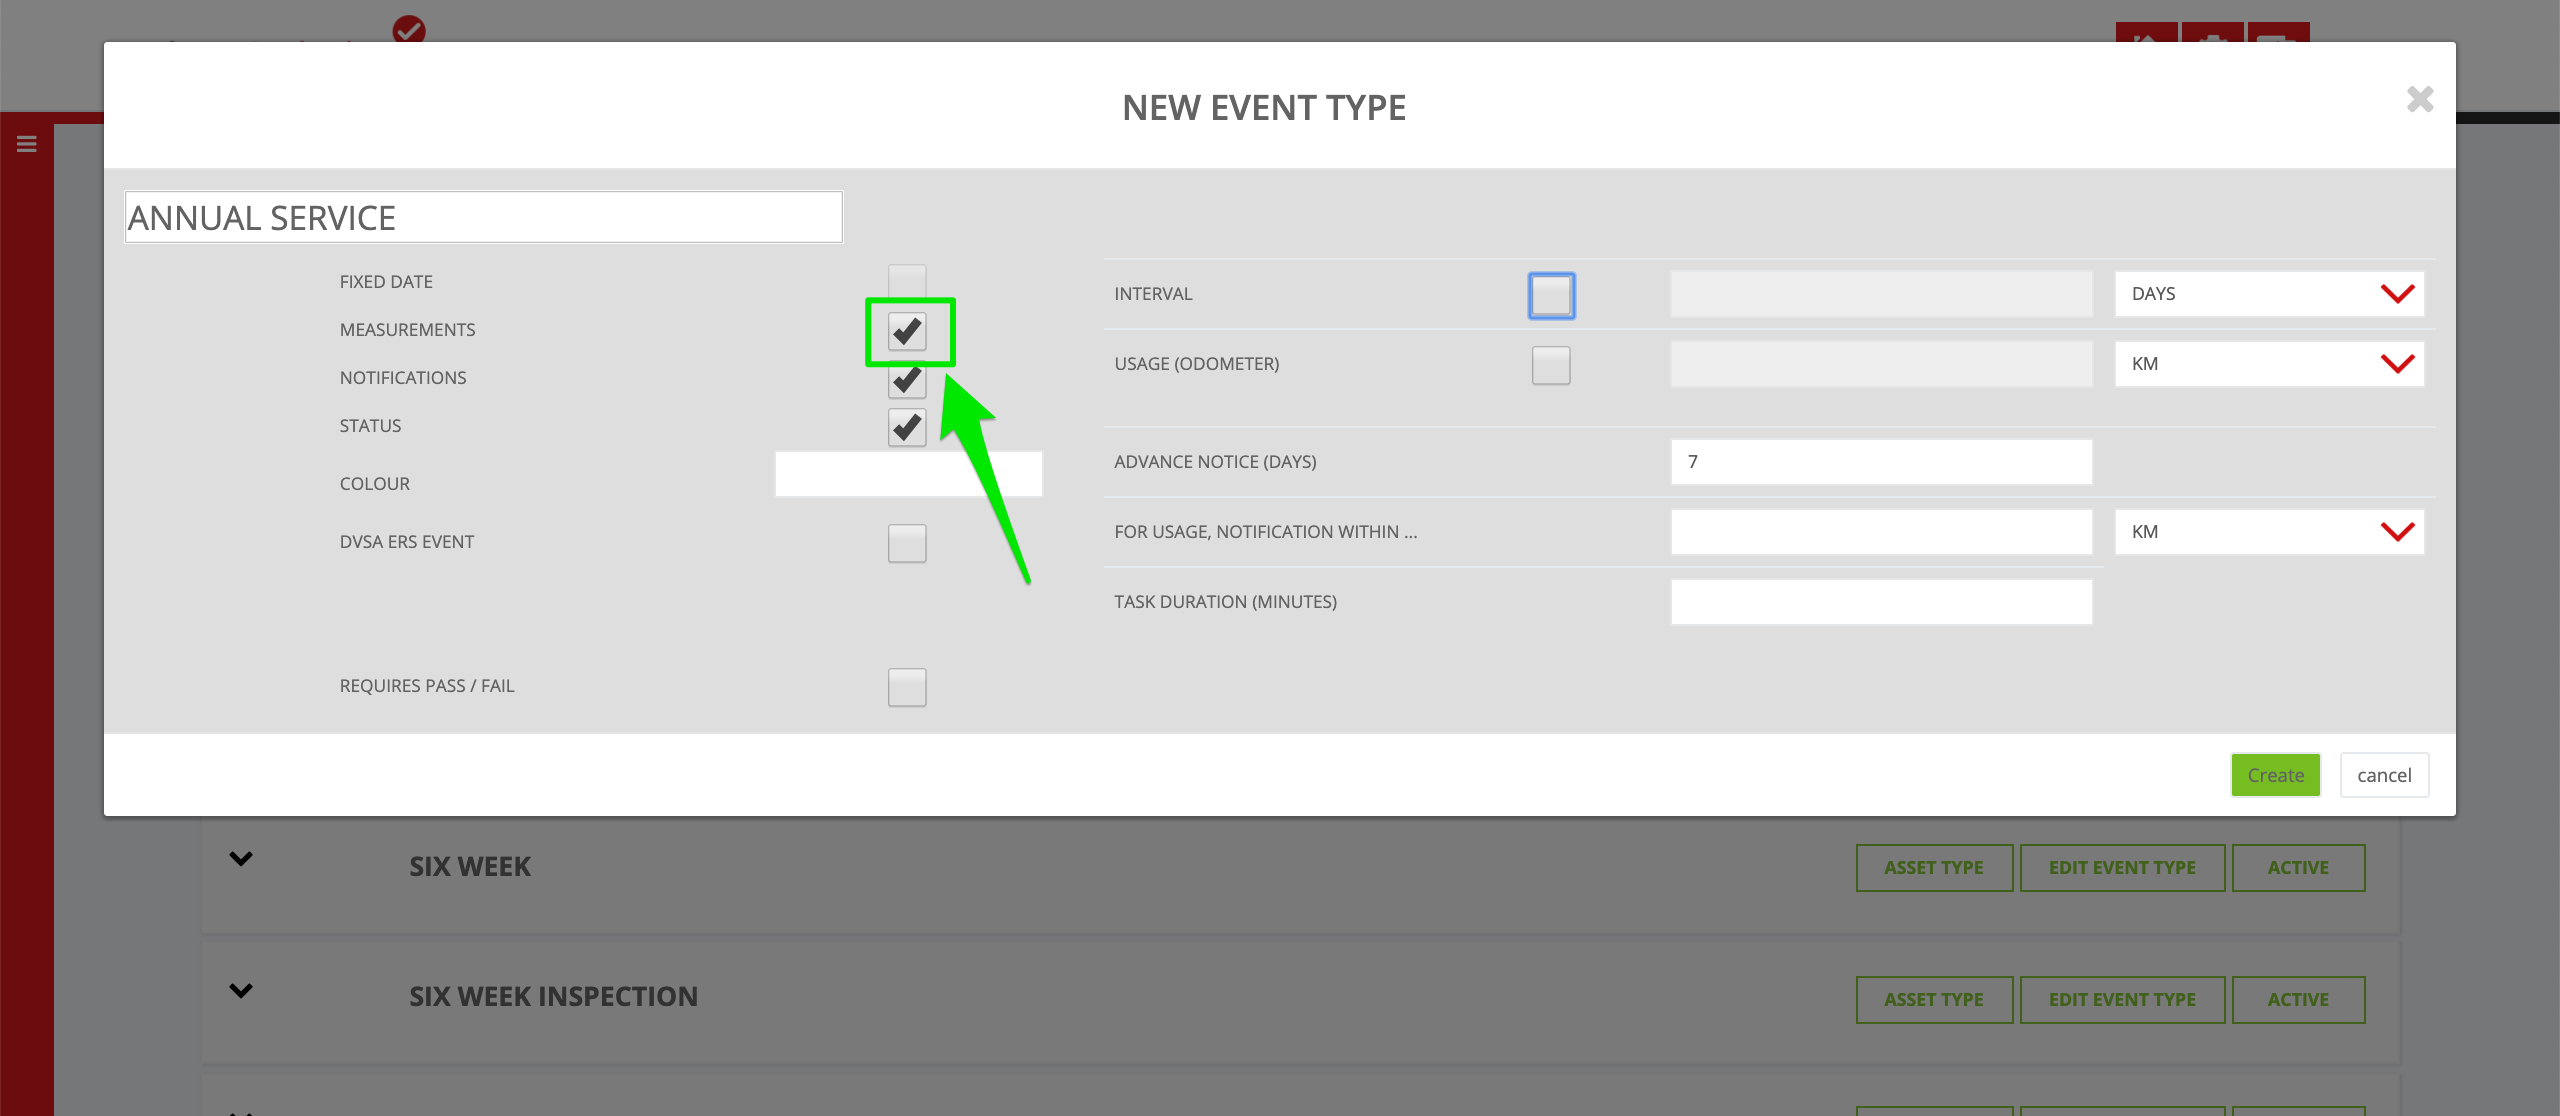
6. Click the measurements checkbox
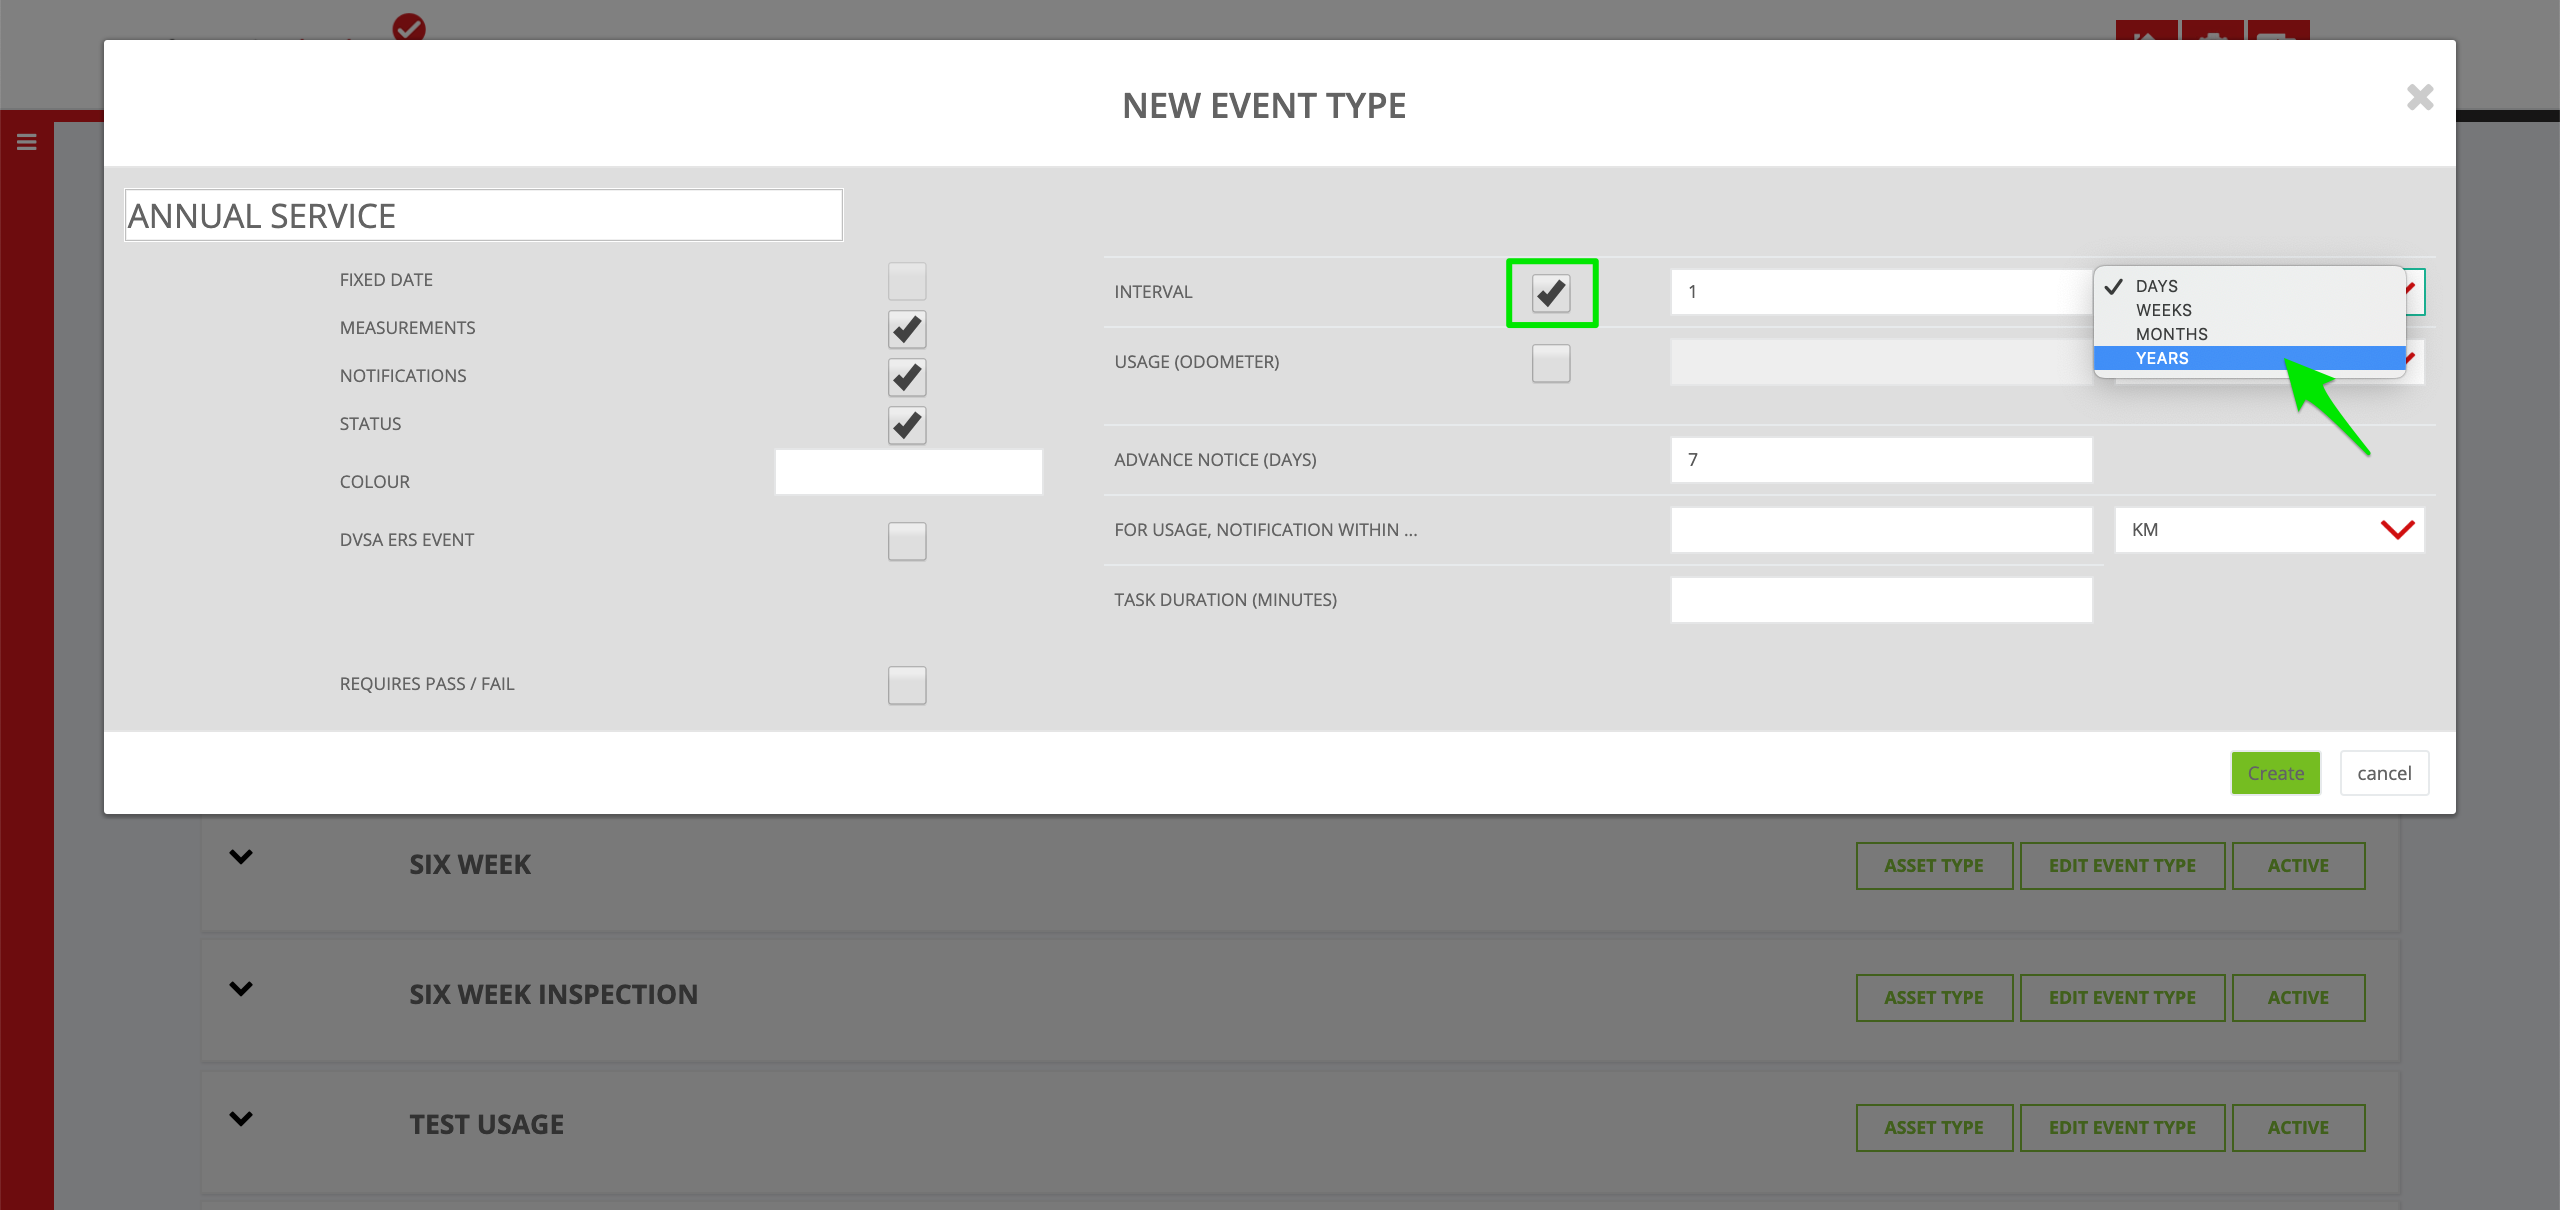
7. In this first example, it's a time-based interval of 1 year. Click Interval, and add the interval of 1 Year. It would also be possible to configure an interval of 365 days, 52 weeks, or 12 months for the annual service. The net result would be the same.
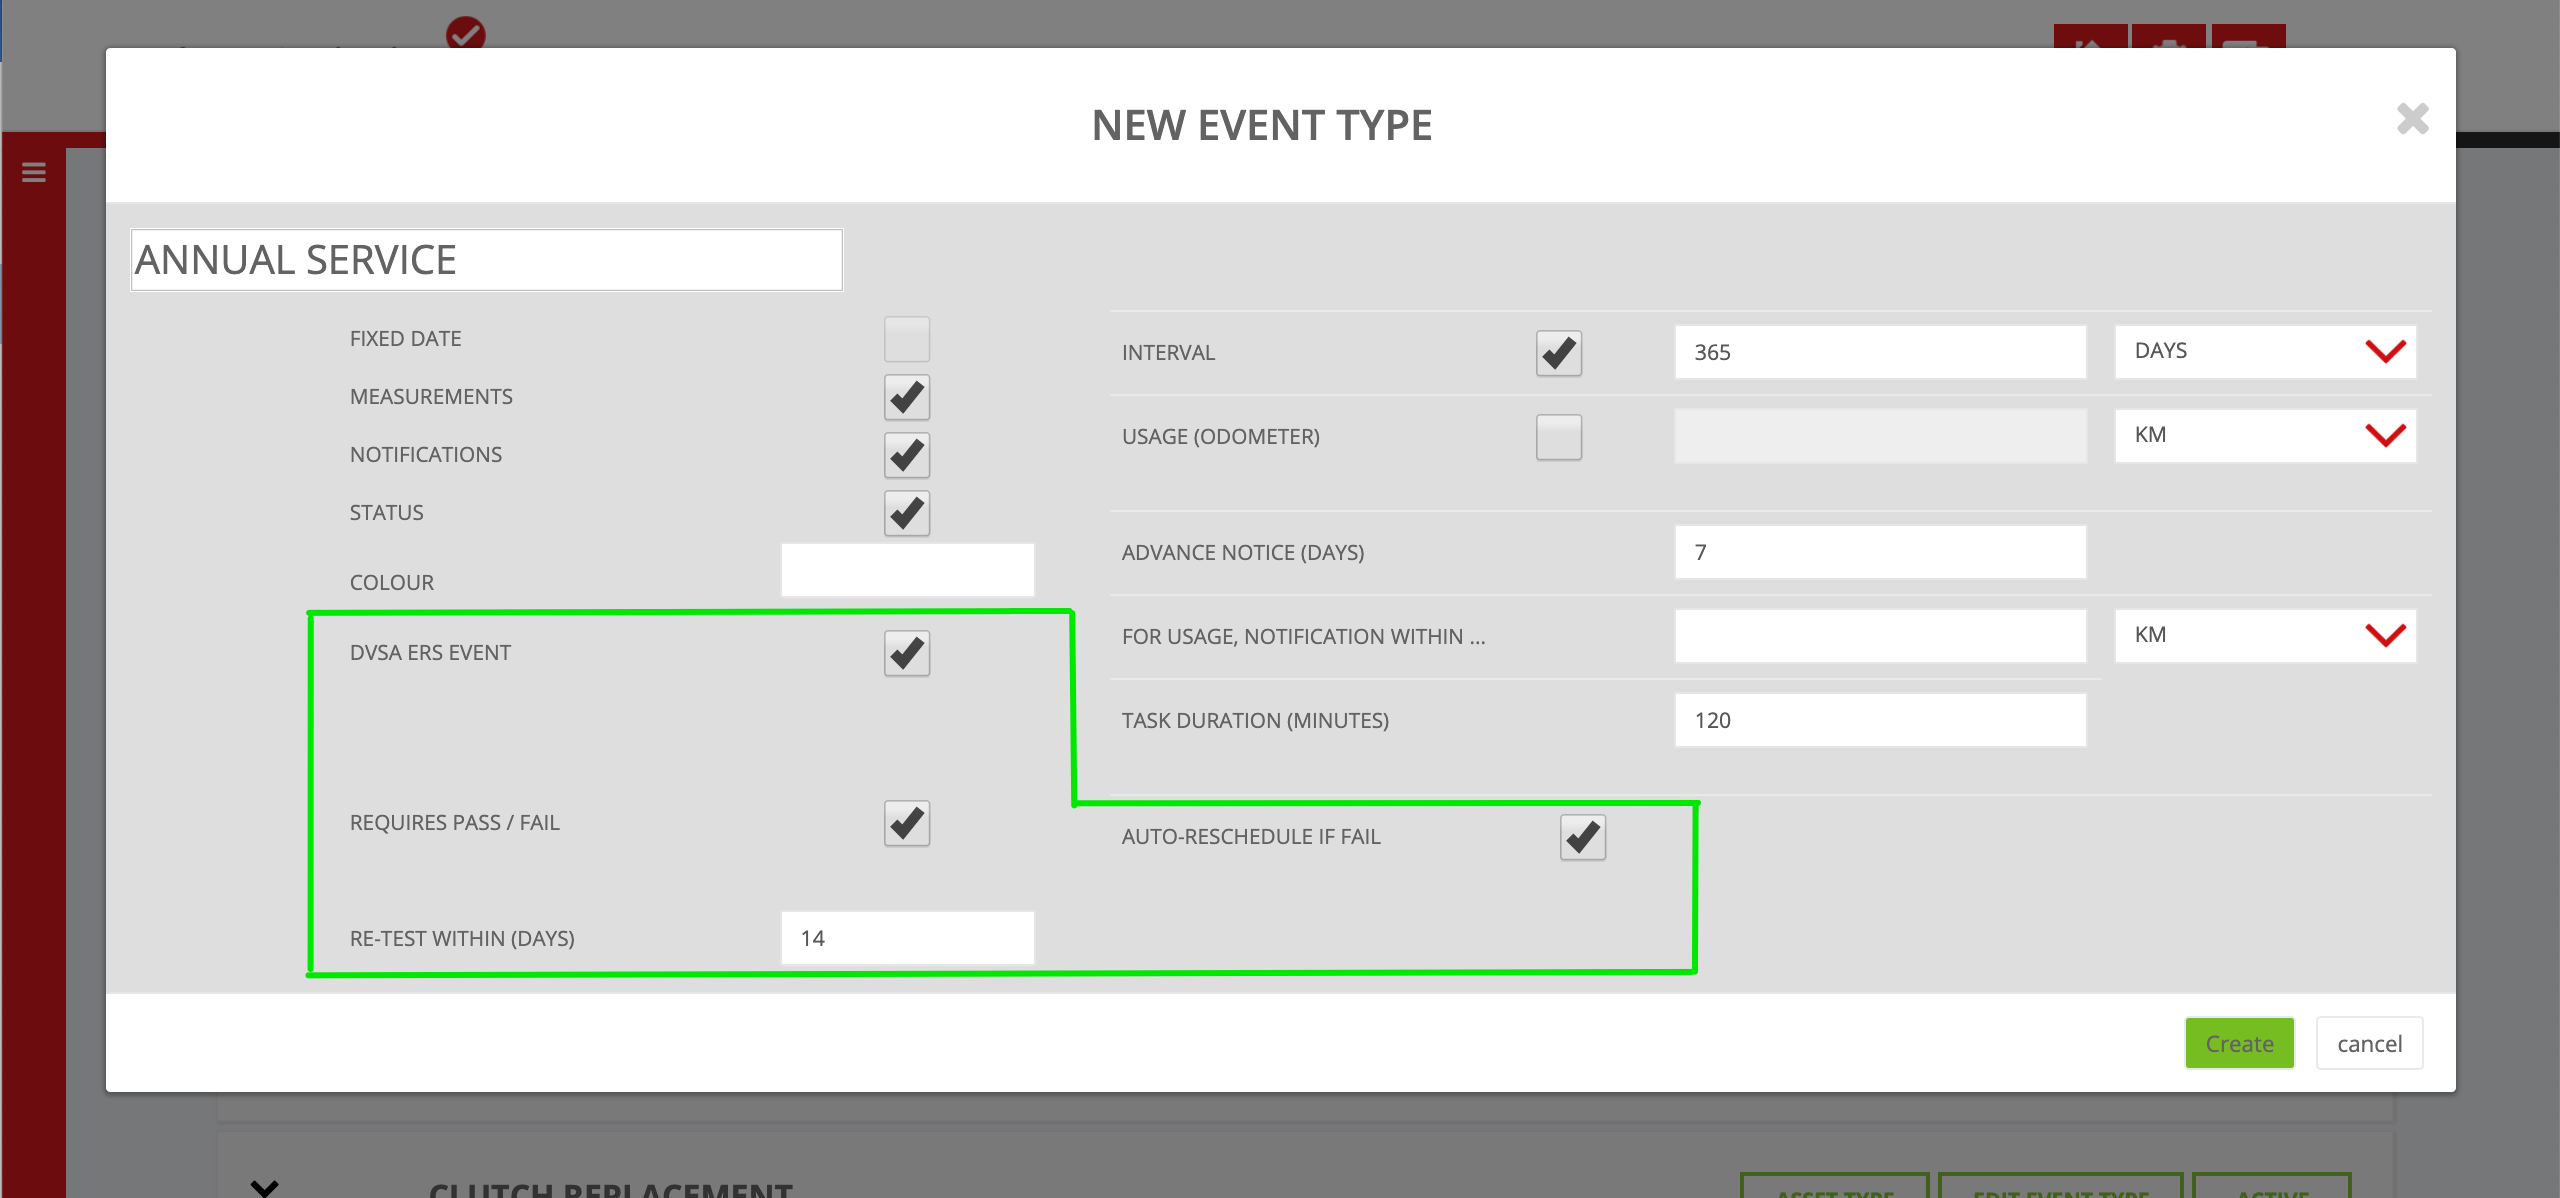
- Notifications - Enable the ability to send notifications for this planned event
- Colour - The colour set appears on the maintenance planner
- Advanced notice - advance warning window for time-based trigger
- For Usage Notification Within - advance warning window for usage-based trigger
- Task Duration - time required for the planned event
- DVSA ERS Event - For UK customers - this checkbox tags the event as a DVSA event. DVSA events require a pass/fail check at the end of the event
- If this event fails, the system will automatically trigger and reschedule a new event based on this template 14 days later
8. Click Create
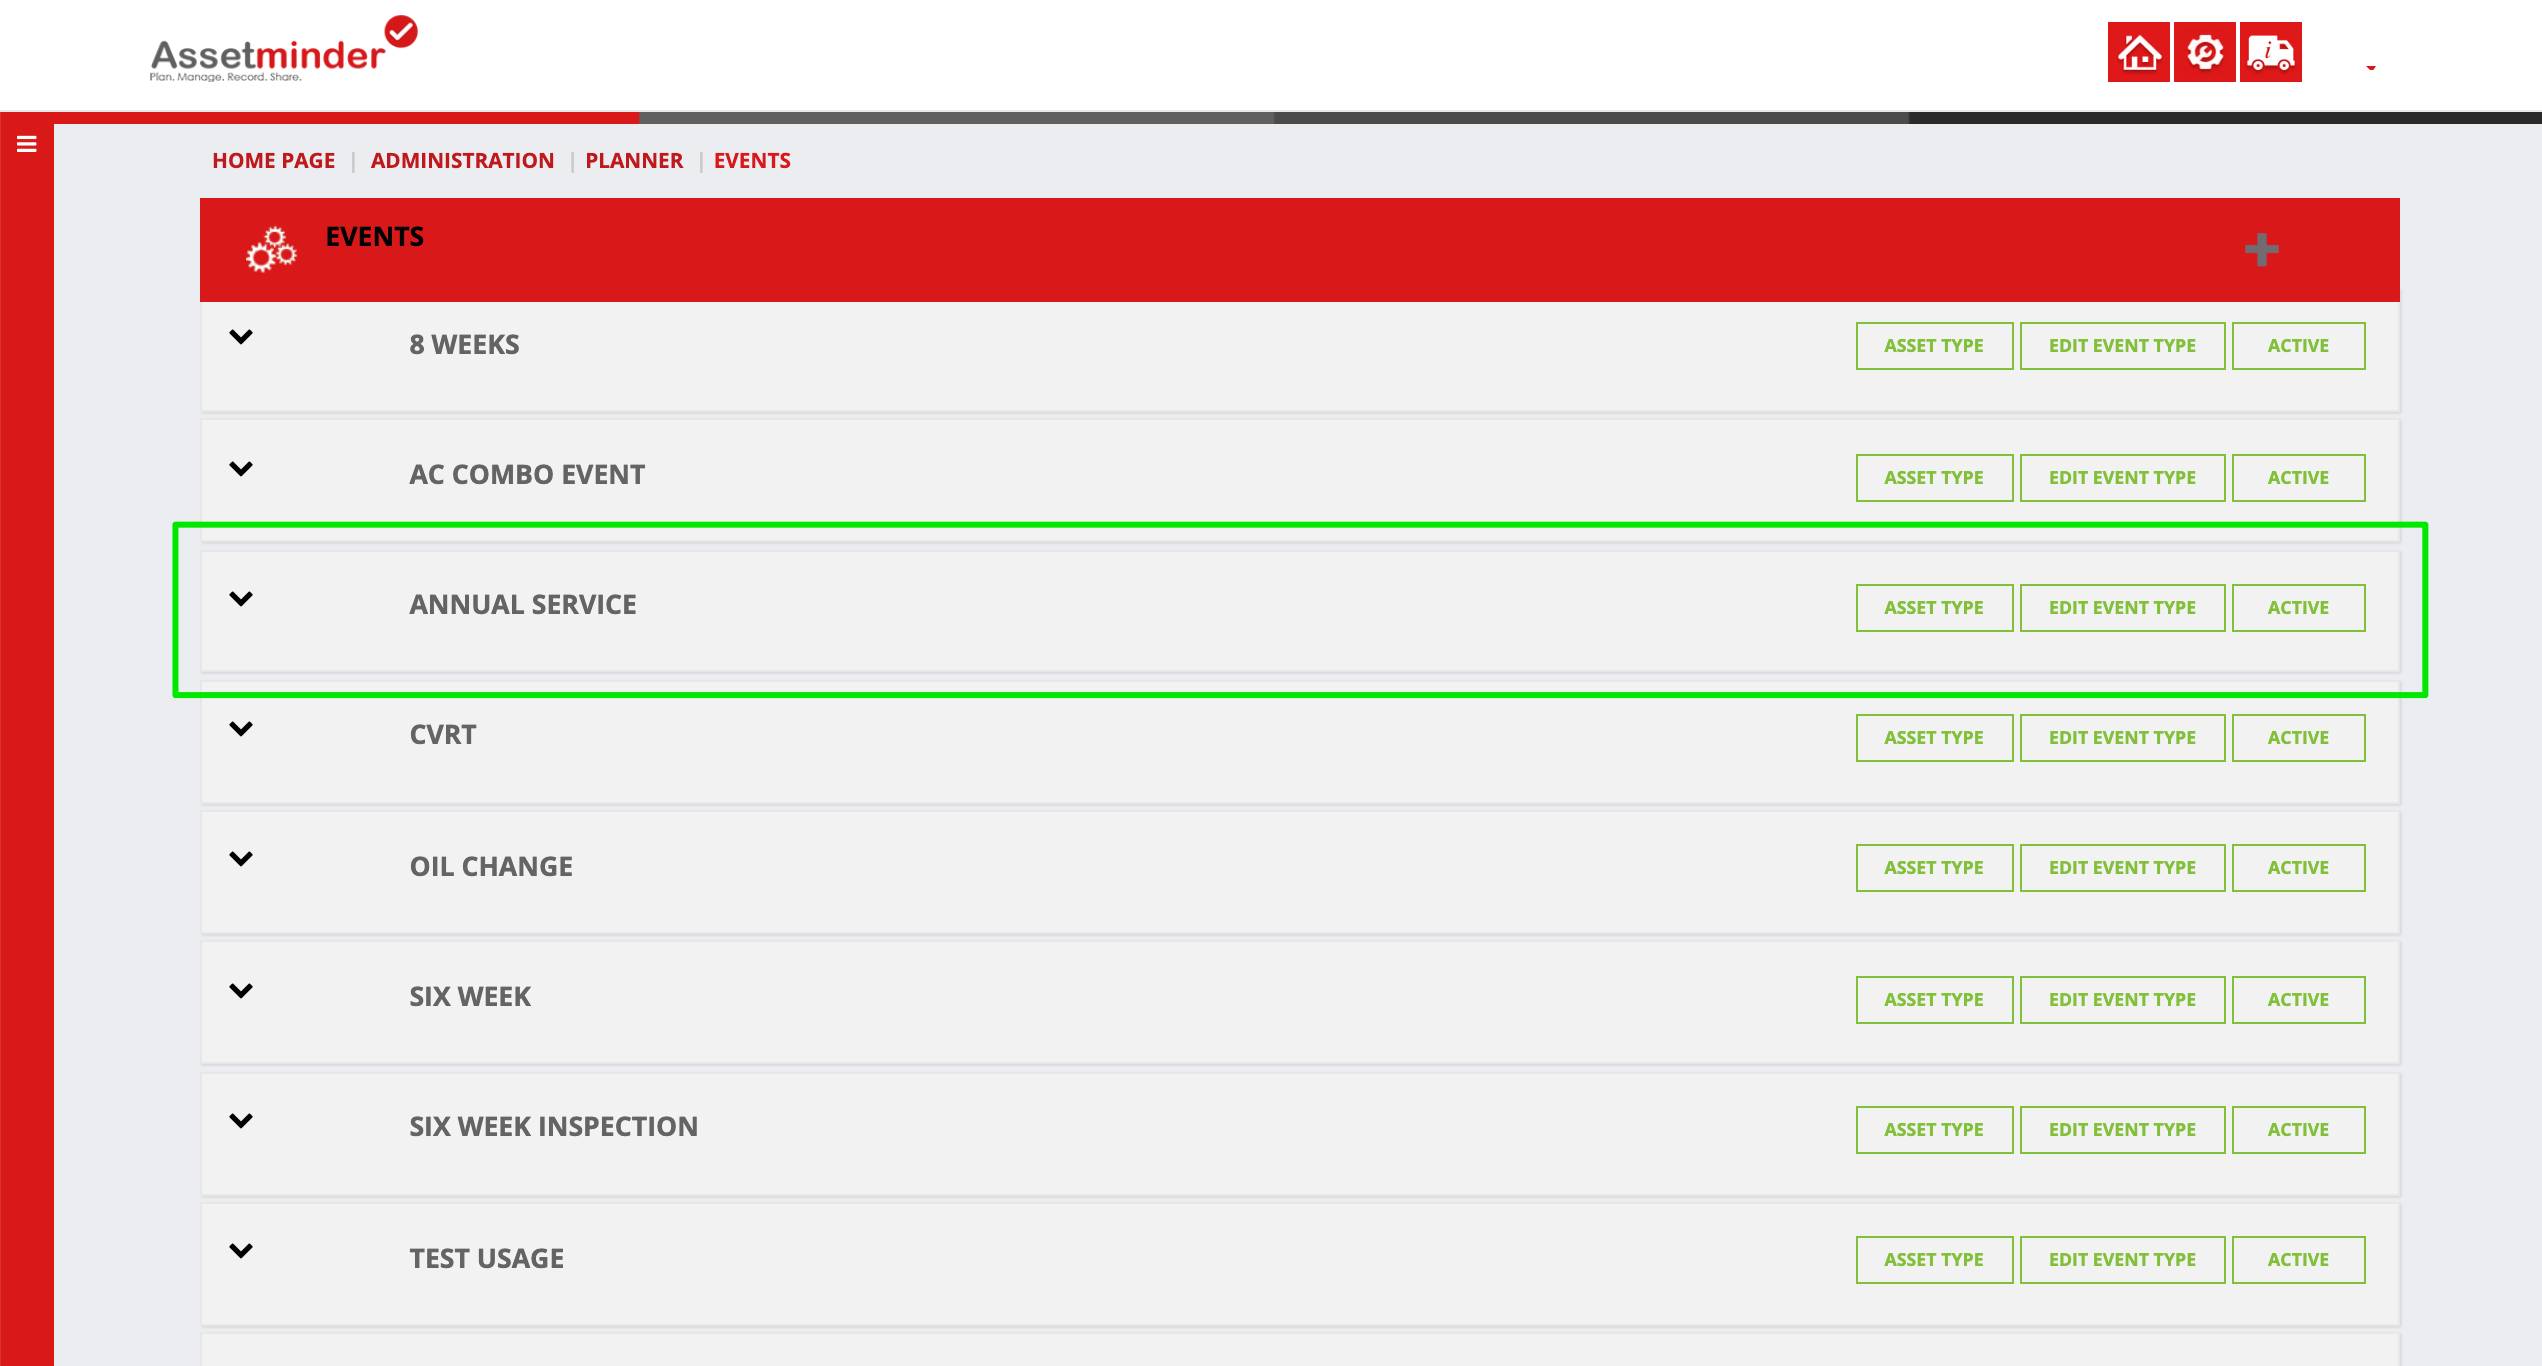
9. The planned event template now exists in the system and can be used on assets.
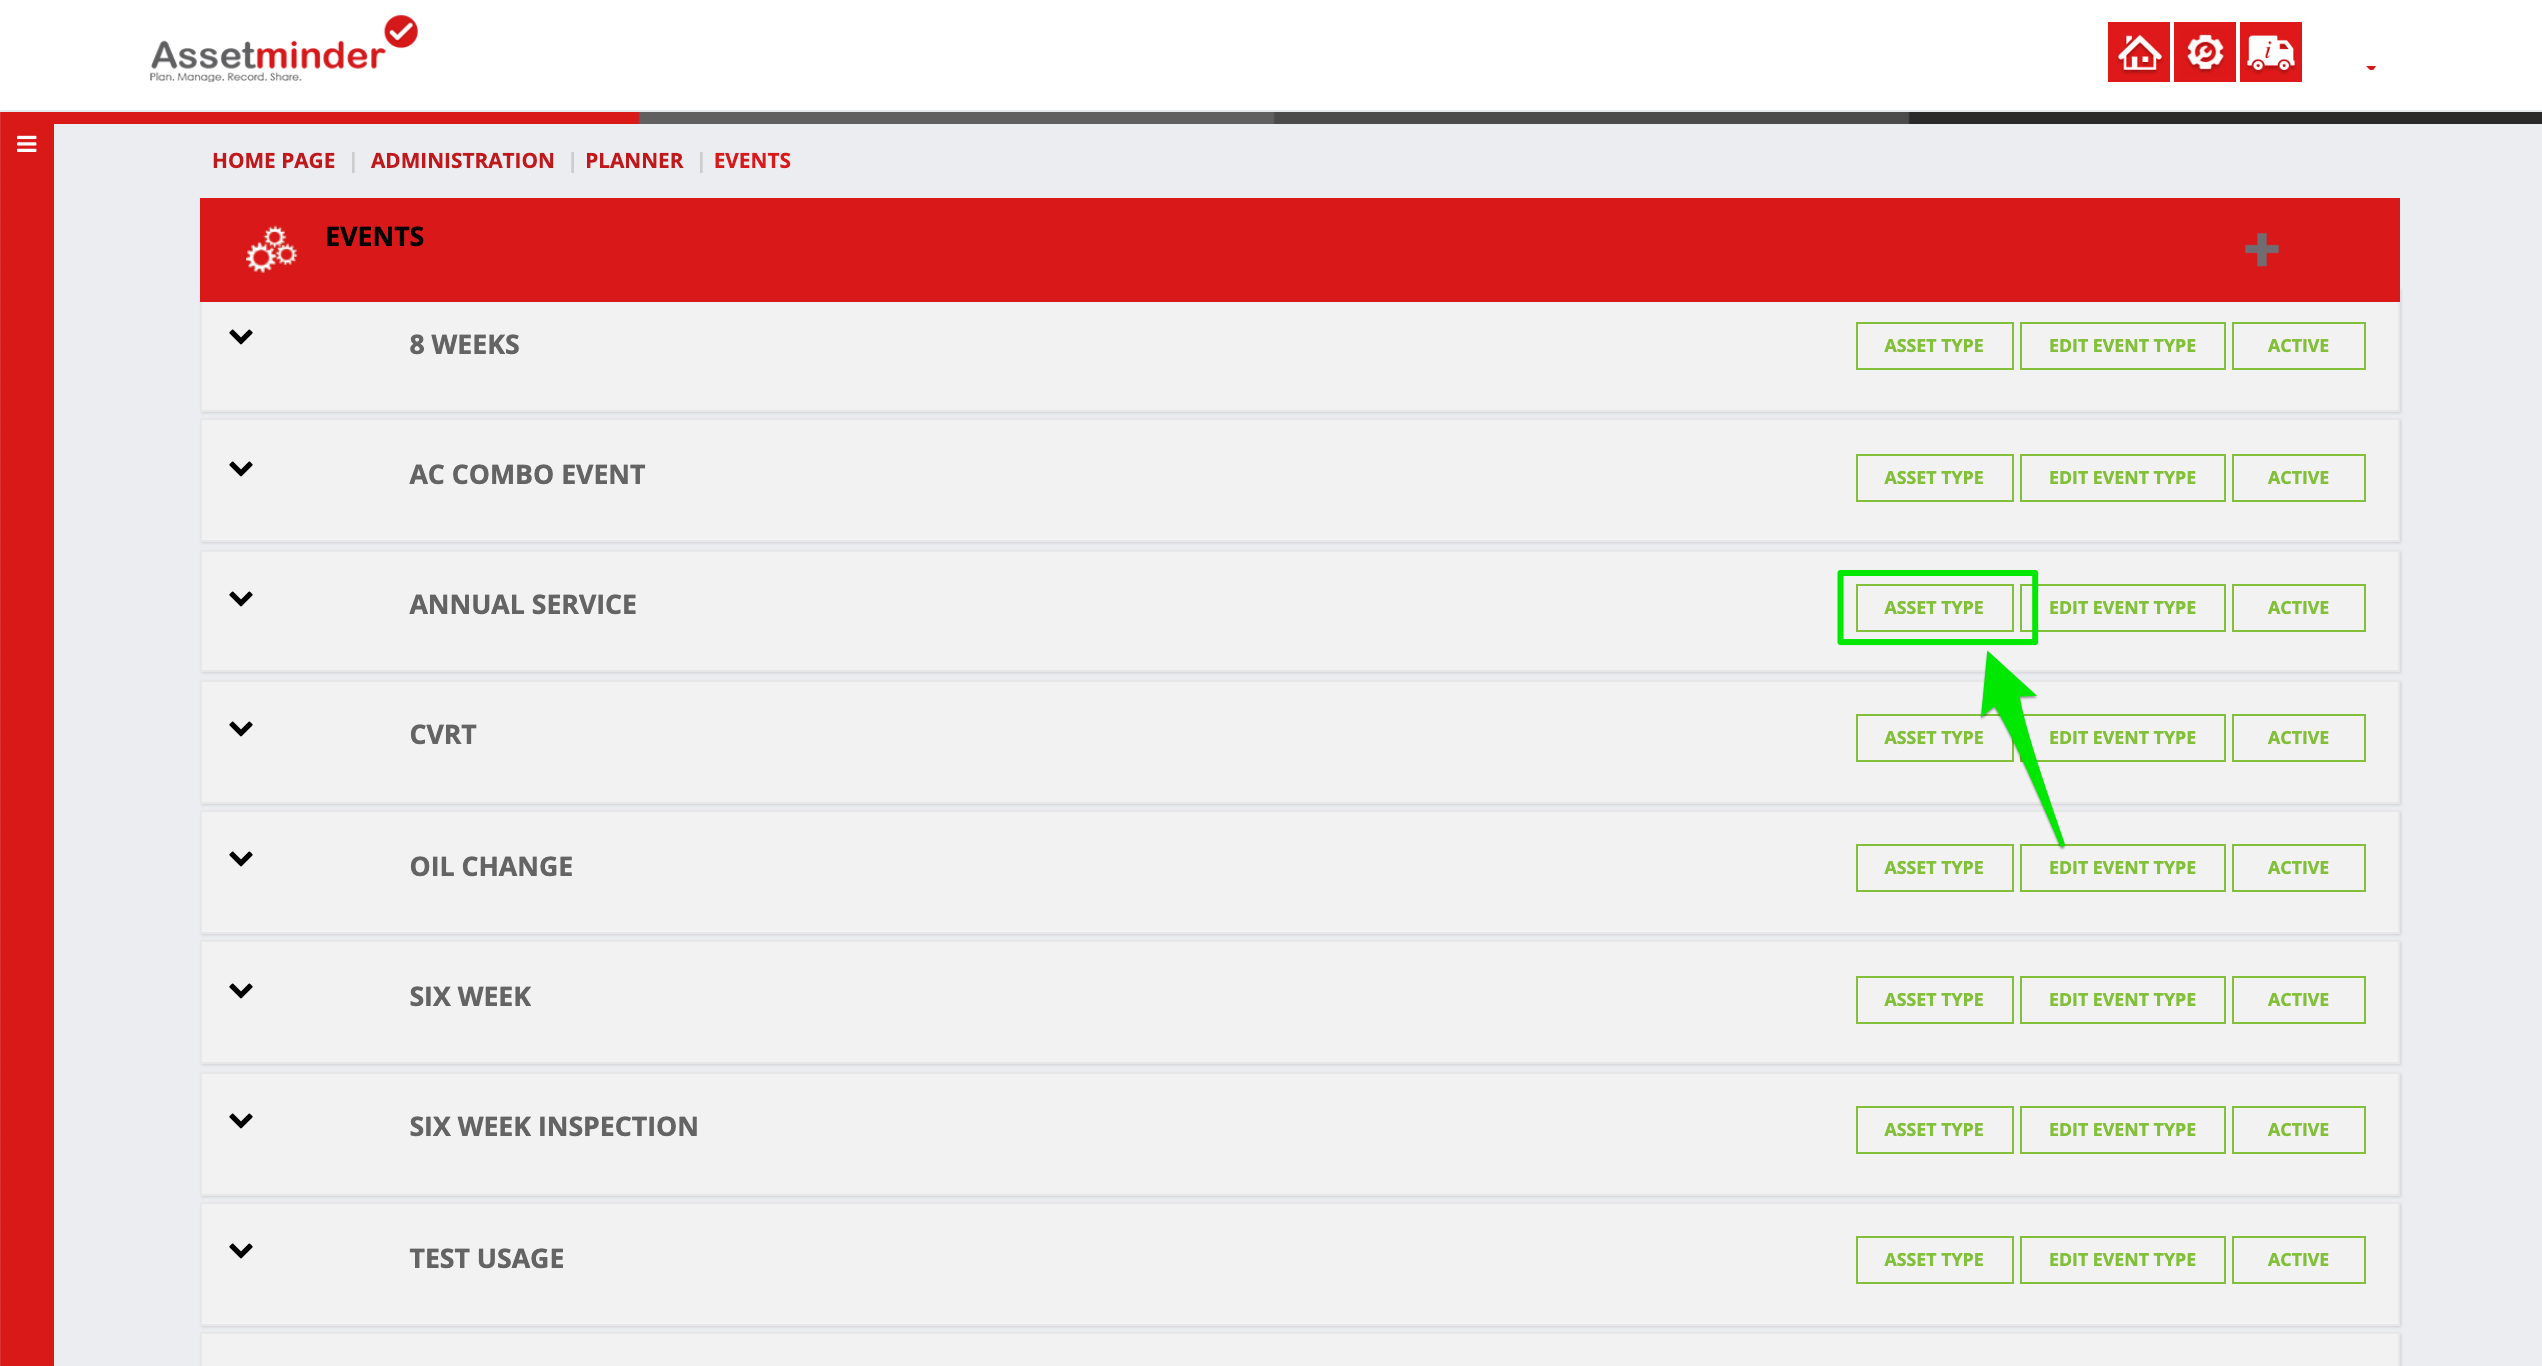
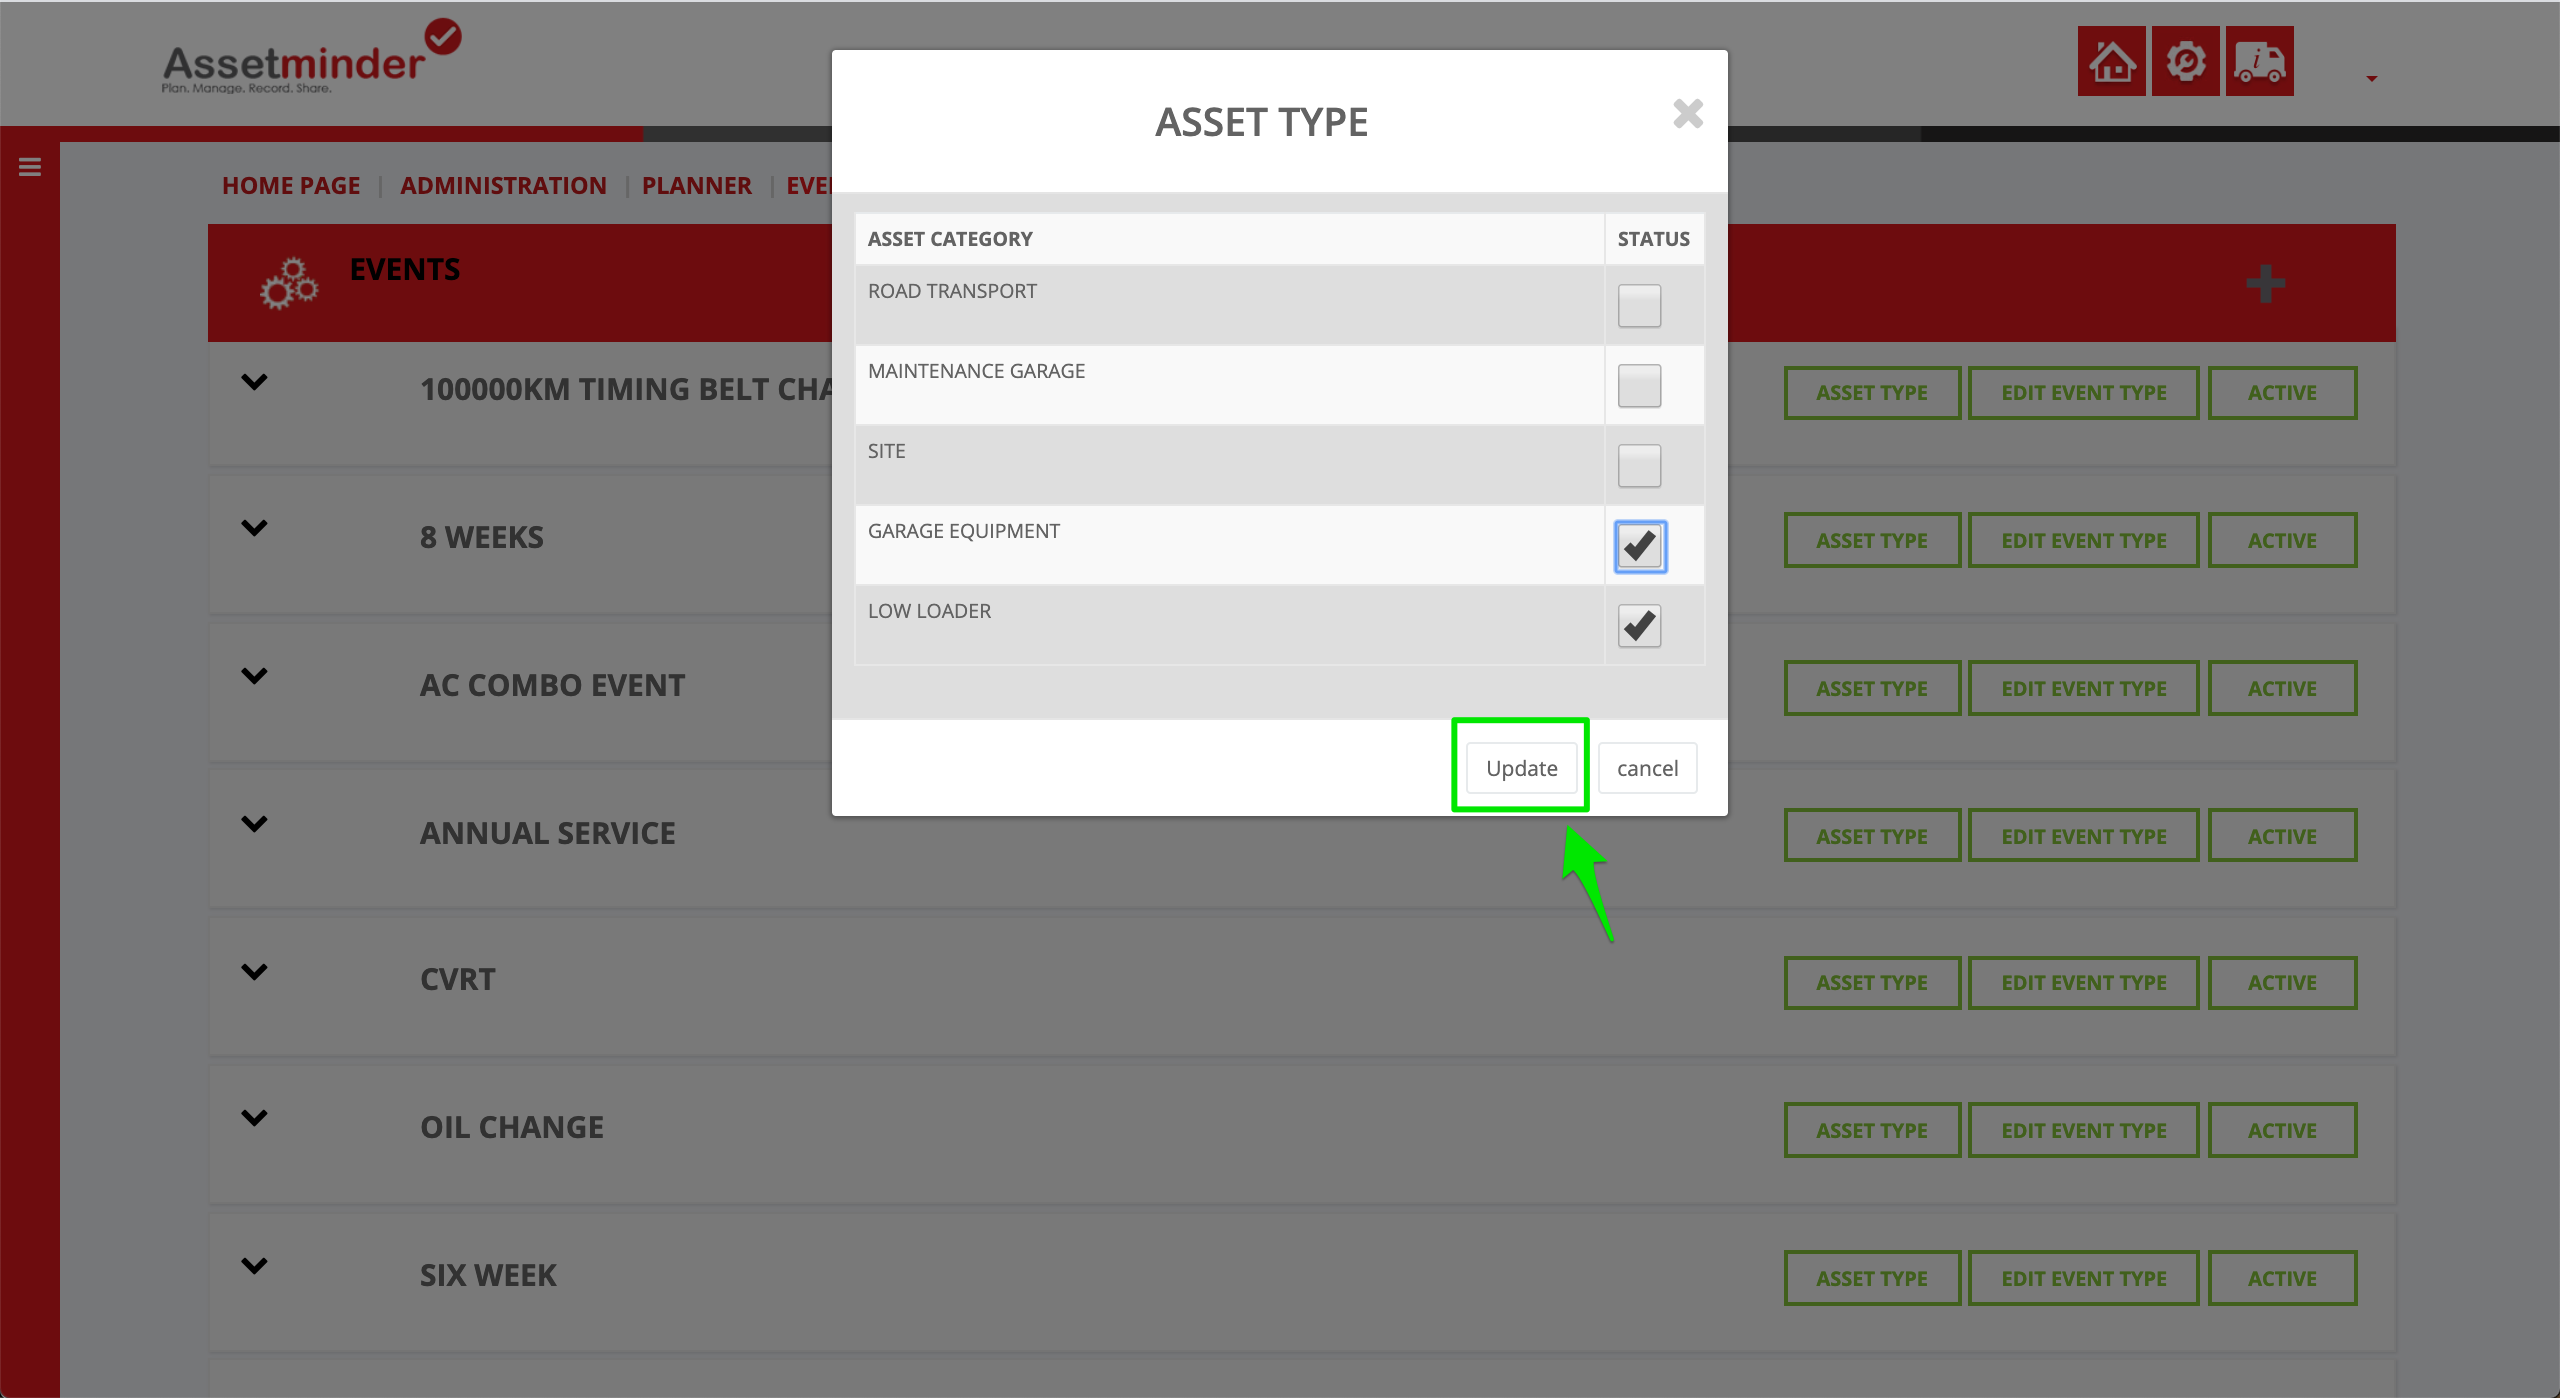
10. After creating the planned event template, the next step is to make the planned event template available for certain asset types. On the planned events view, click Asset Type on the relevant planned event template
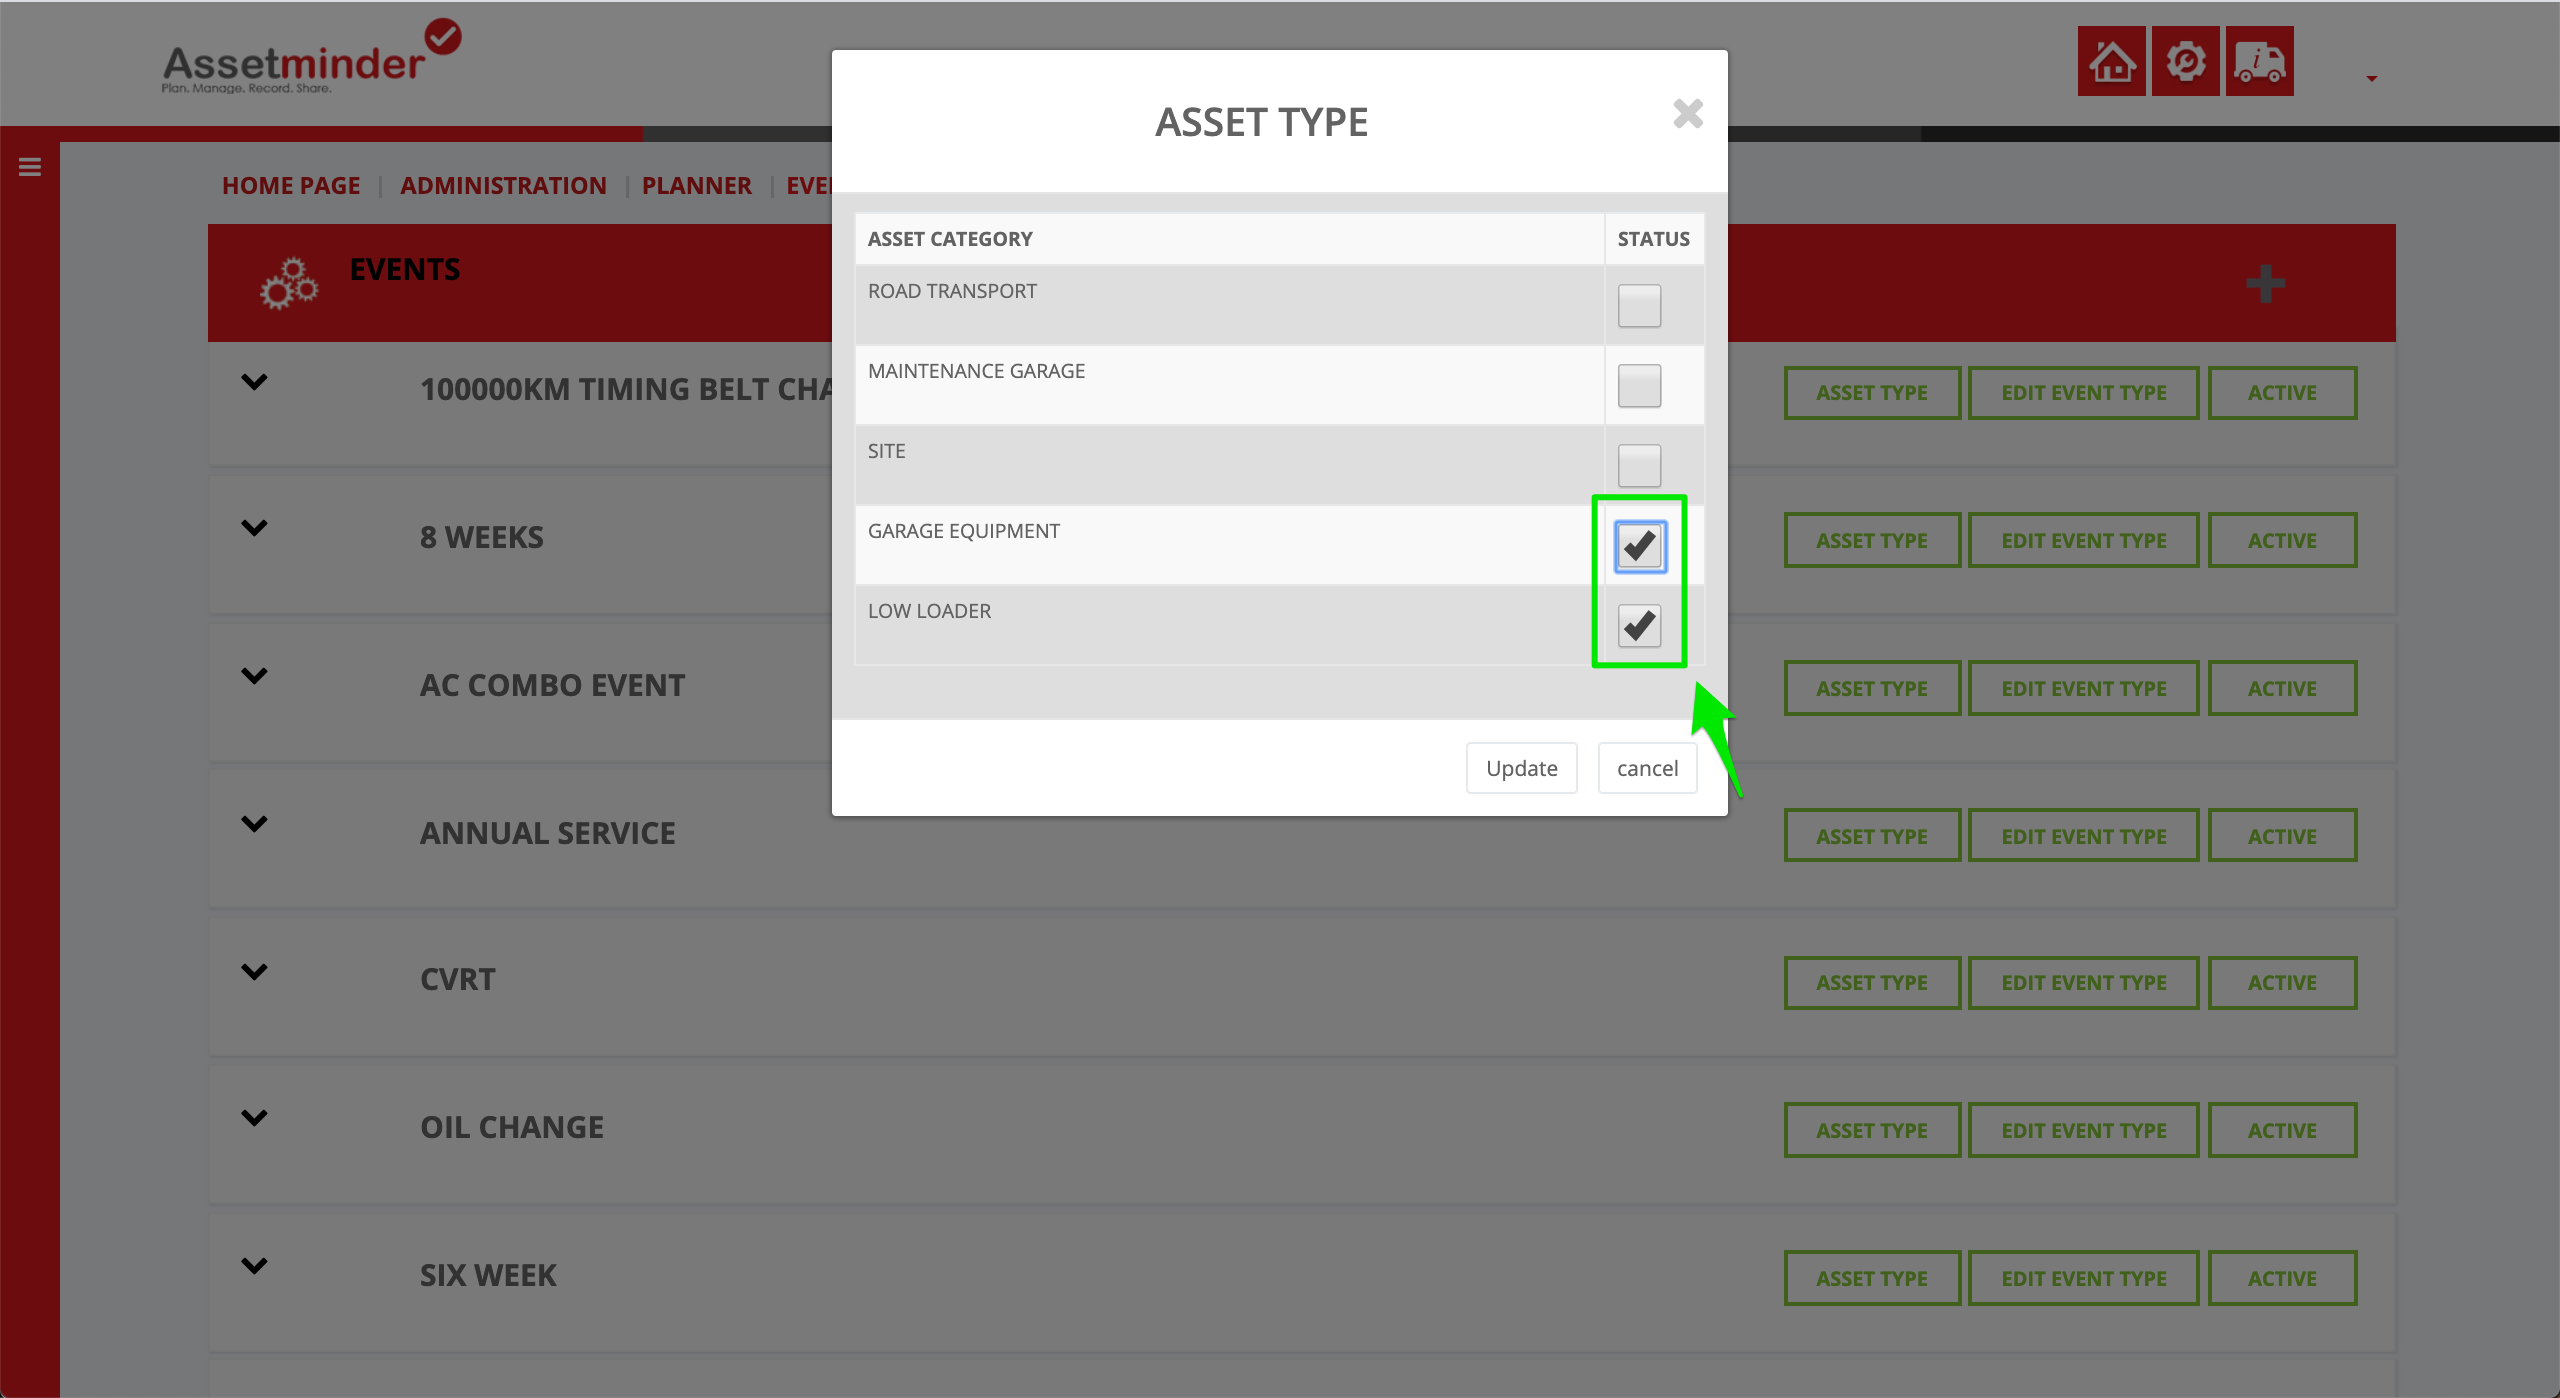
11. Check the checkbox opposite the asset types that will use this planned event template
12. Click Update when done. Those asset types can now use this planned event template
13. Repeat the process for all other planned event types.
Conor Gibson
Comments