Once set-up, asset warranties for a particular asset sub type are automatically applied and added to each matching asset sub type. If the user wishes to change this for a specific asset, then the following procedure is followed. This will happen with time-based warranties where the start date of the warranty might need to be changed.
PROCEDURE
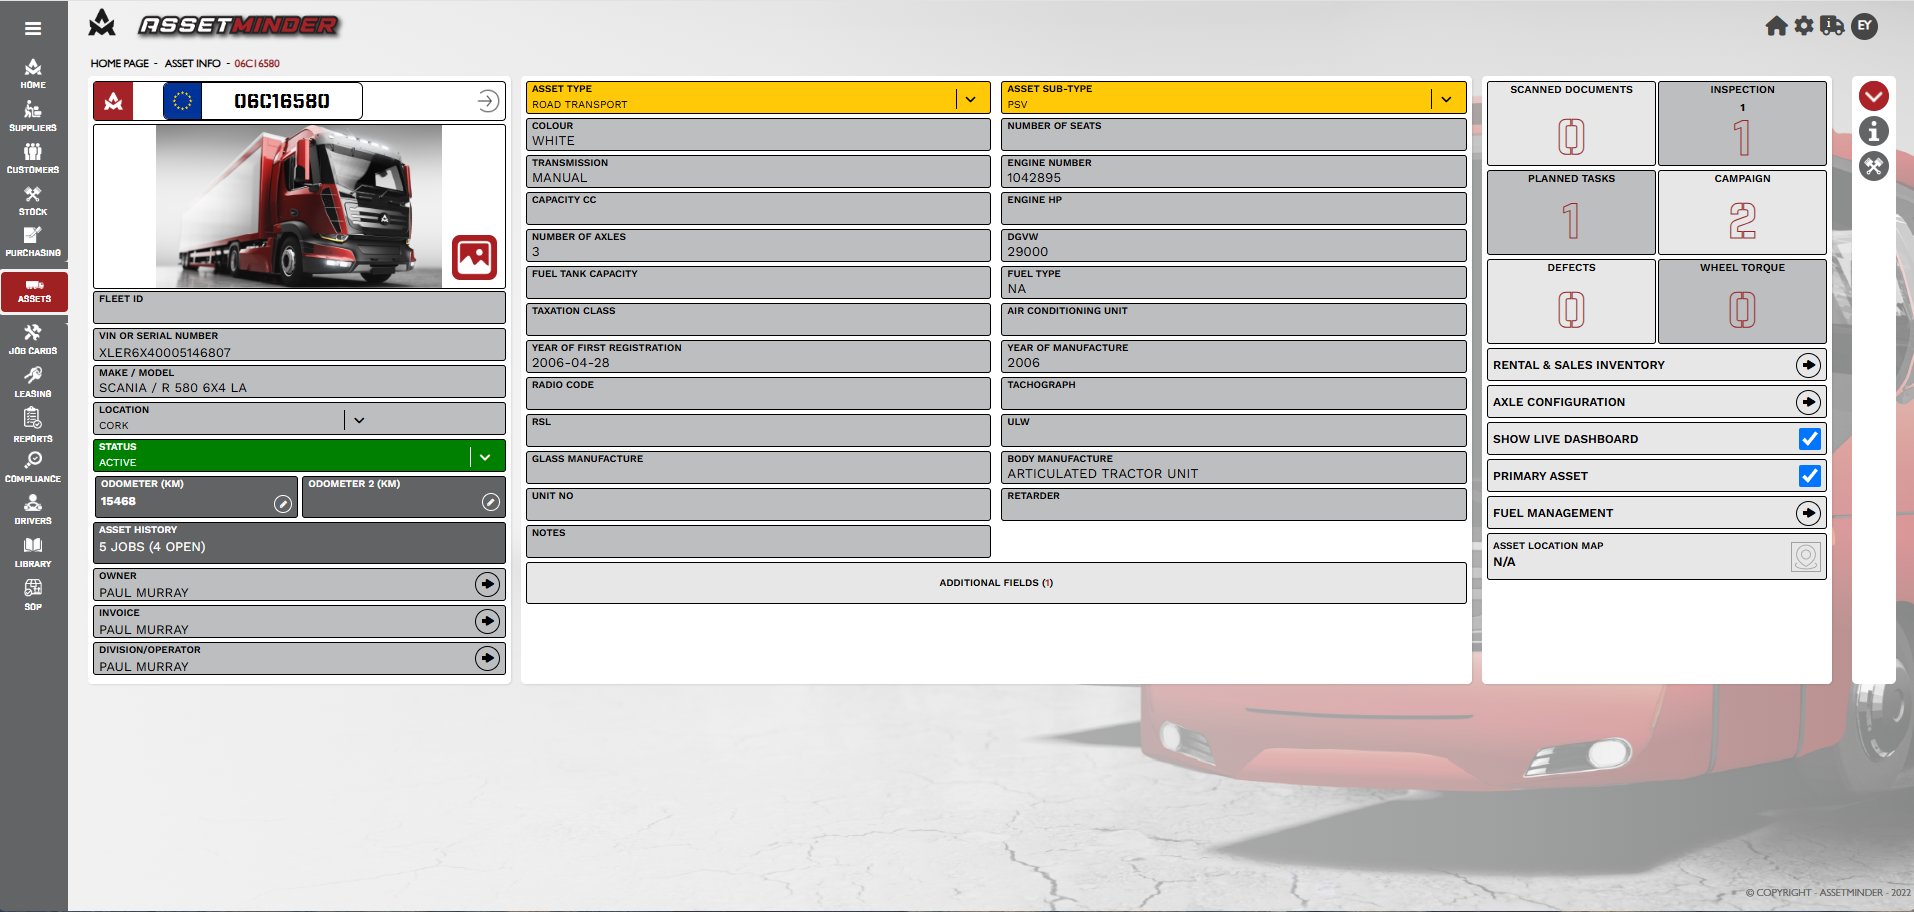
1.Open Asset Record.
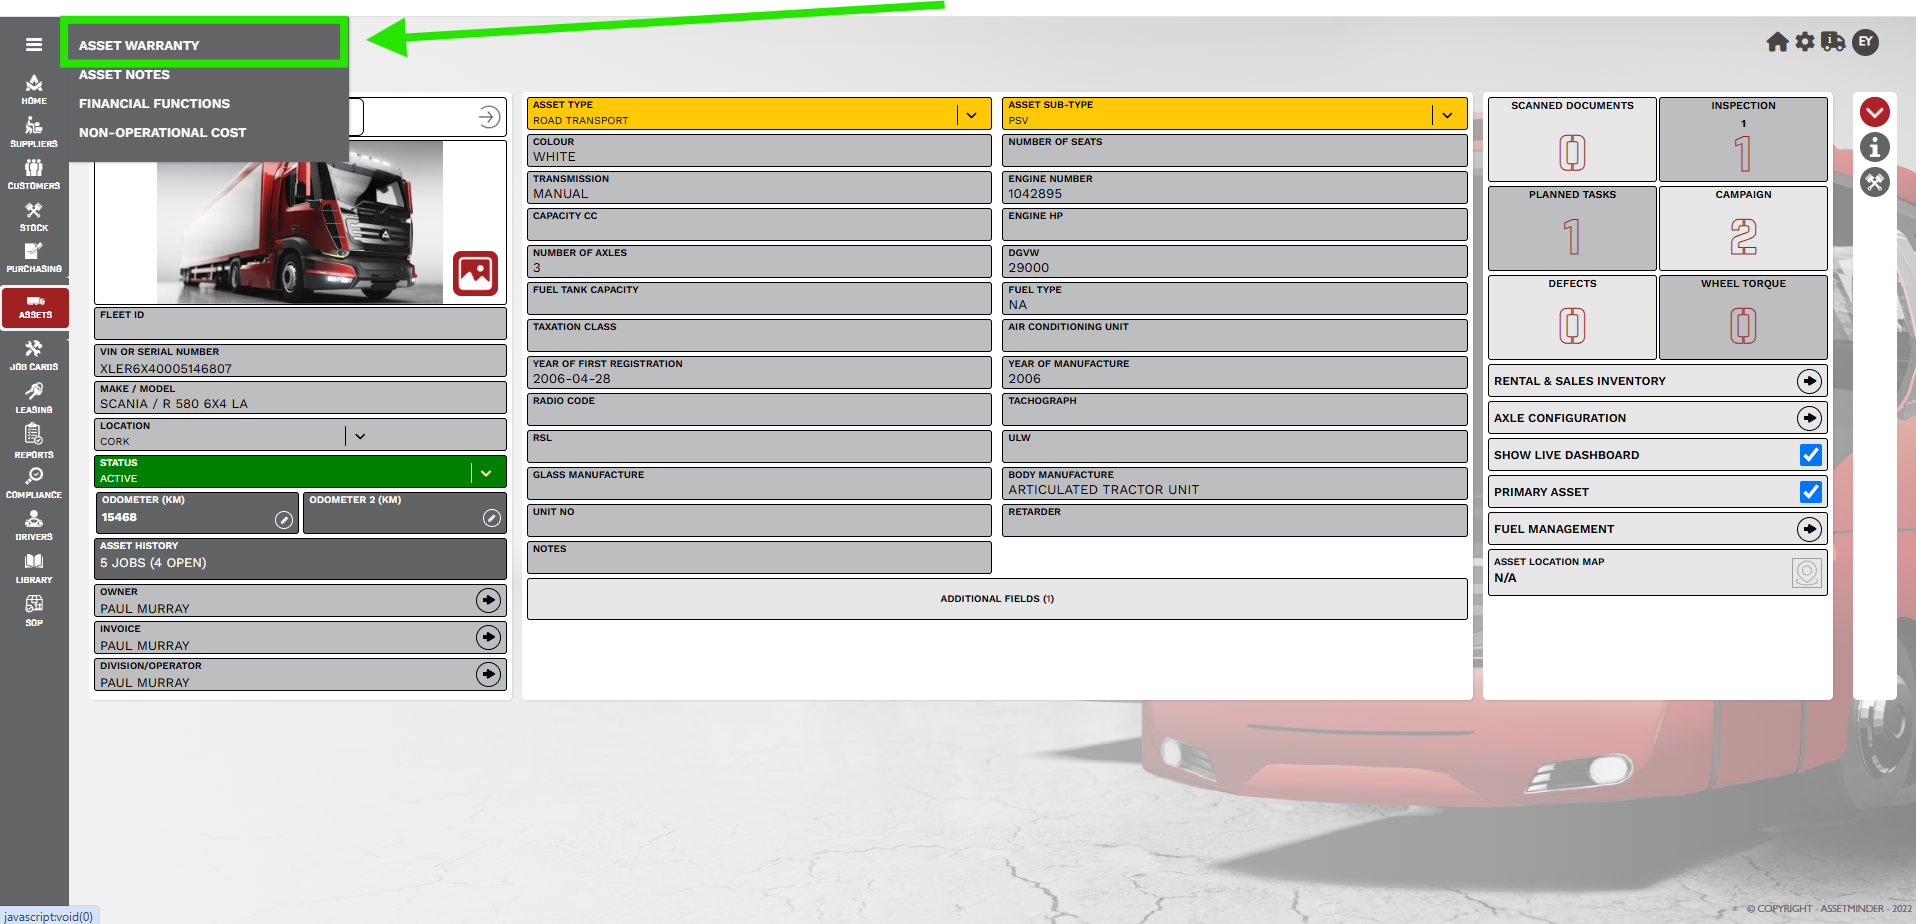
2. Click on the sub-menu icon (the three horizontal lines) in the upper left-hand corner. This will open the side menu, choose .
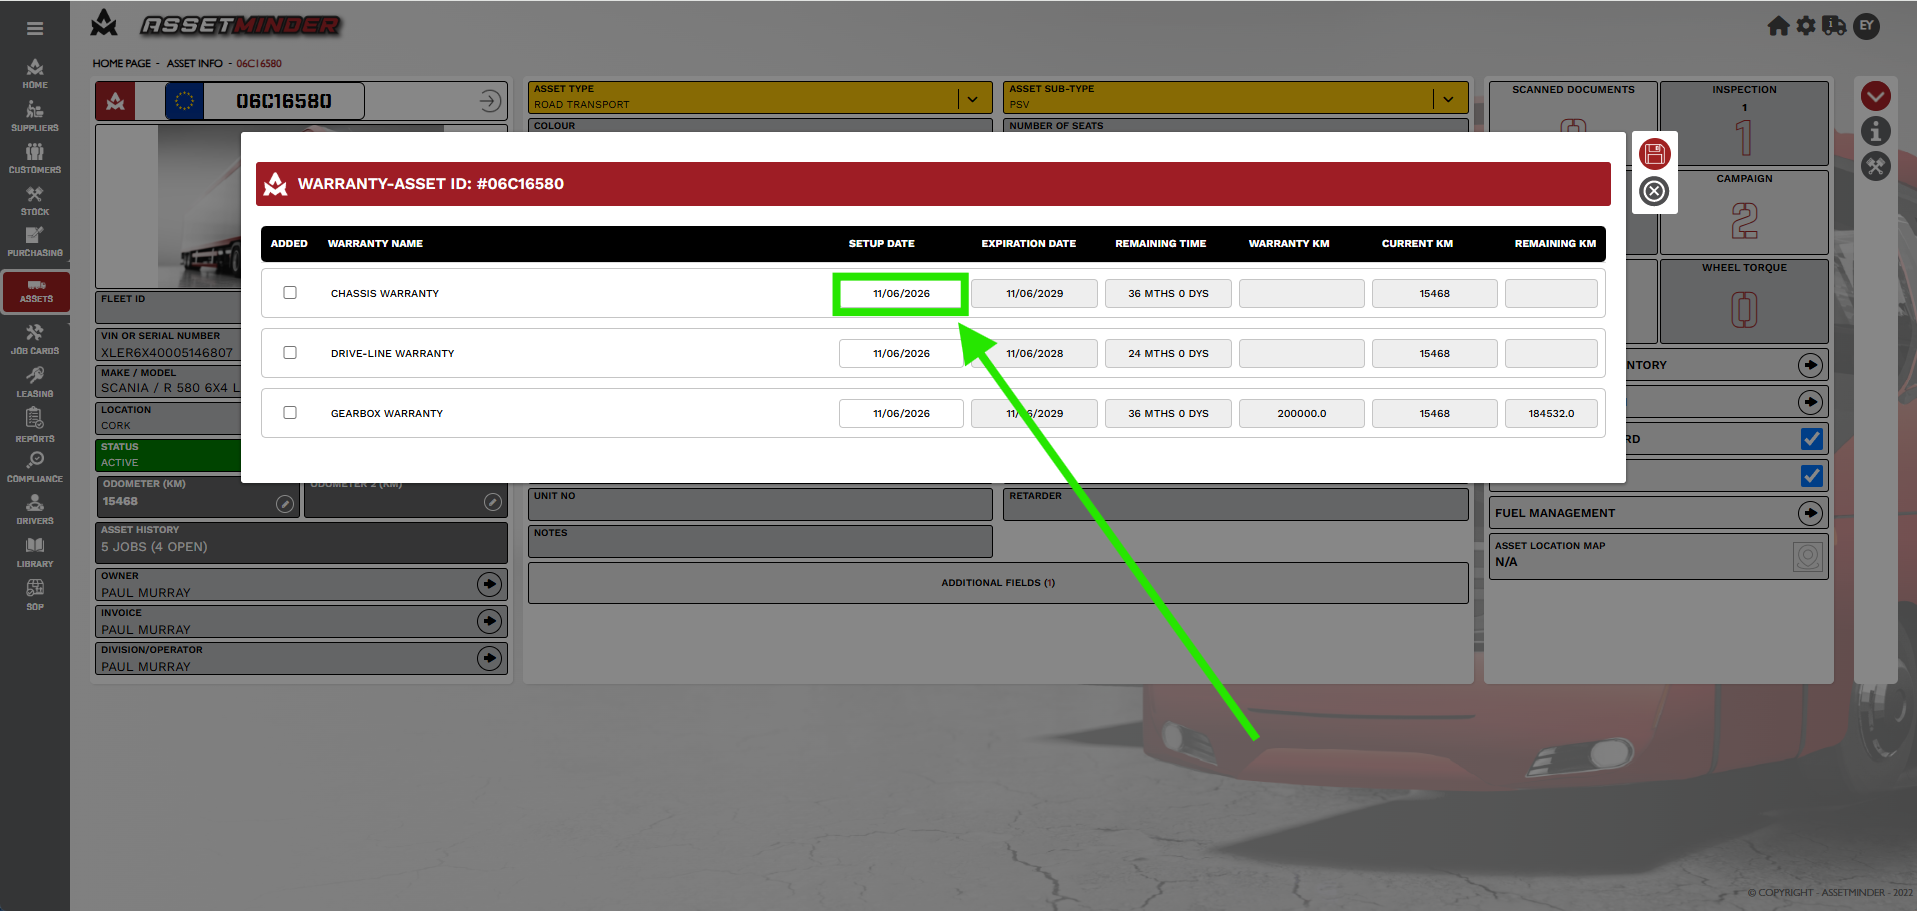
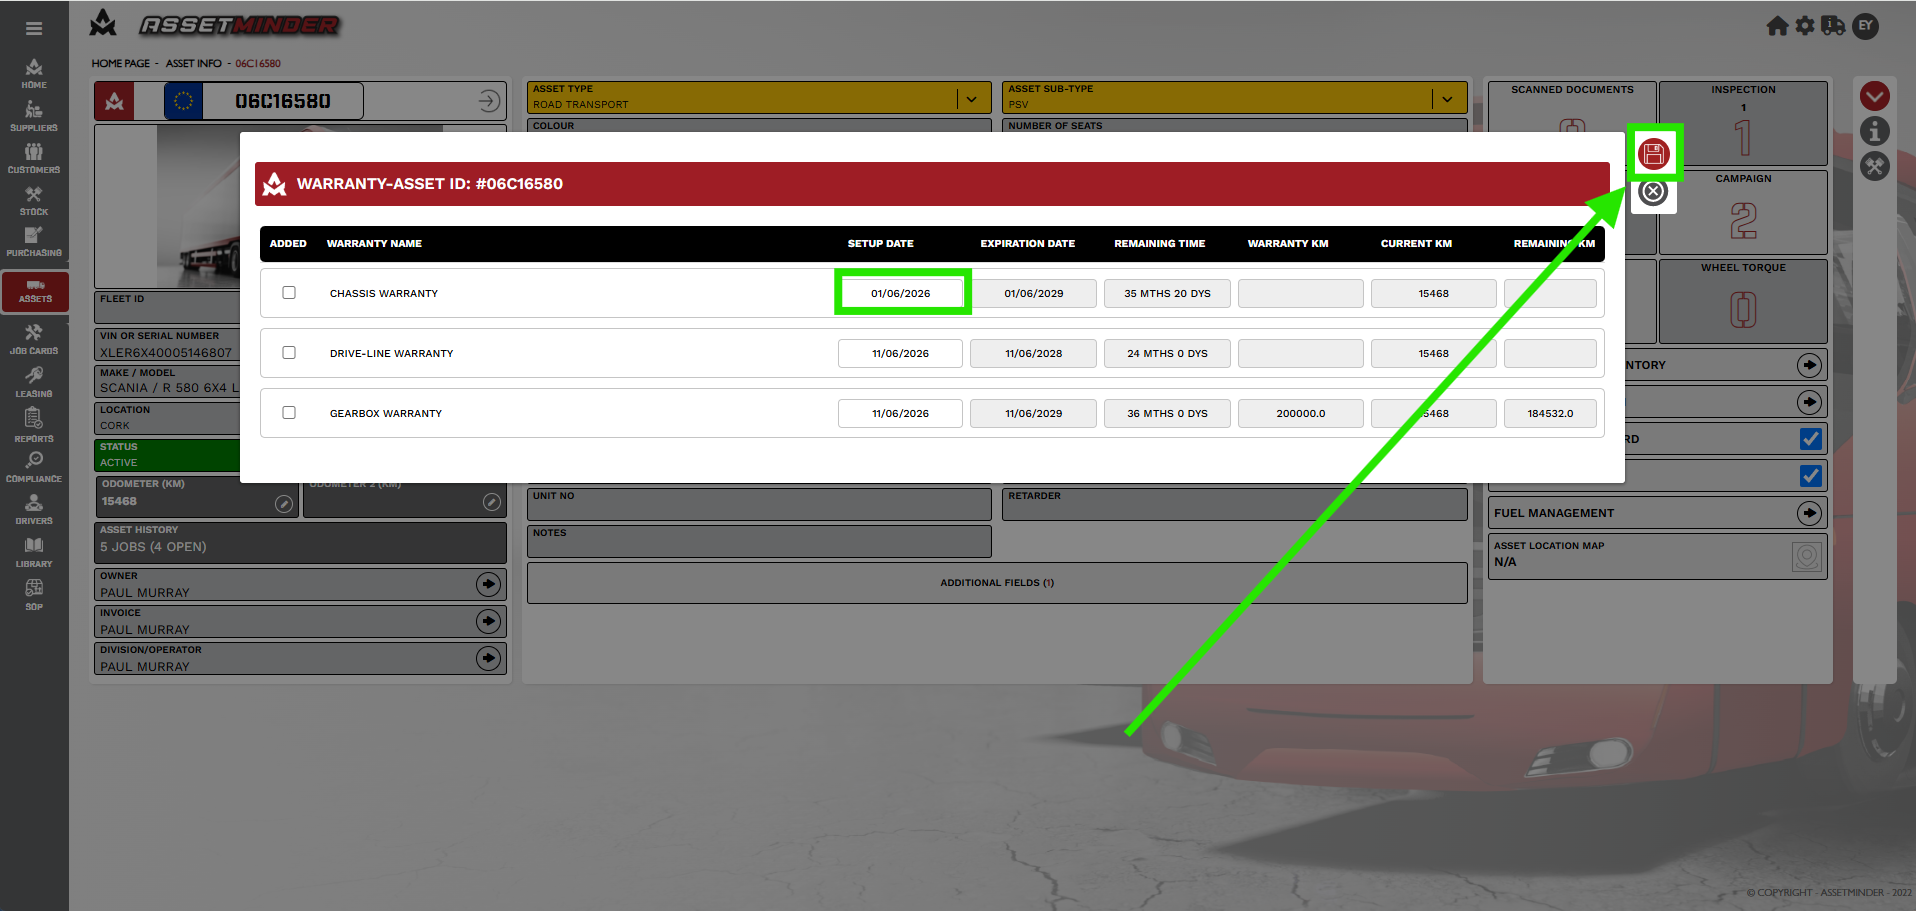
3. To change the start date of a warranty, click on the 'SET-UP DATE'.
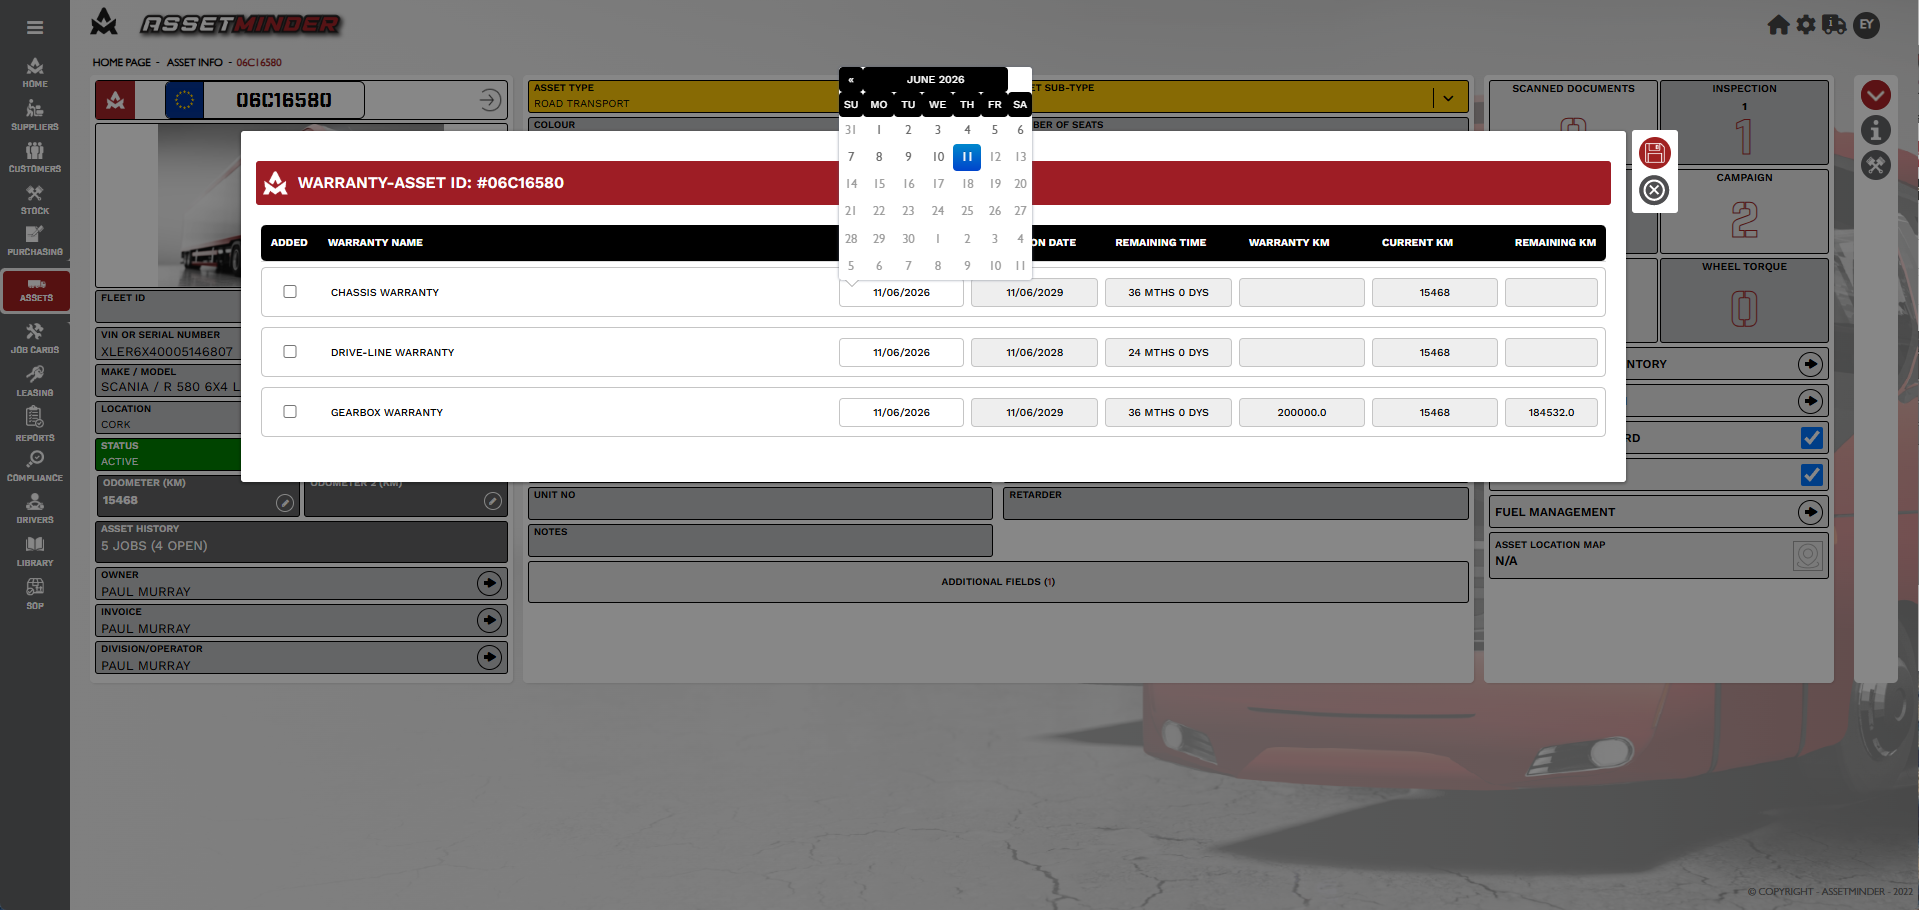
5. Select the new start date from the calendar.
4. To finish, click on the SAVE icon as shown below.
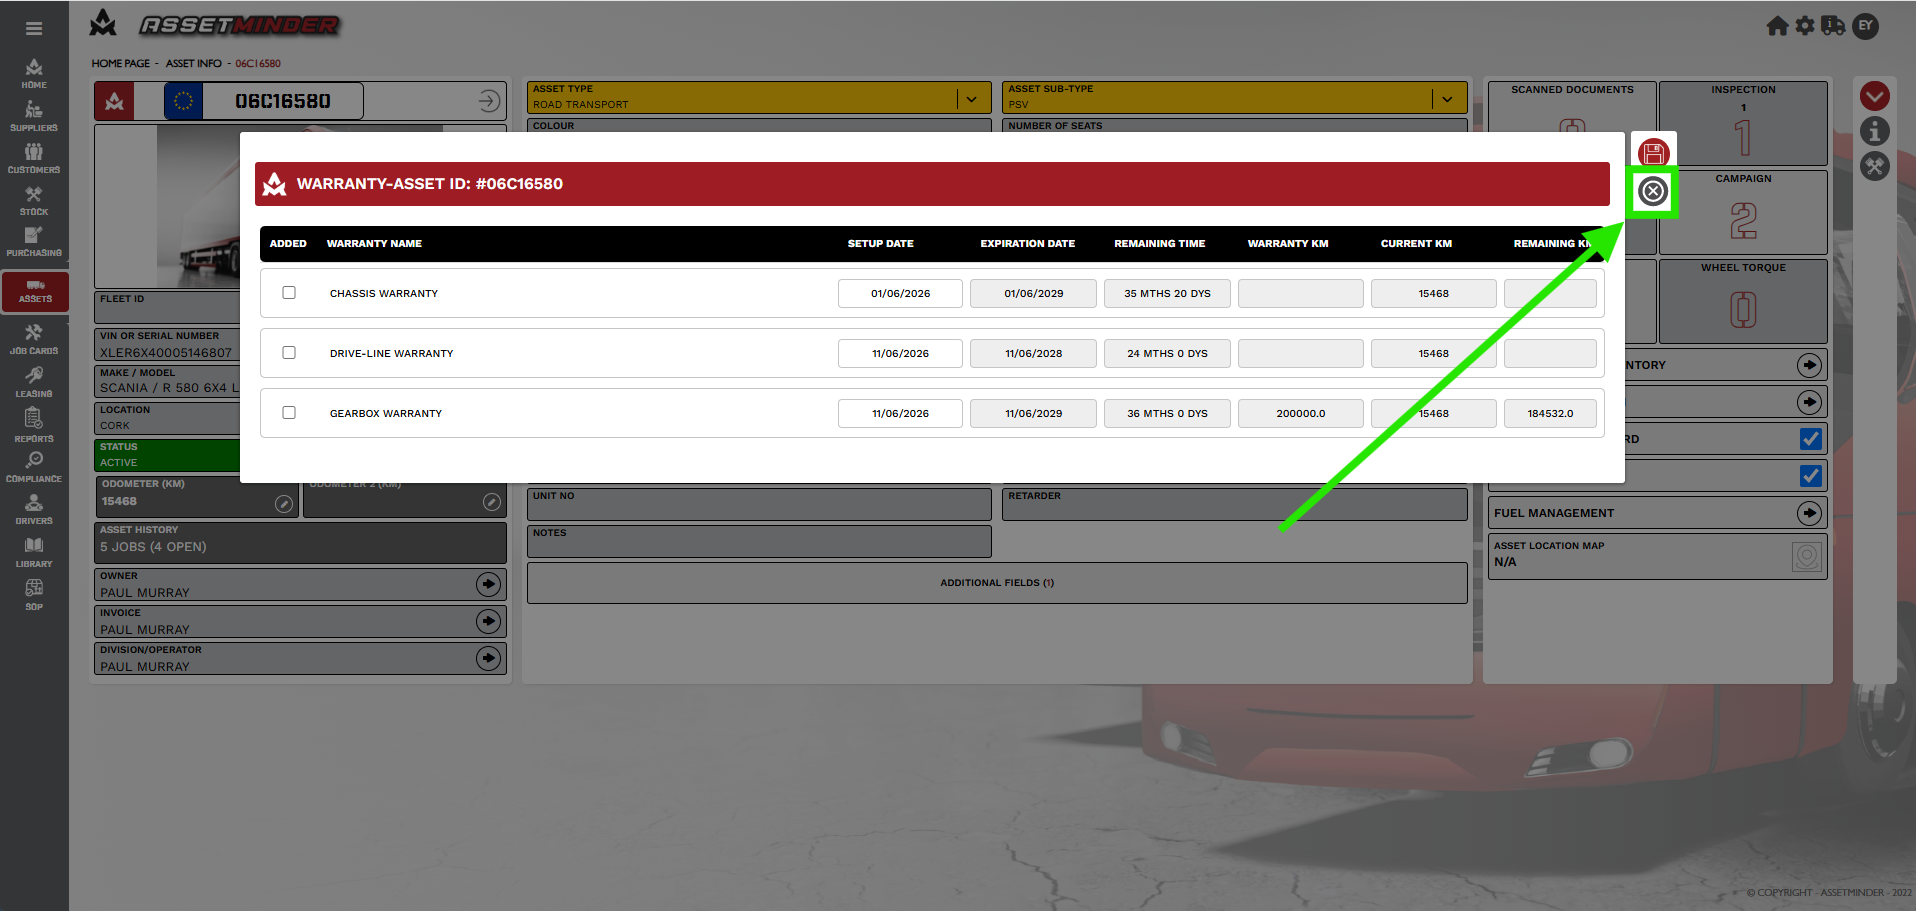
After the warranty has been updated, a 'SUCCESS' message will be shown.
5. Close the Warranty screen by clicking on the close icon.
Paul Murray
Comments